Second frame conversion
From the glory of the 90s to a do-it-all companion for years to come
August 20th, 2026
From the glory of the 90s to a do-it-all companion for years to come
August 20th, 2026
I am on a trail close to town. It is narrow, full of wet roots, and there comes this nice drop/berm combination. I should not be here, as I am barely on the way to the grocery store, rucksack on my back, drizzle around me. It is just that riding this bike made me take the detour. Yes, it is full rigid, it has a rack and fenders, dynamo light - and it keeps telling me: let us try this! It will be fun!
It is hard to describe, maybe just like: this feels like an extension of my body (as a friend put it, wisely). Riding is comfortable, super intuitive, reassuring in any moment, and I am so often encouraged to try weird or rough stuff. Pure joy!
So come on, on the left there is this steep little trail down to the road. Shall we?
Interestingly, it took me more than two years to get this result. The first build after the conversion looked gorgeous (to me, at least), and it rode very much ok. But something was a little off. Further down, I describe the tweaks that brought the breakthrough.
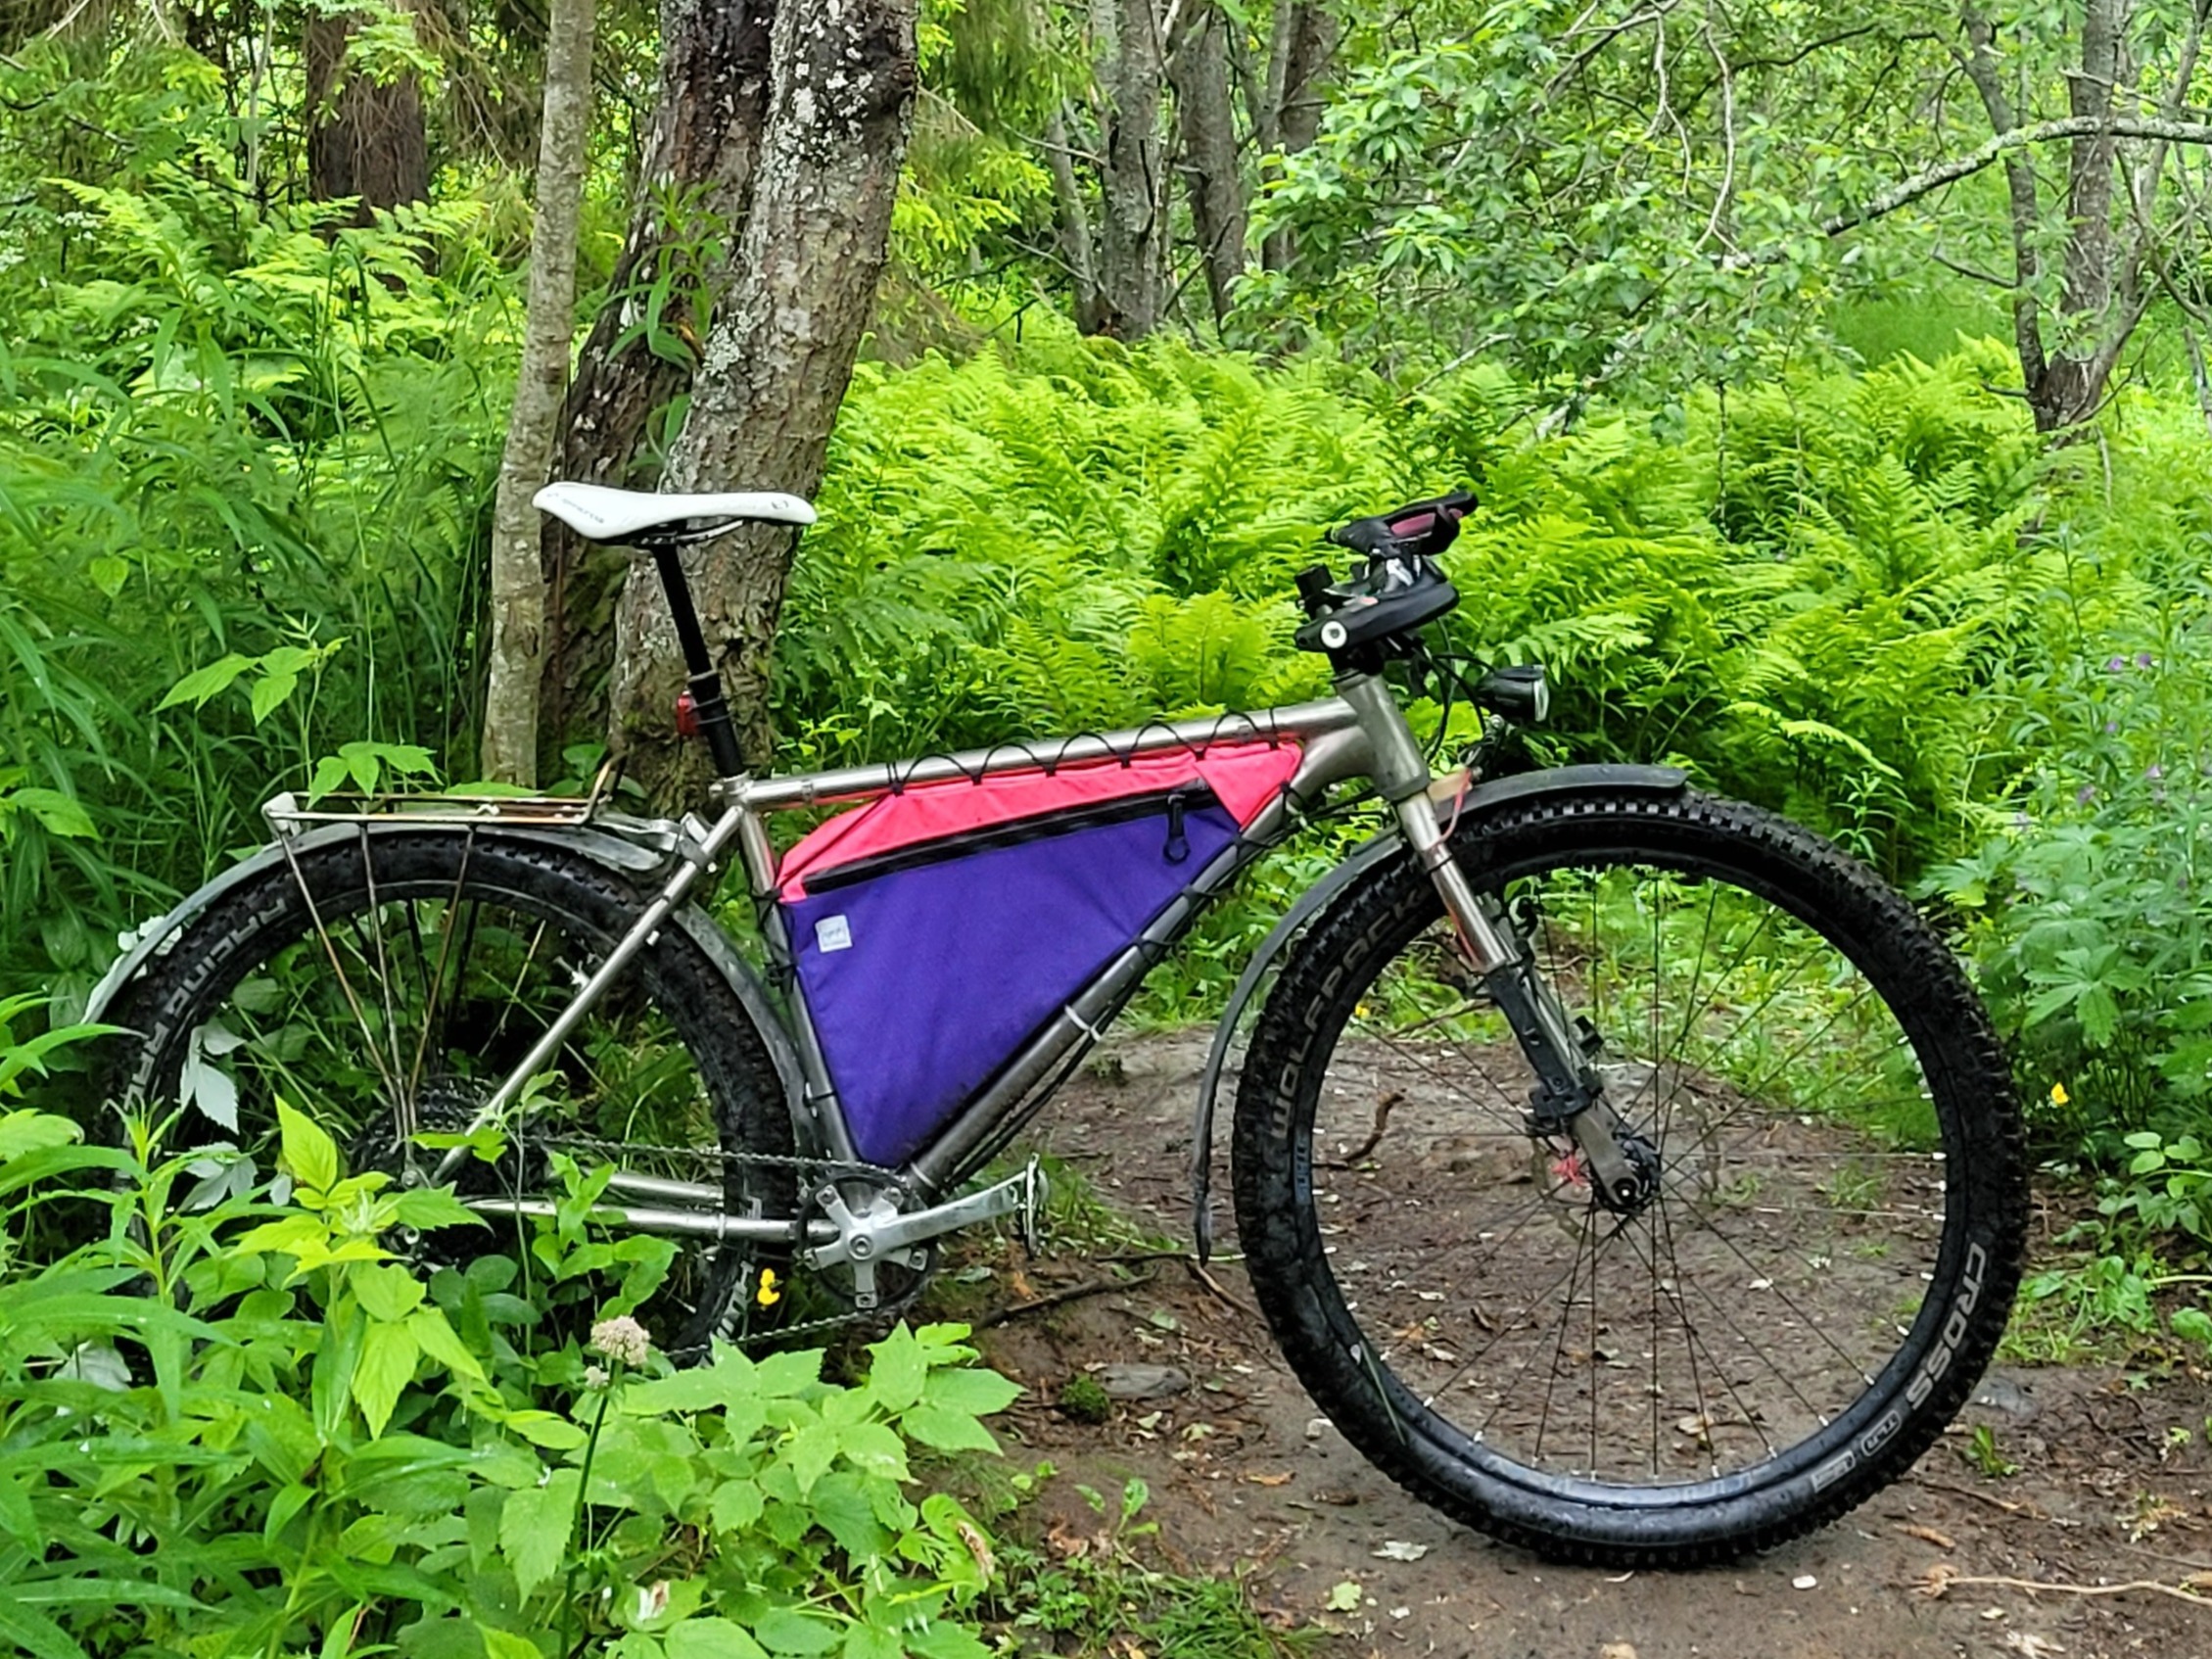
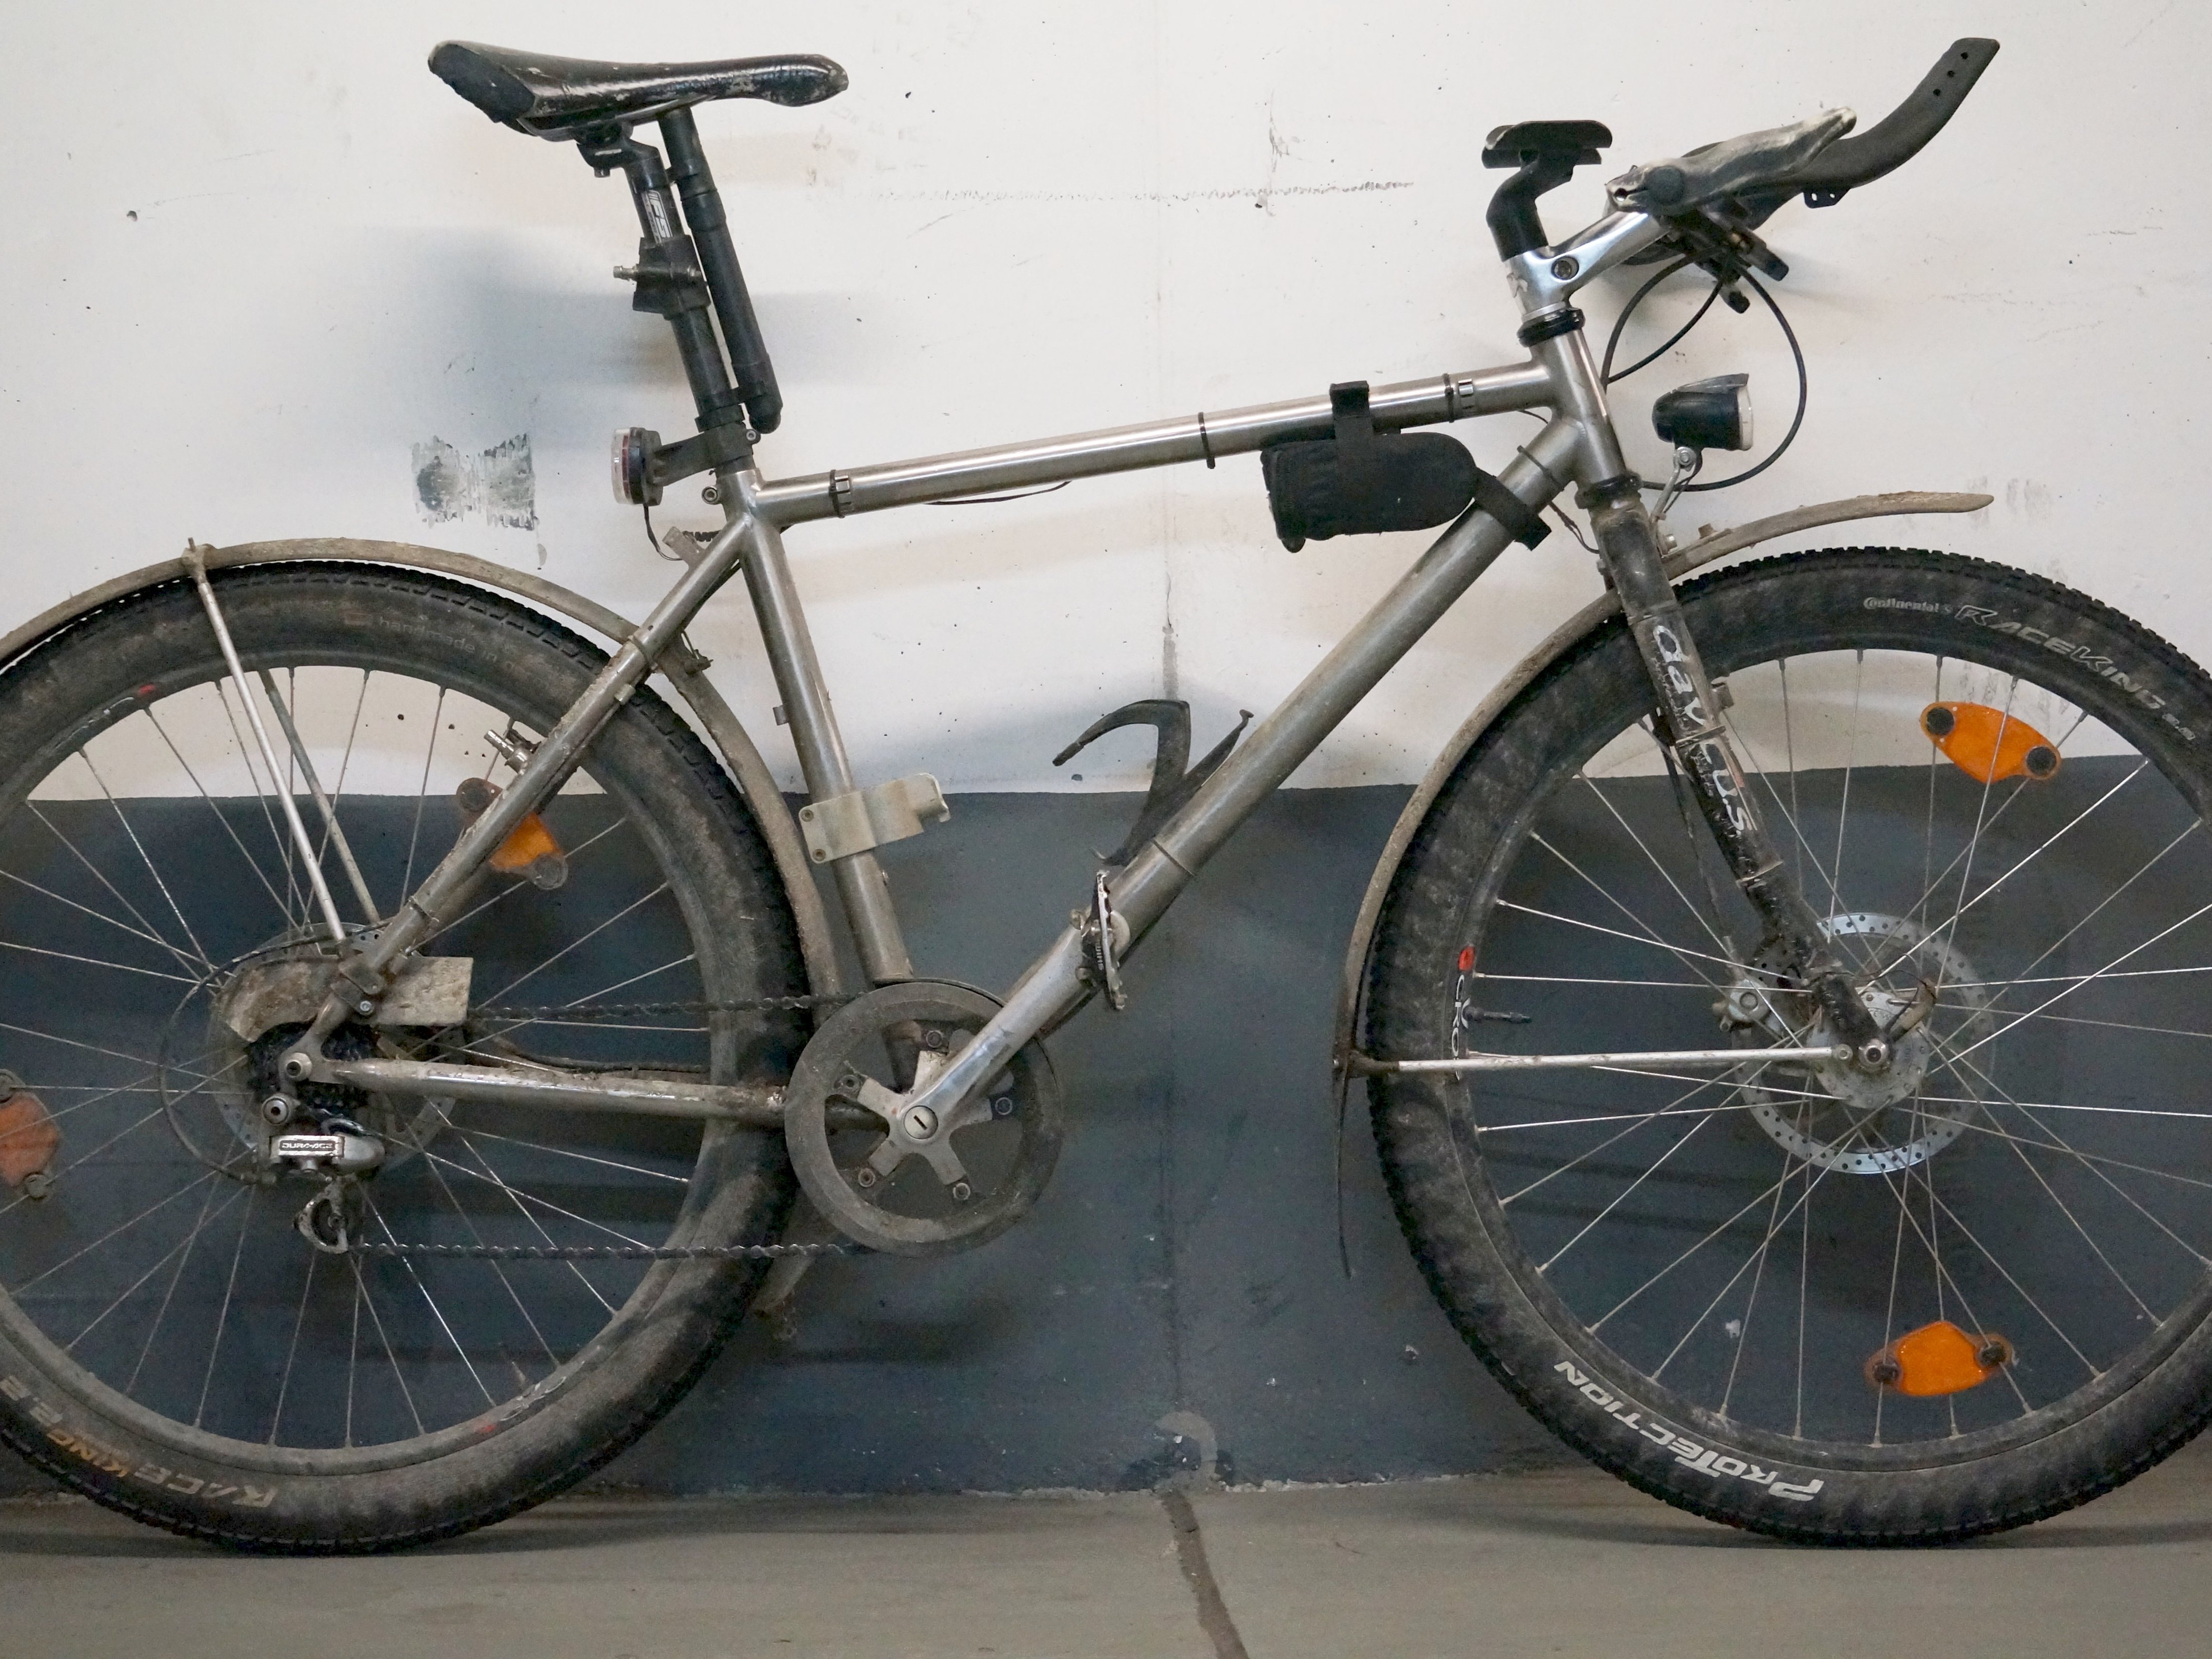
I bought this frame second hand, in 2006 (you read that right). I found little information about it online, but the presence of a cantilever brake hose support tells you something. The design may be from the late 90s when frames were built around 60mm forks. A titanium frame was my antidote to constant corrosion from winter commuting in Munich which had eaten away my trusted Trek 930 from 1992.
Probably, I put more miles on it than on any other bike (I likely passed the 100.000km mark). It was the mule for a lot of self-designed innovation, like an early single chainring setup (1x8), ergonomic grips and barends, aerobar, my first disc brake adapter, a pioneering setstay-mounted bag, much of it 3D printed.
I kept the bike with a rigid steel fork (410mm long), and I always liked the ride feel, direct, well damped thanks to the frame material and a flexy seatpost, lightweight and speedy with good tires. It traveled with me to Ireland and Iceland between constant commuting duties.
Let us call the 26" build Version 1.
From 2020 on I converted my bikes from 26" to 27.5", as the smaller wheel size obviously was downgraded to low cost and kids bike applications. This frame required more clearance only at the chainstays to fit the larger wheel with a tire size up to 27.5x2.2. In addition, I designed an angle correction headset to slacken the head tube angle by 2.5deg.
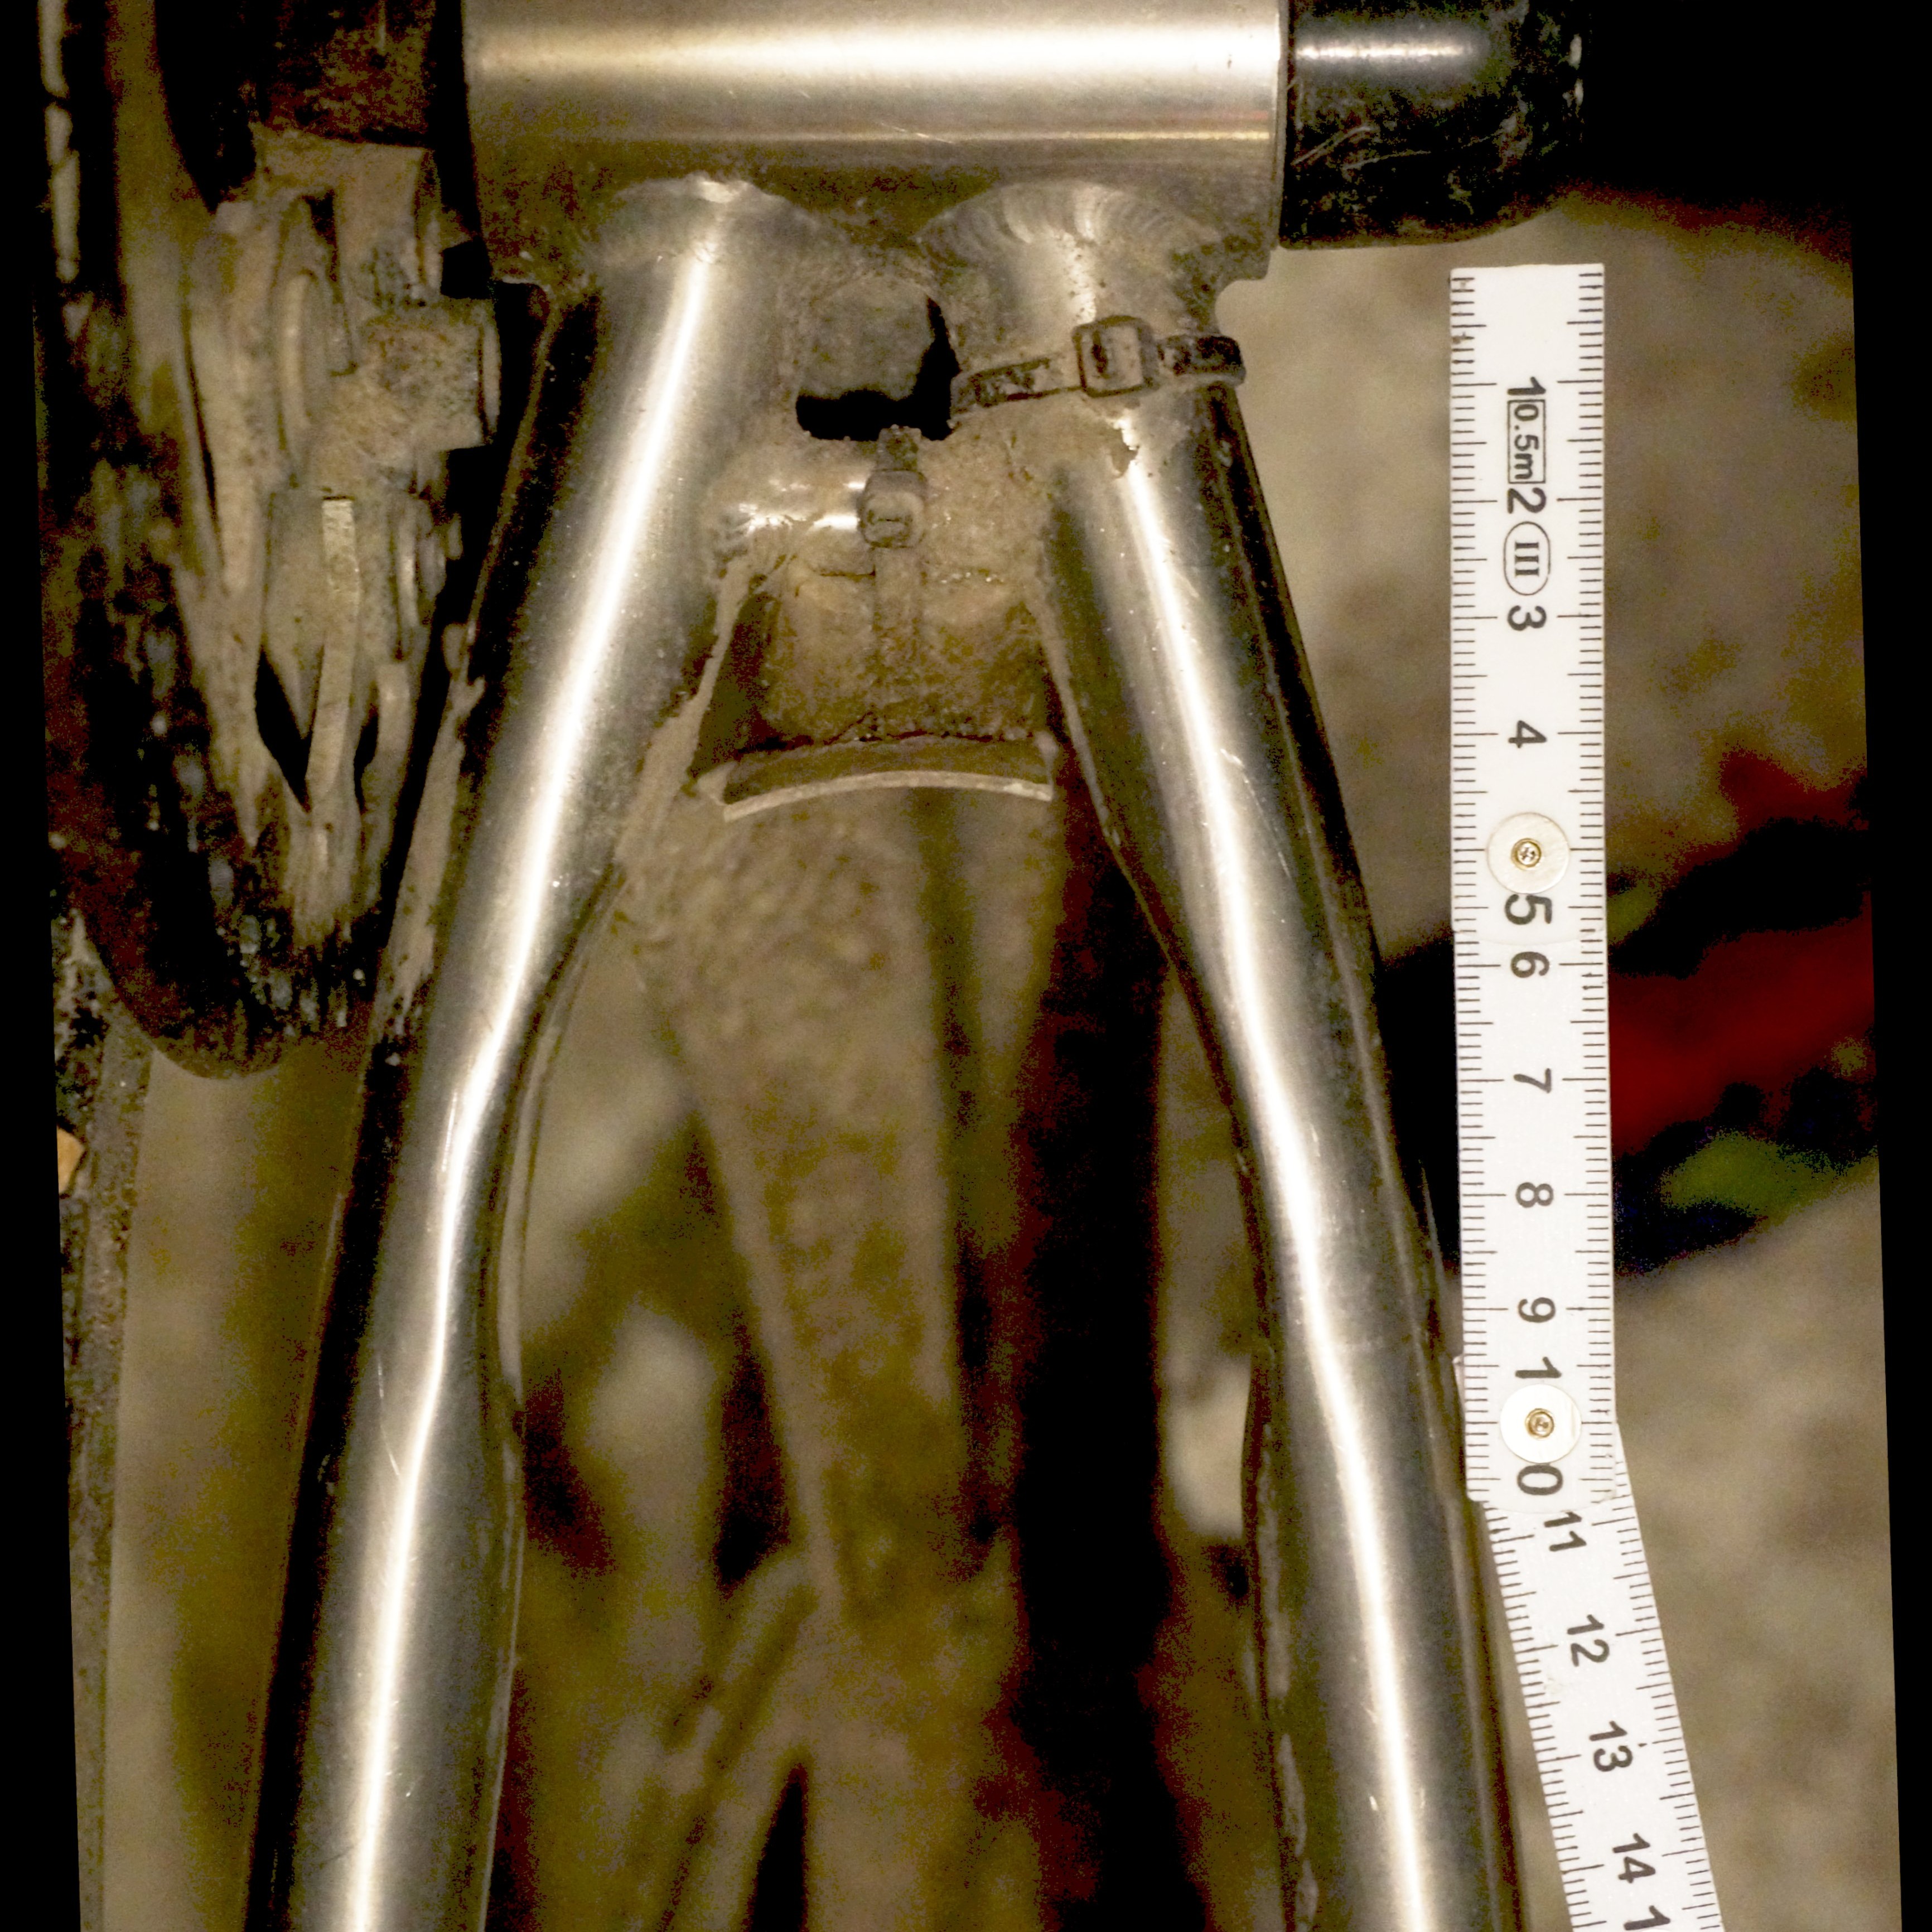
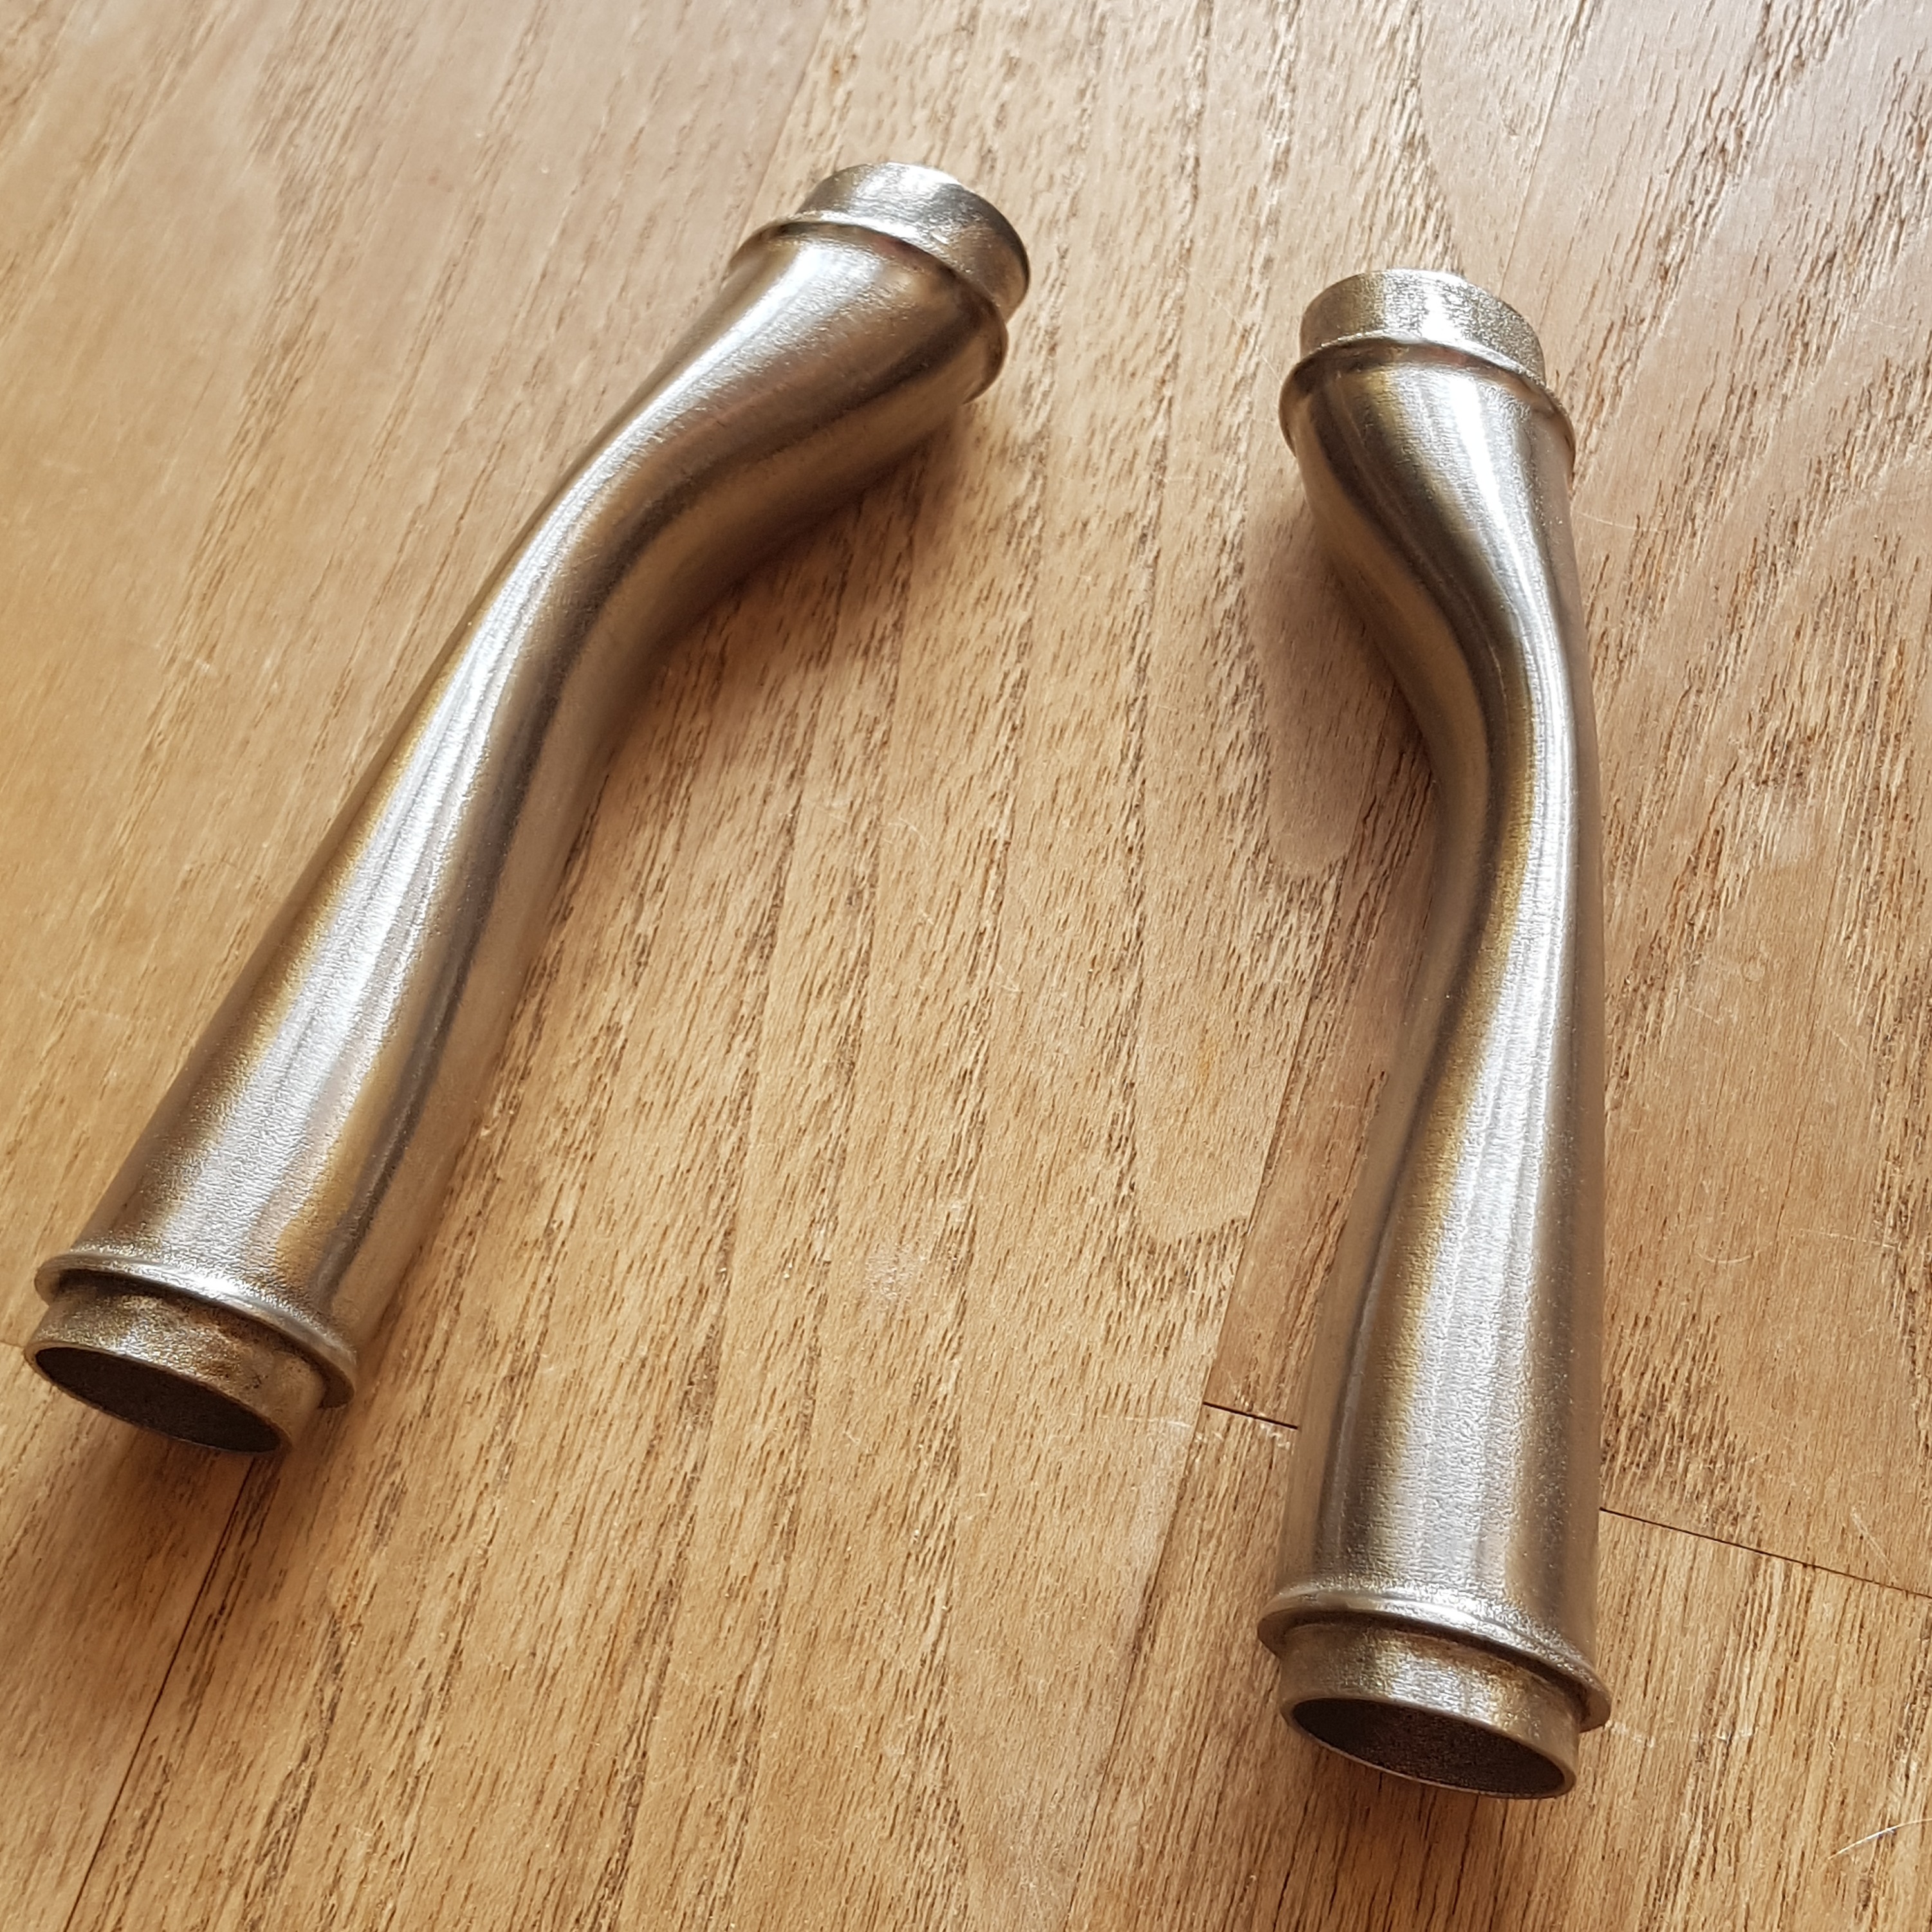
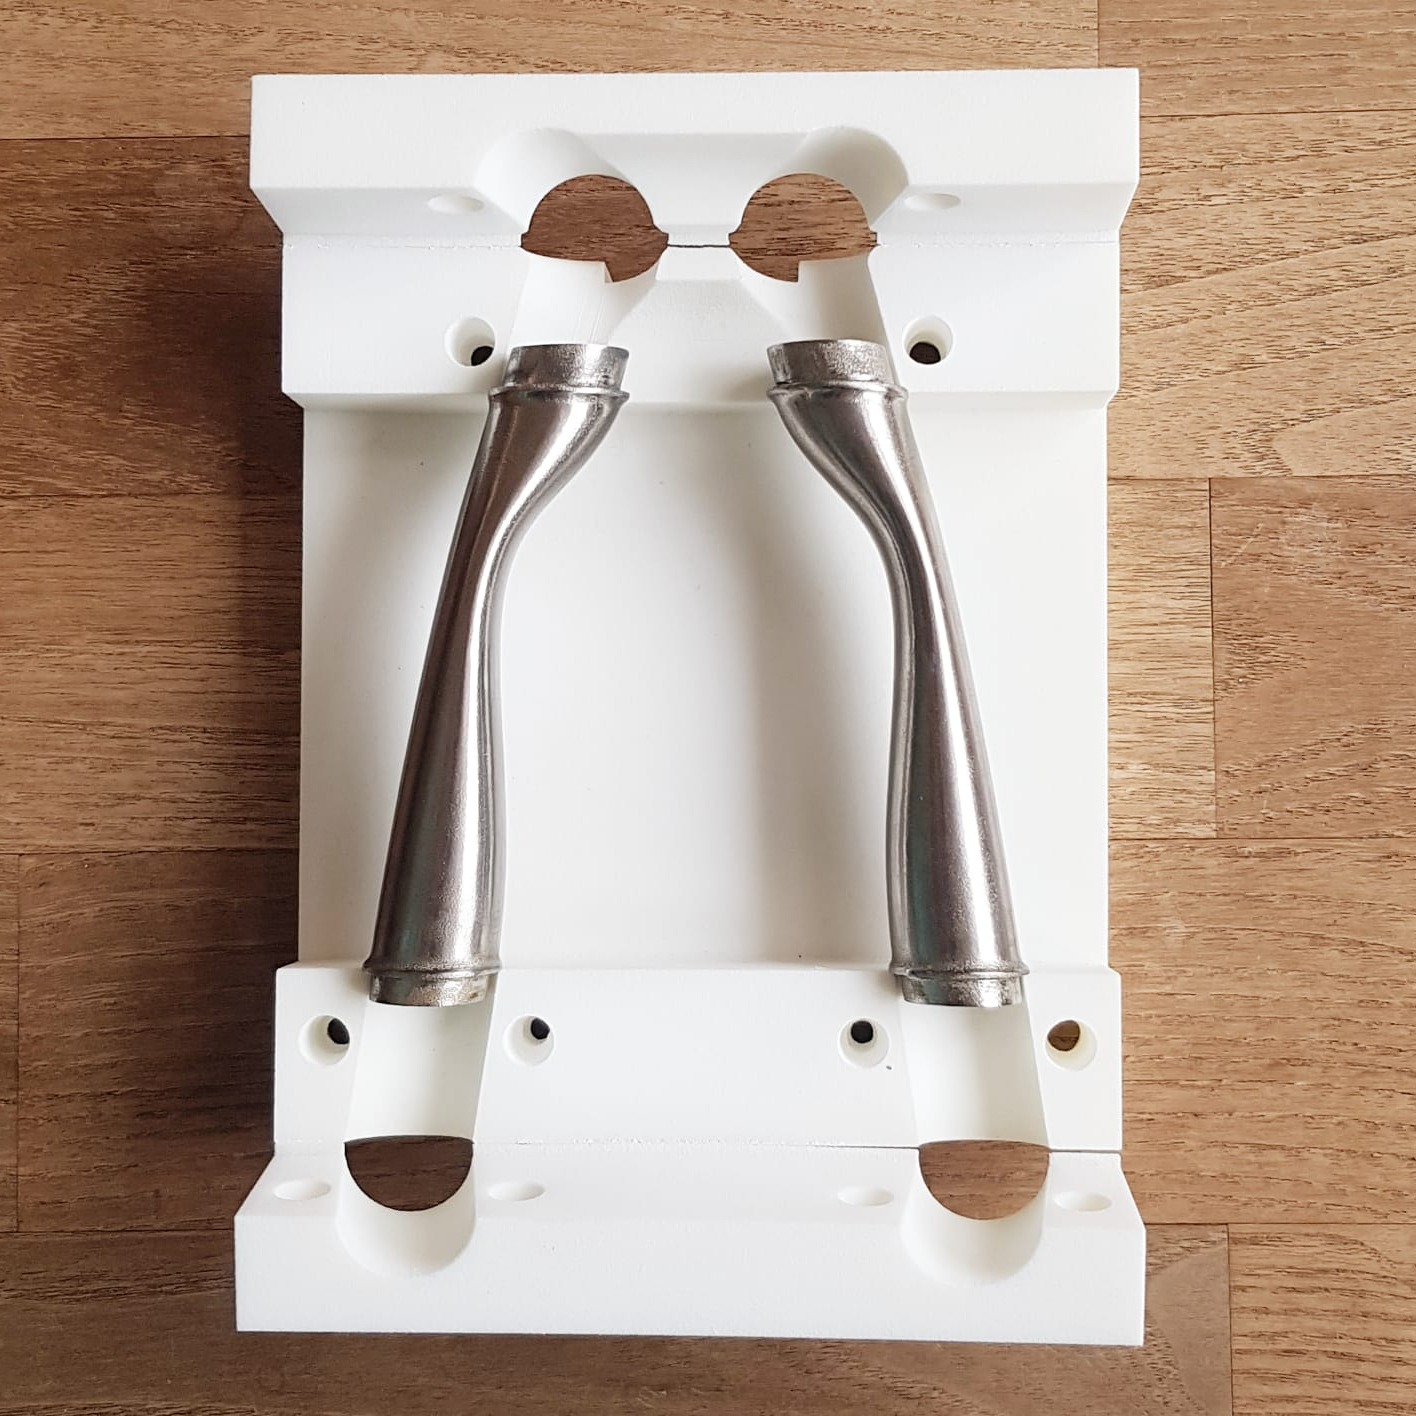
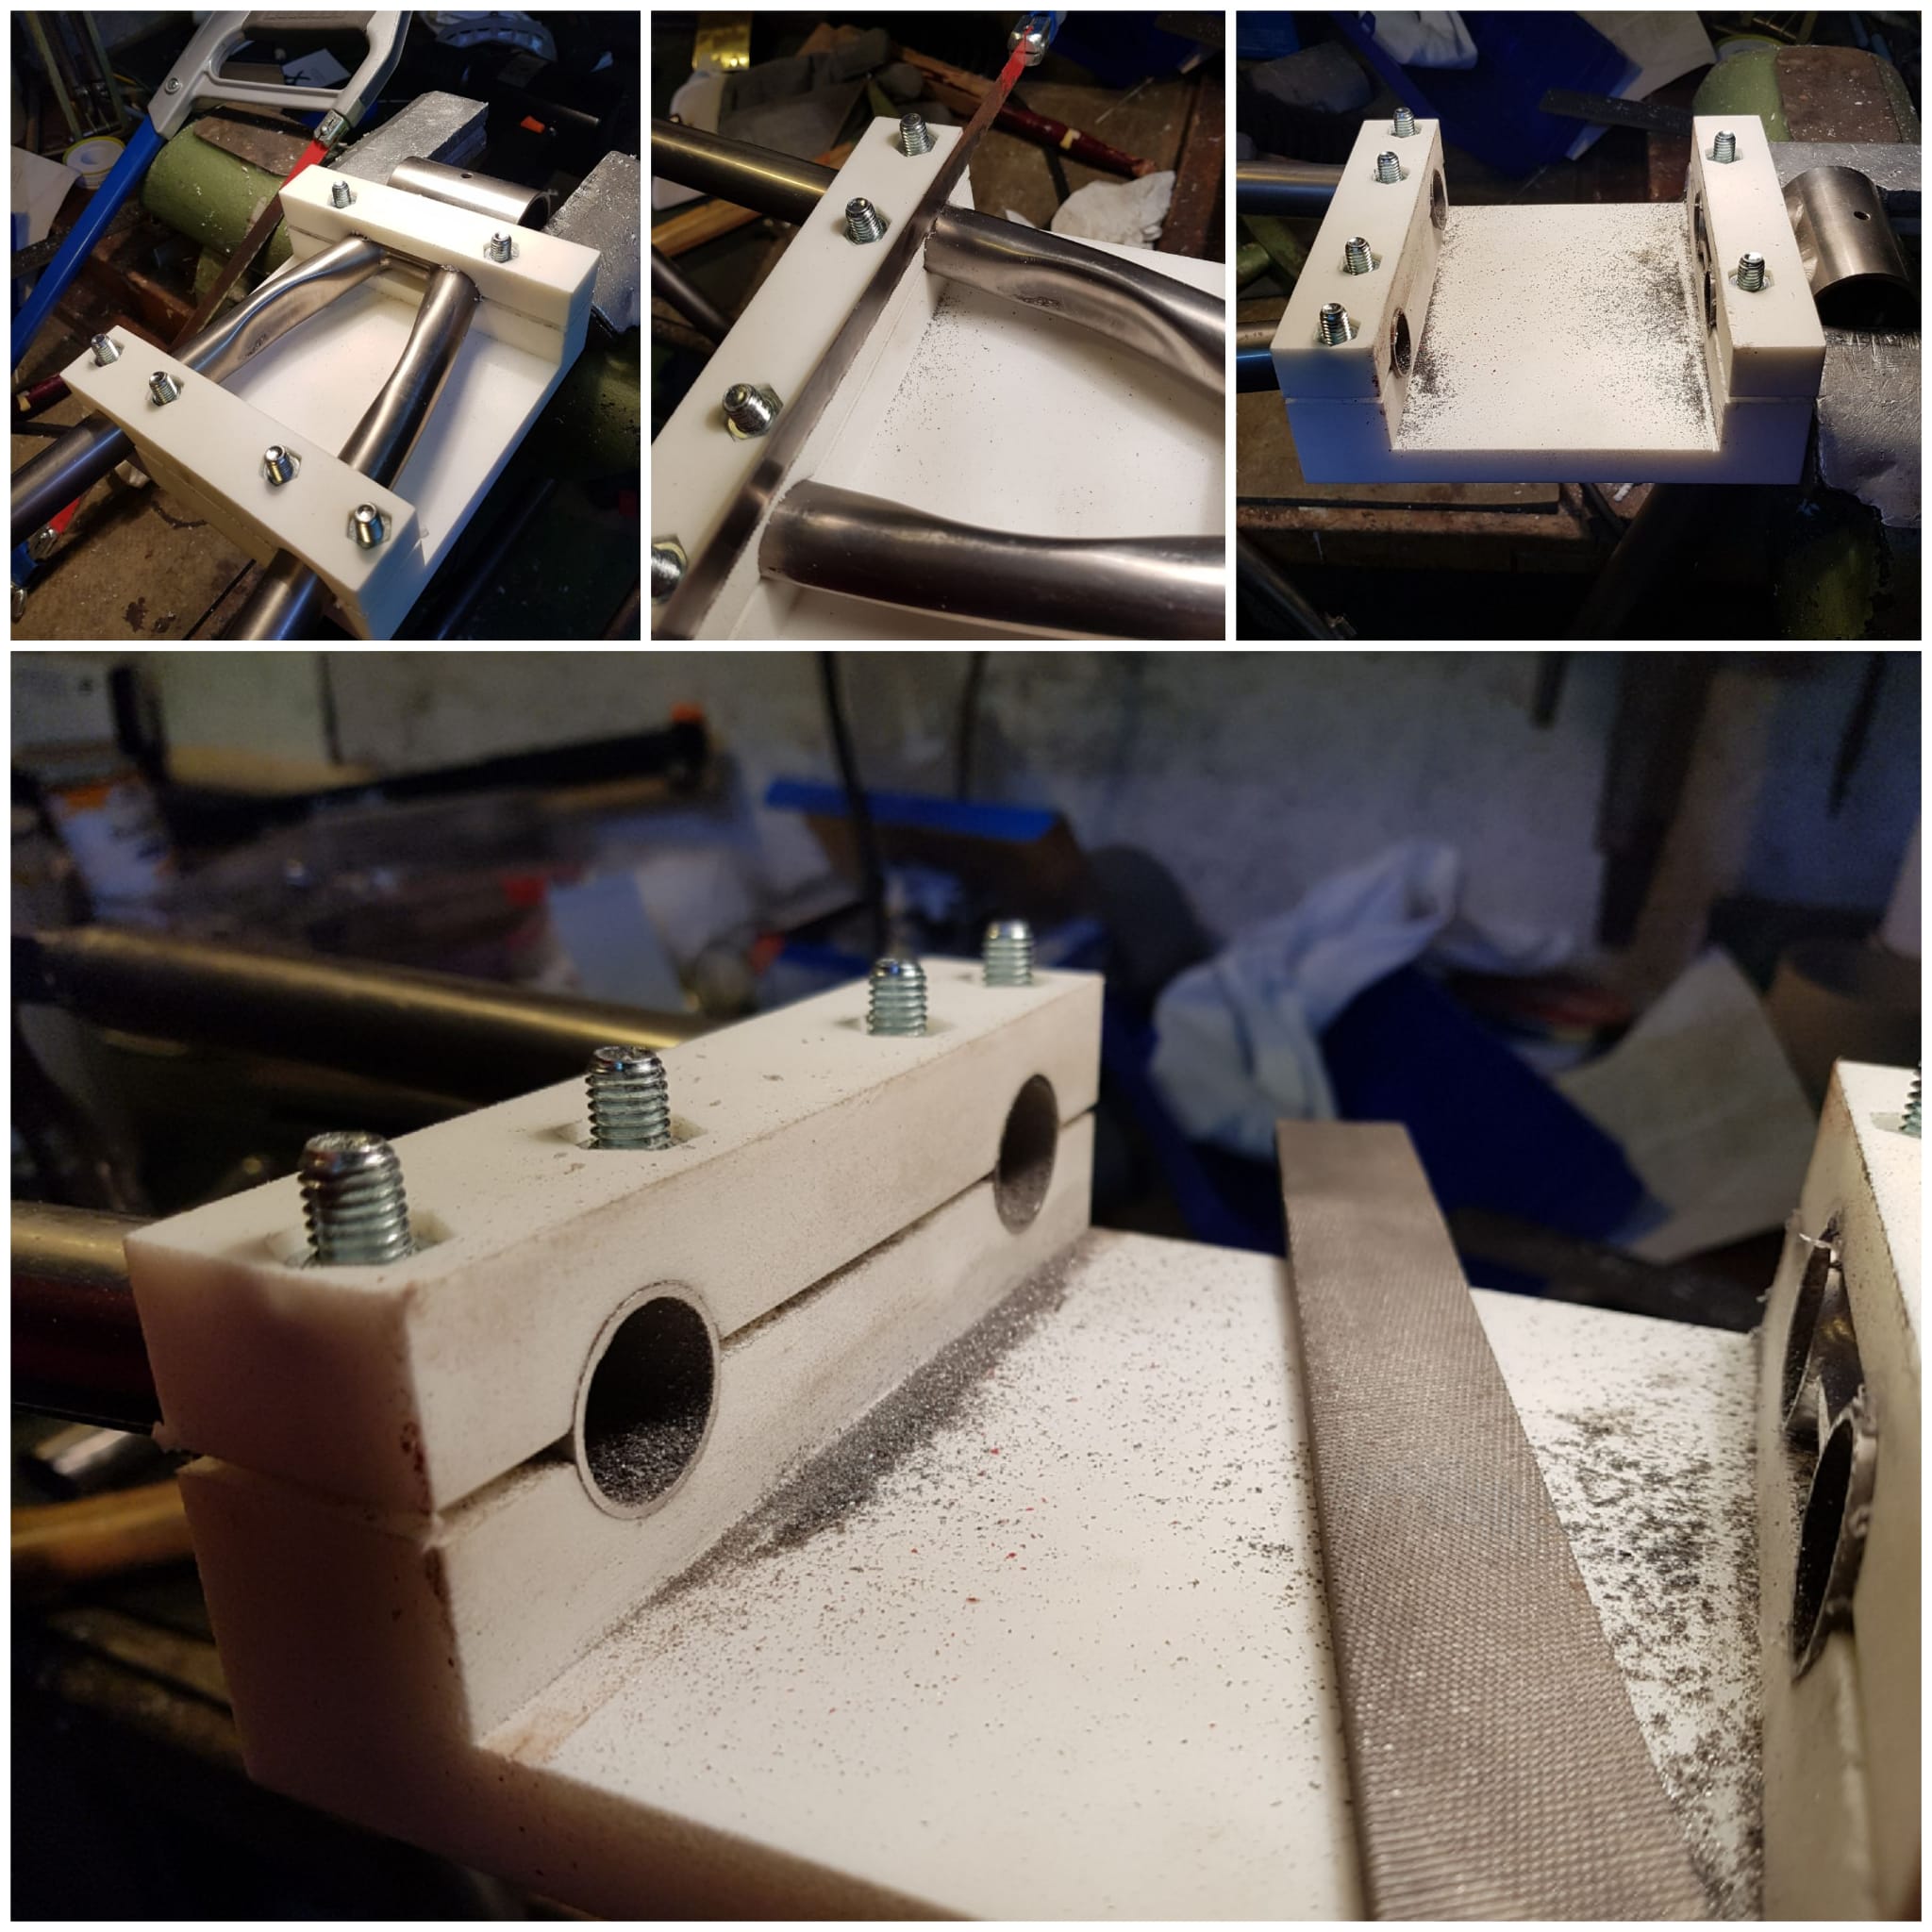
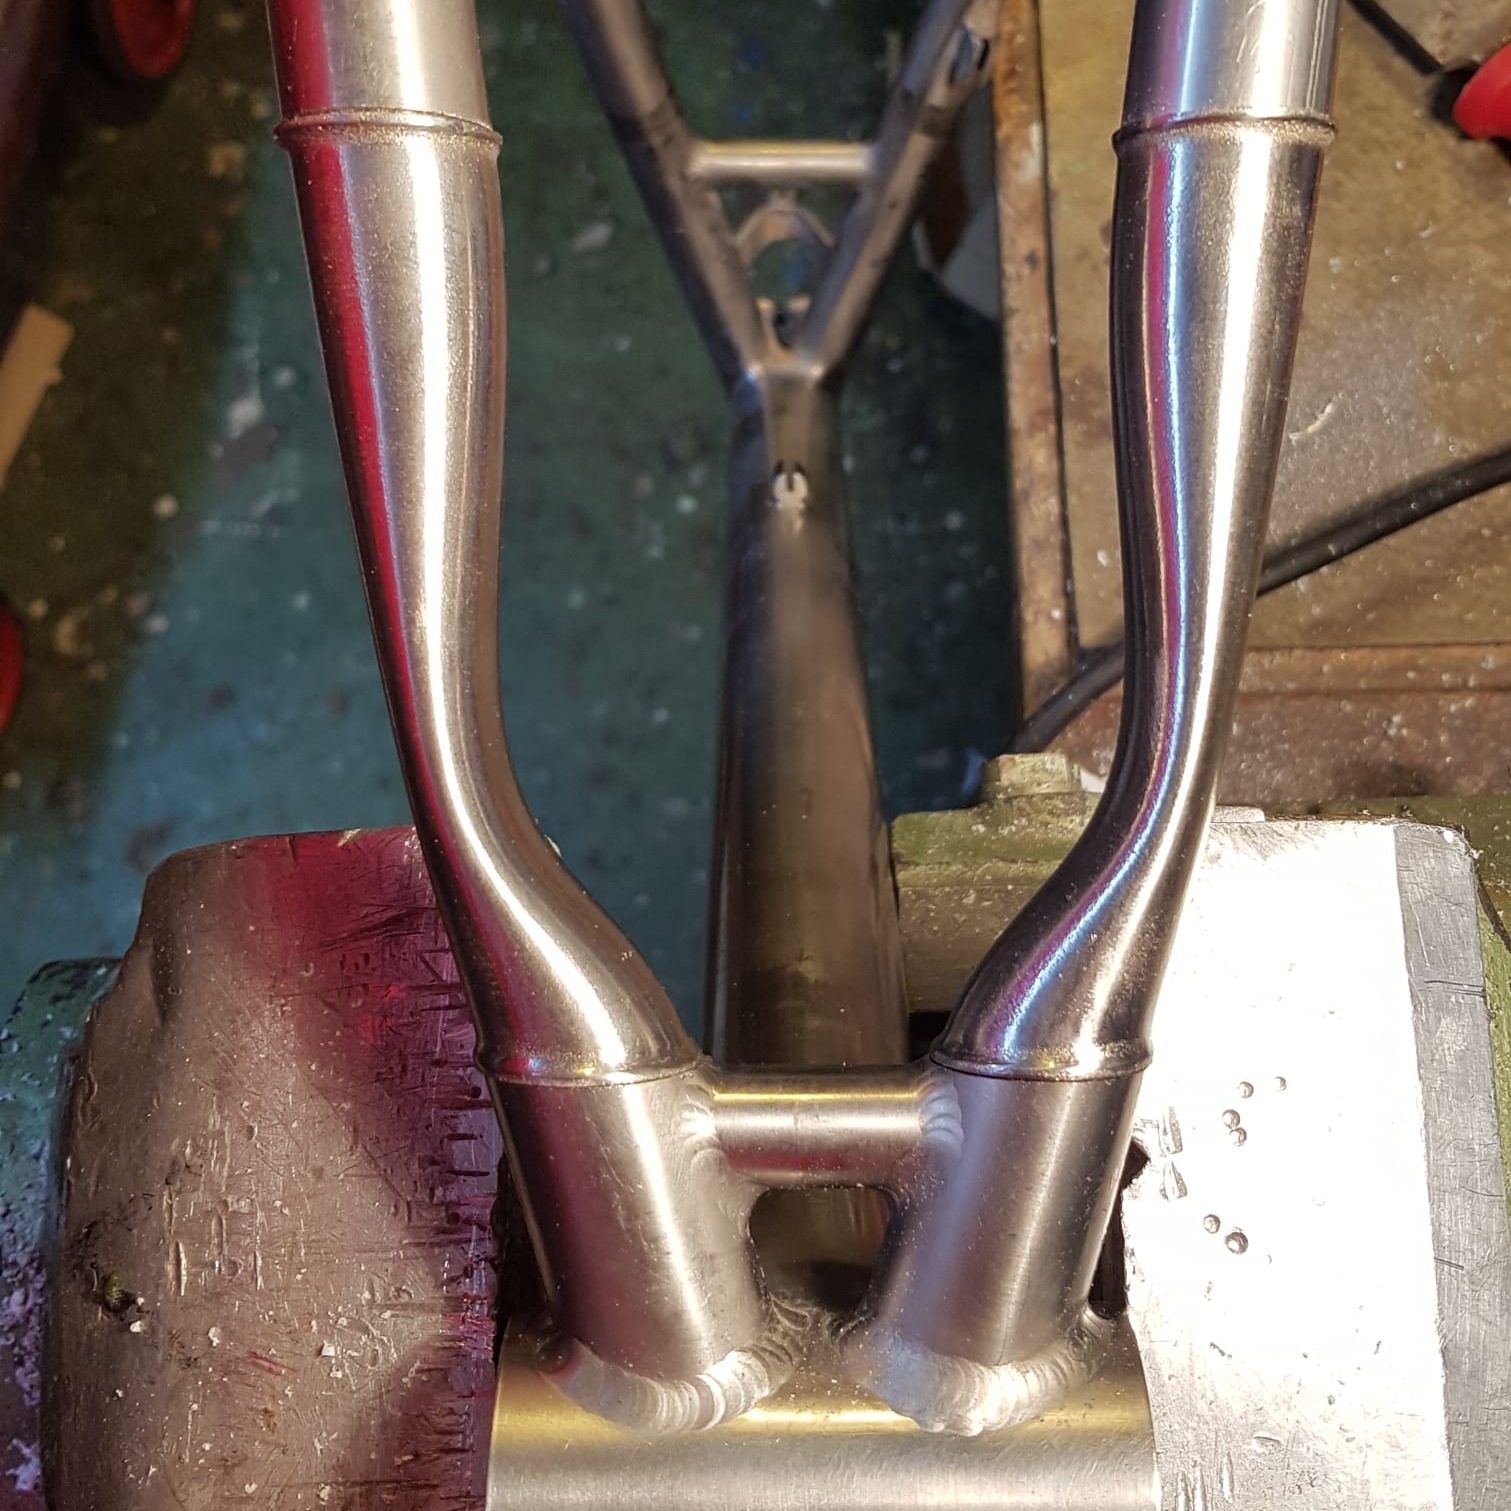
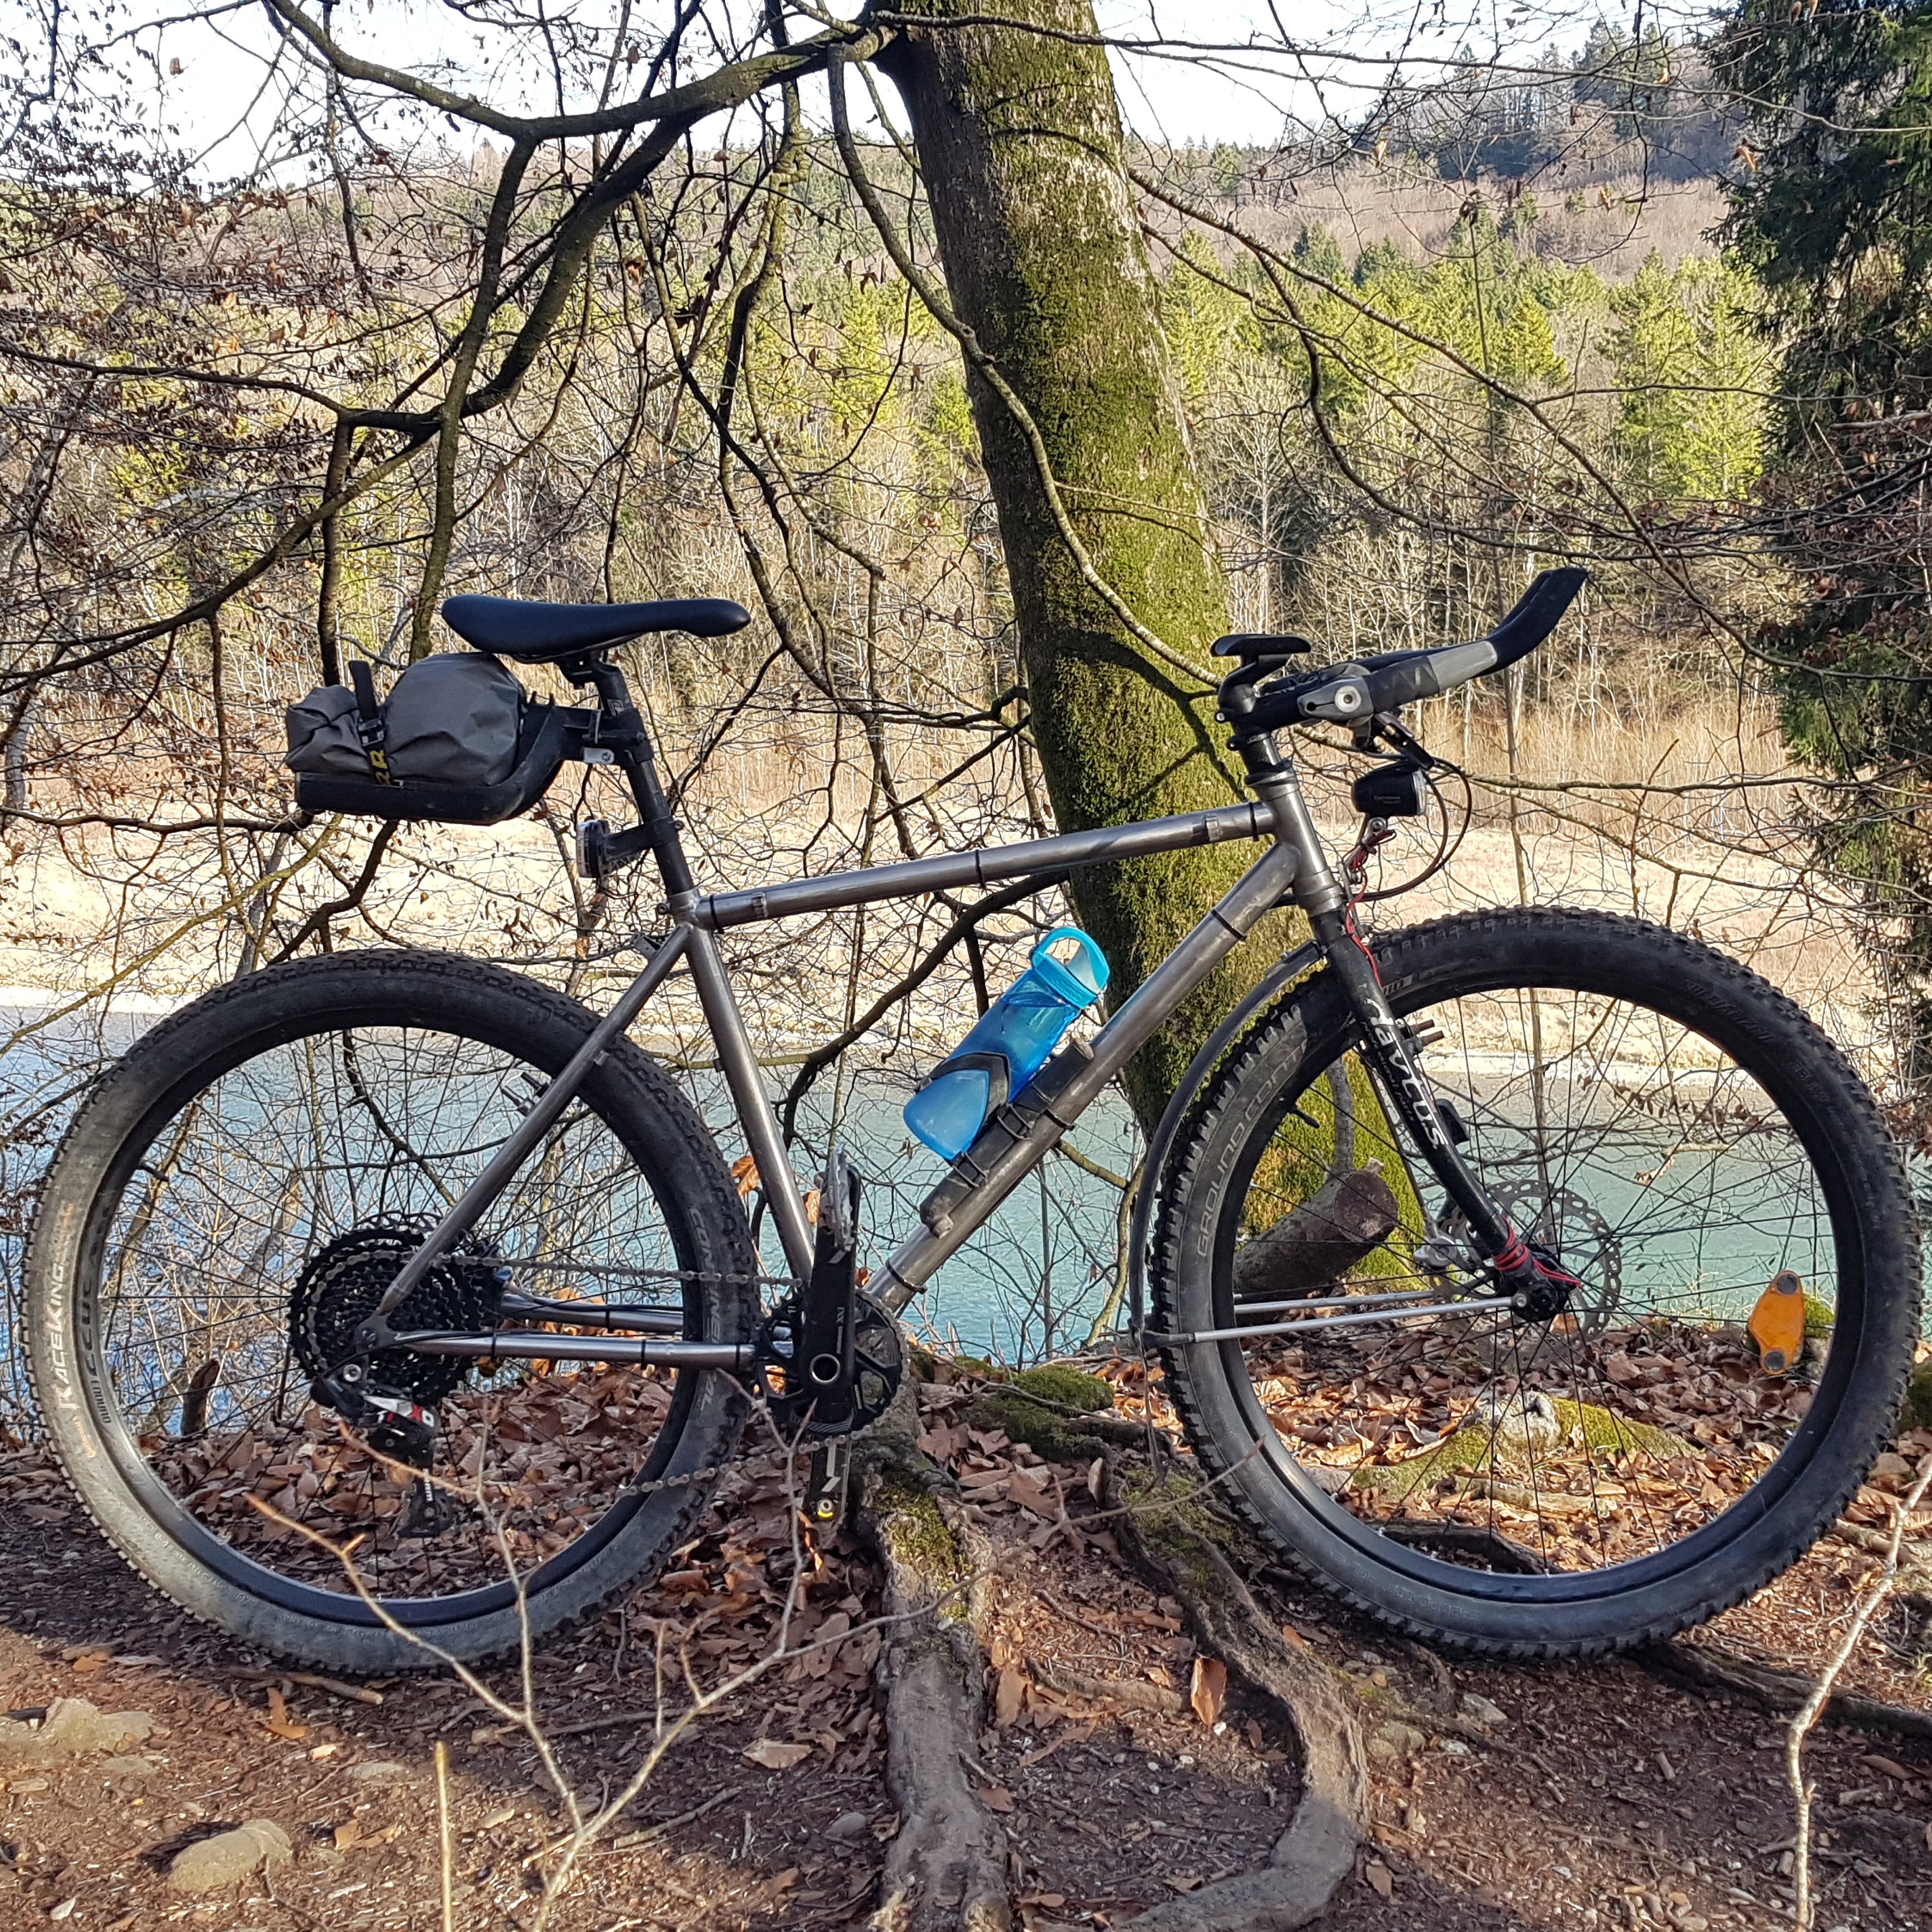
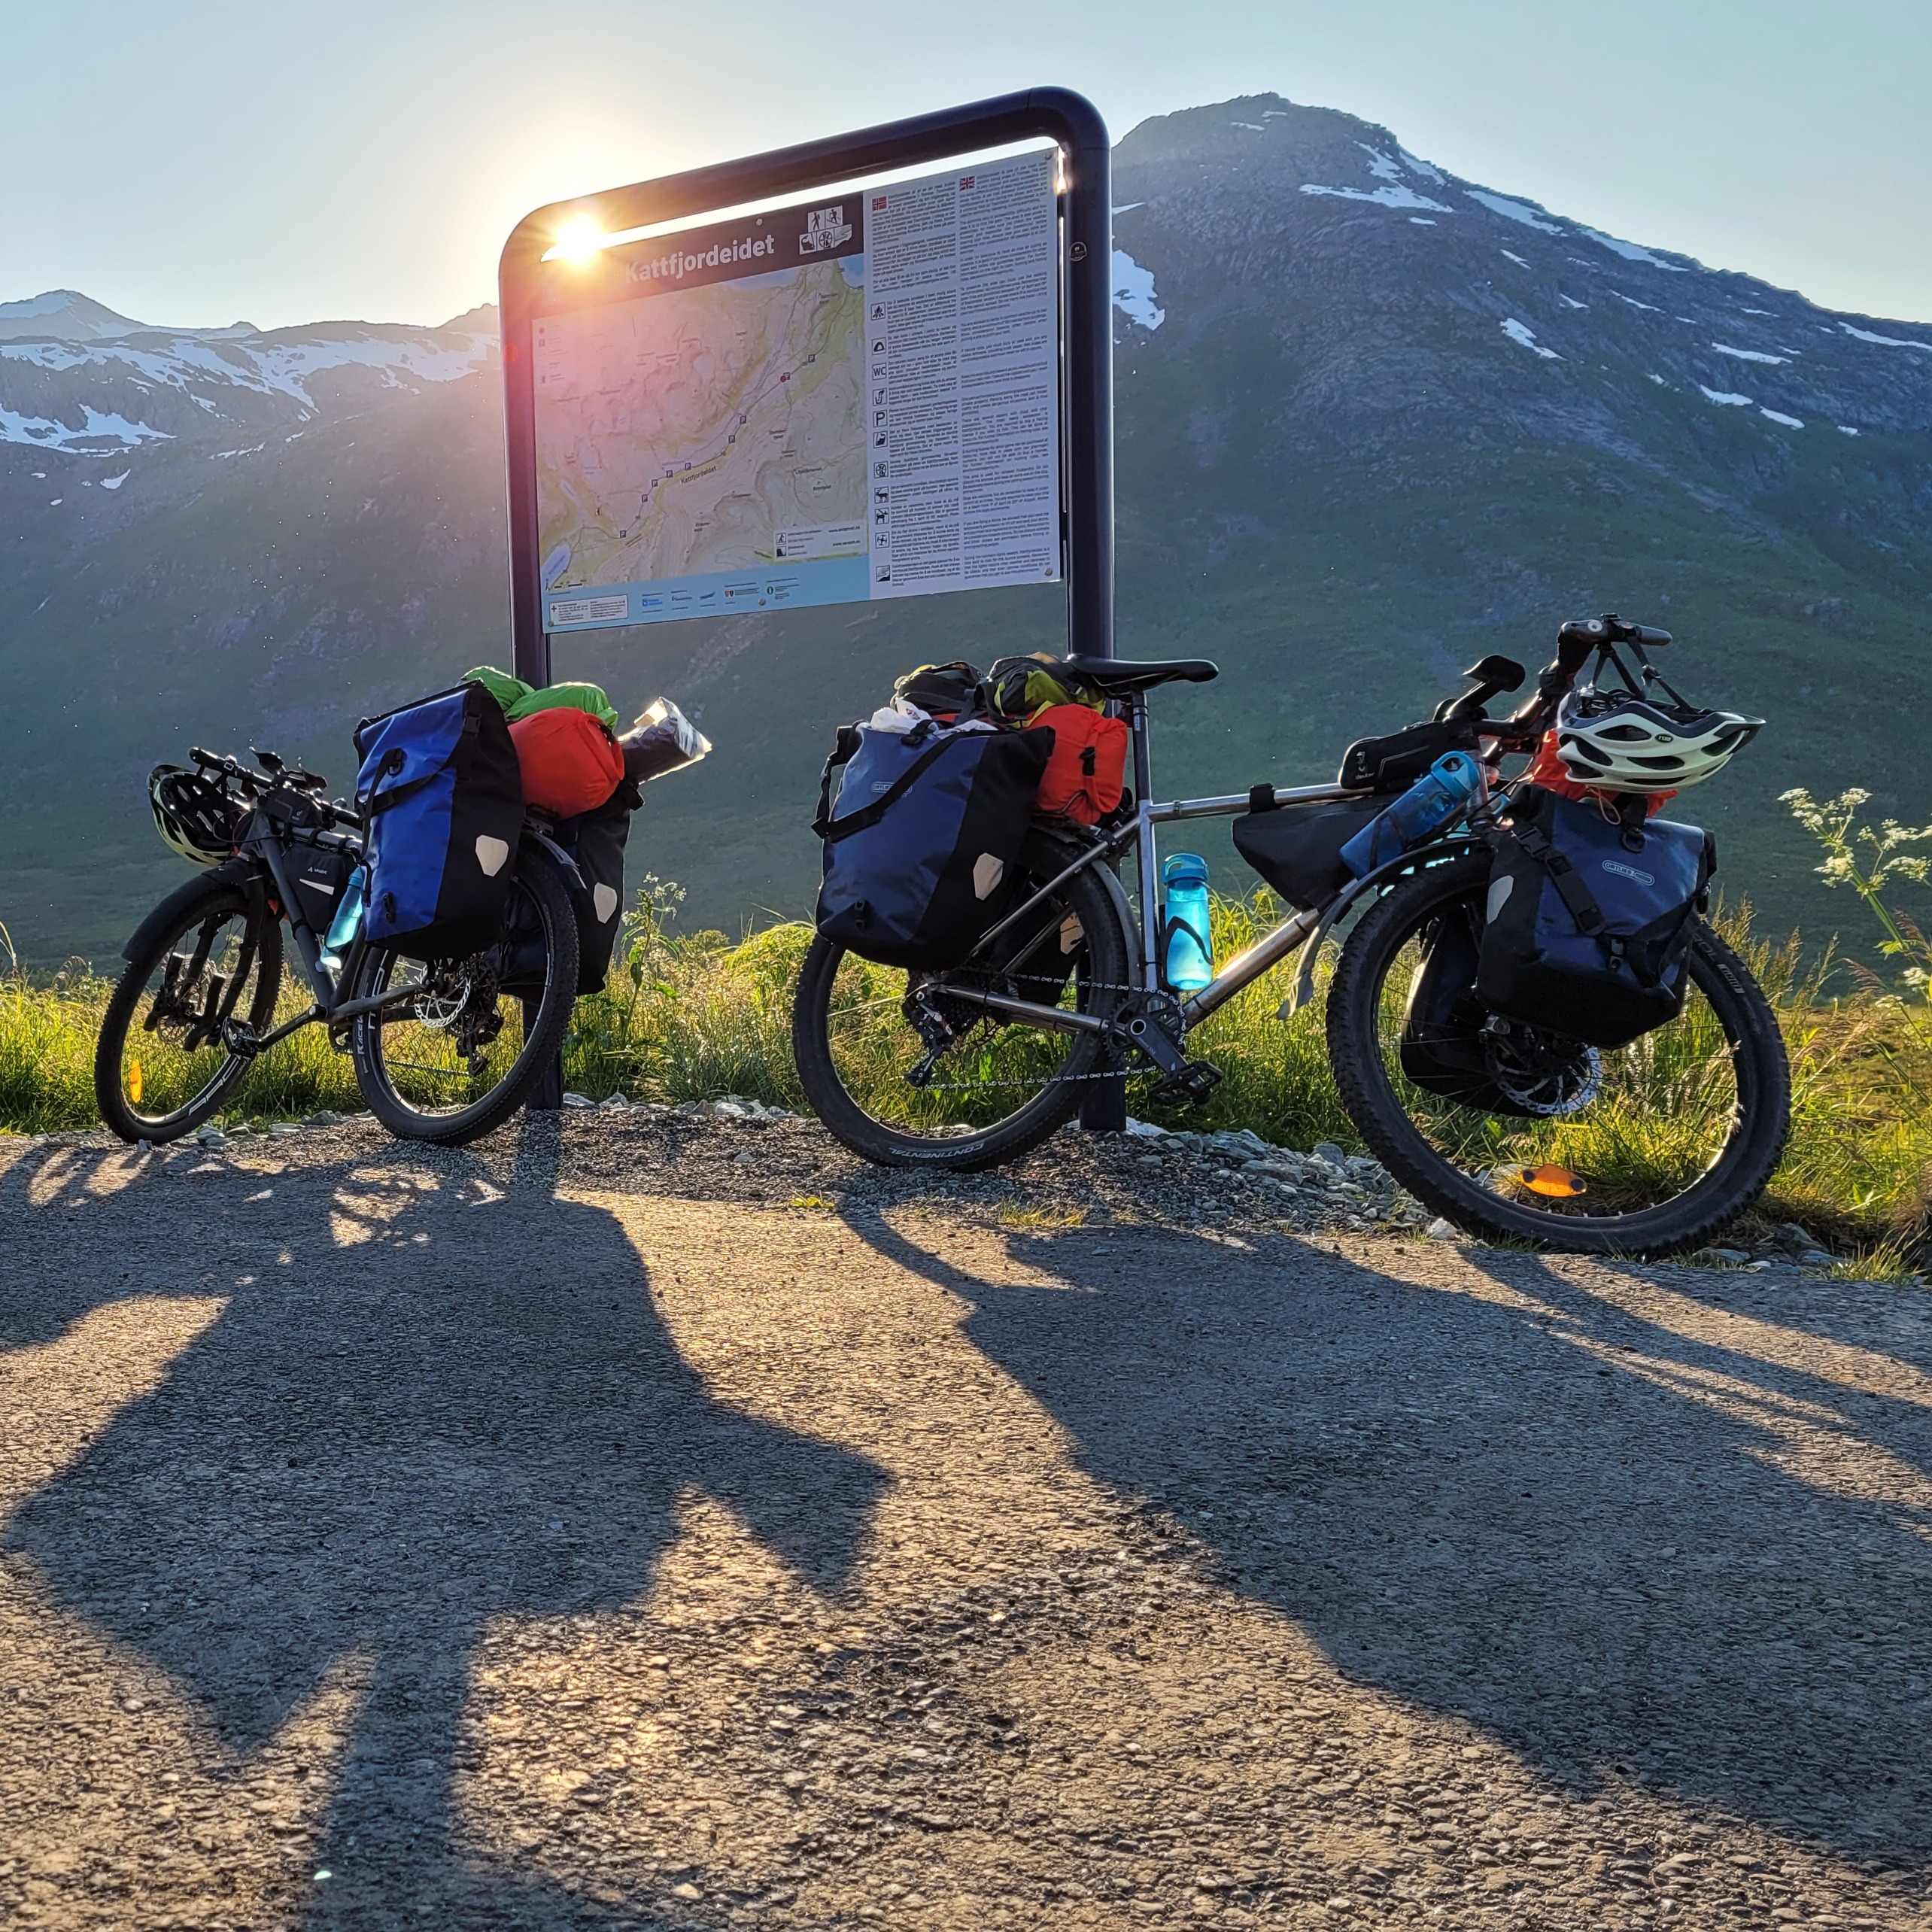
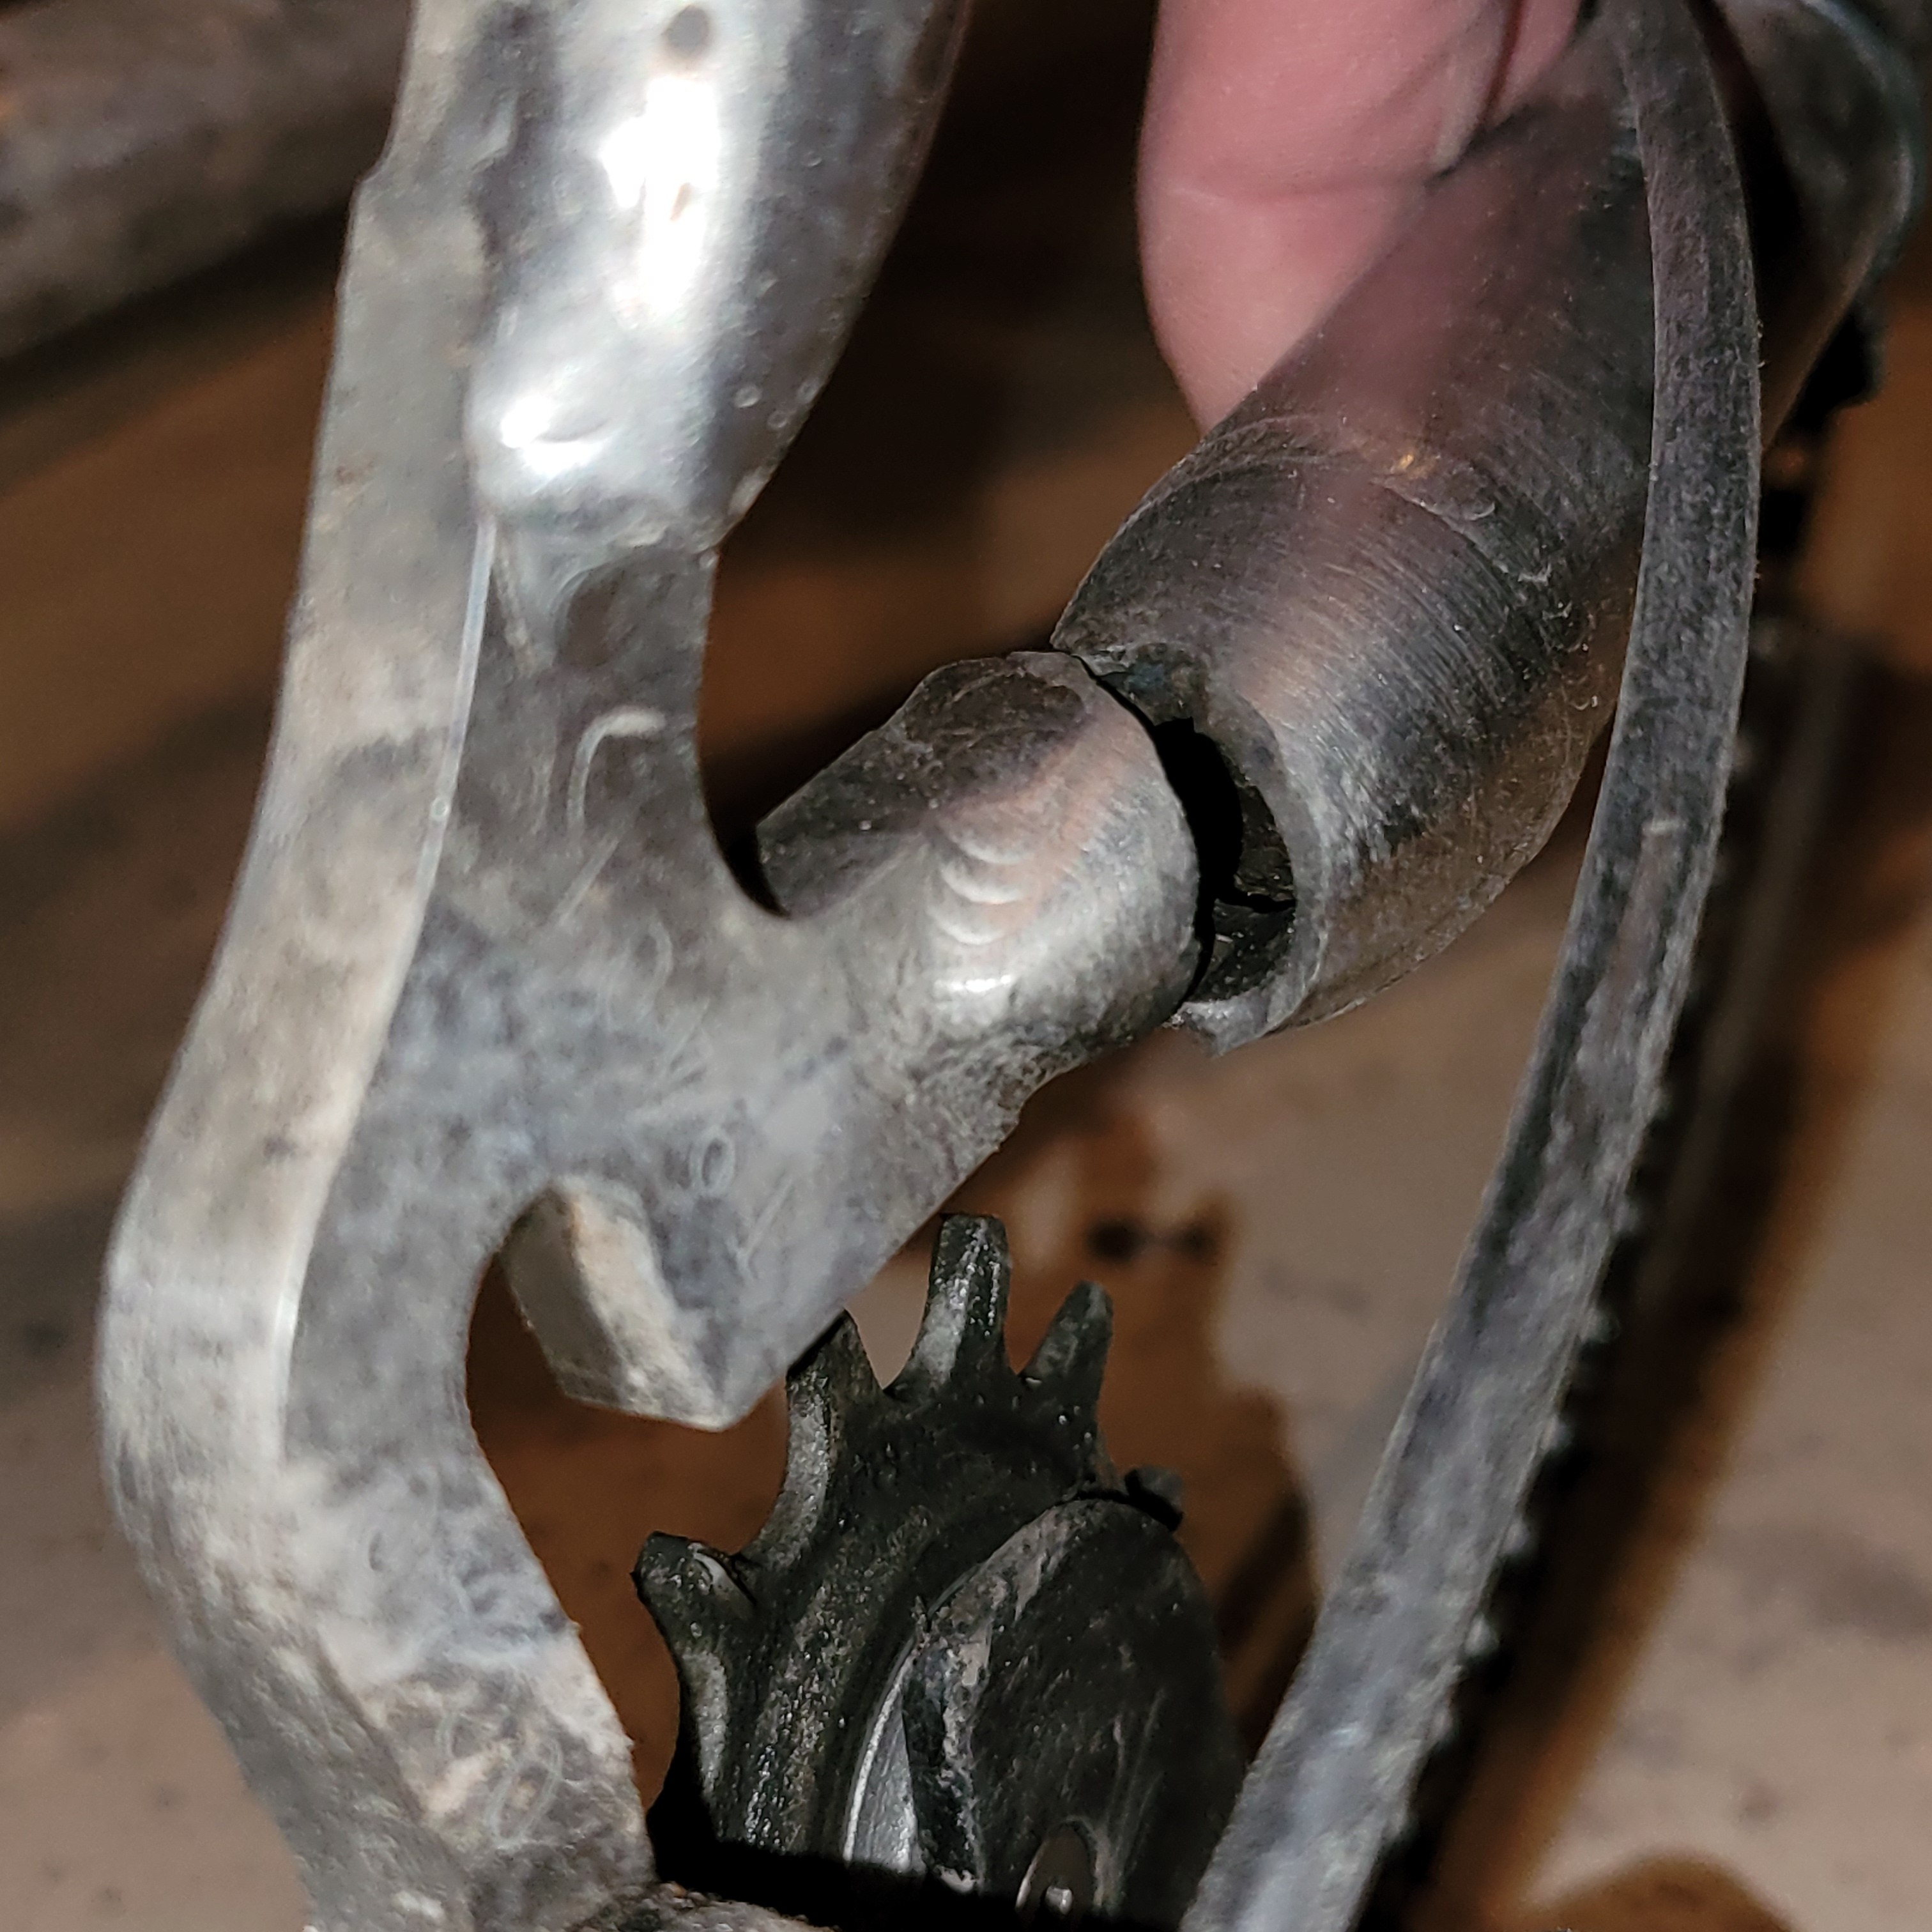
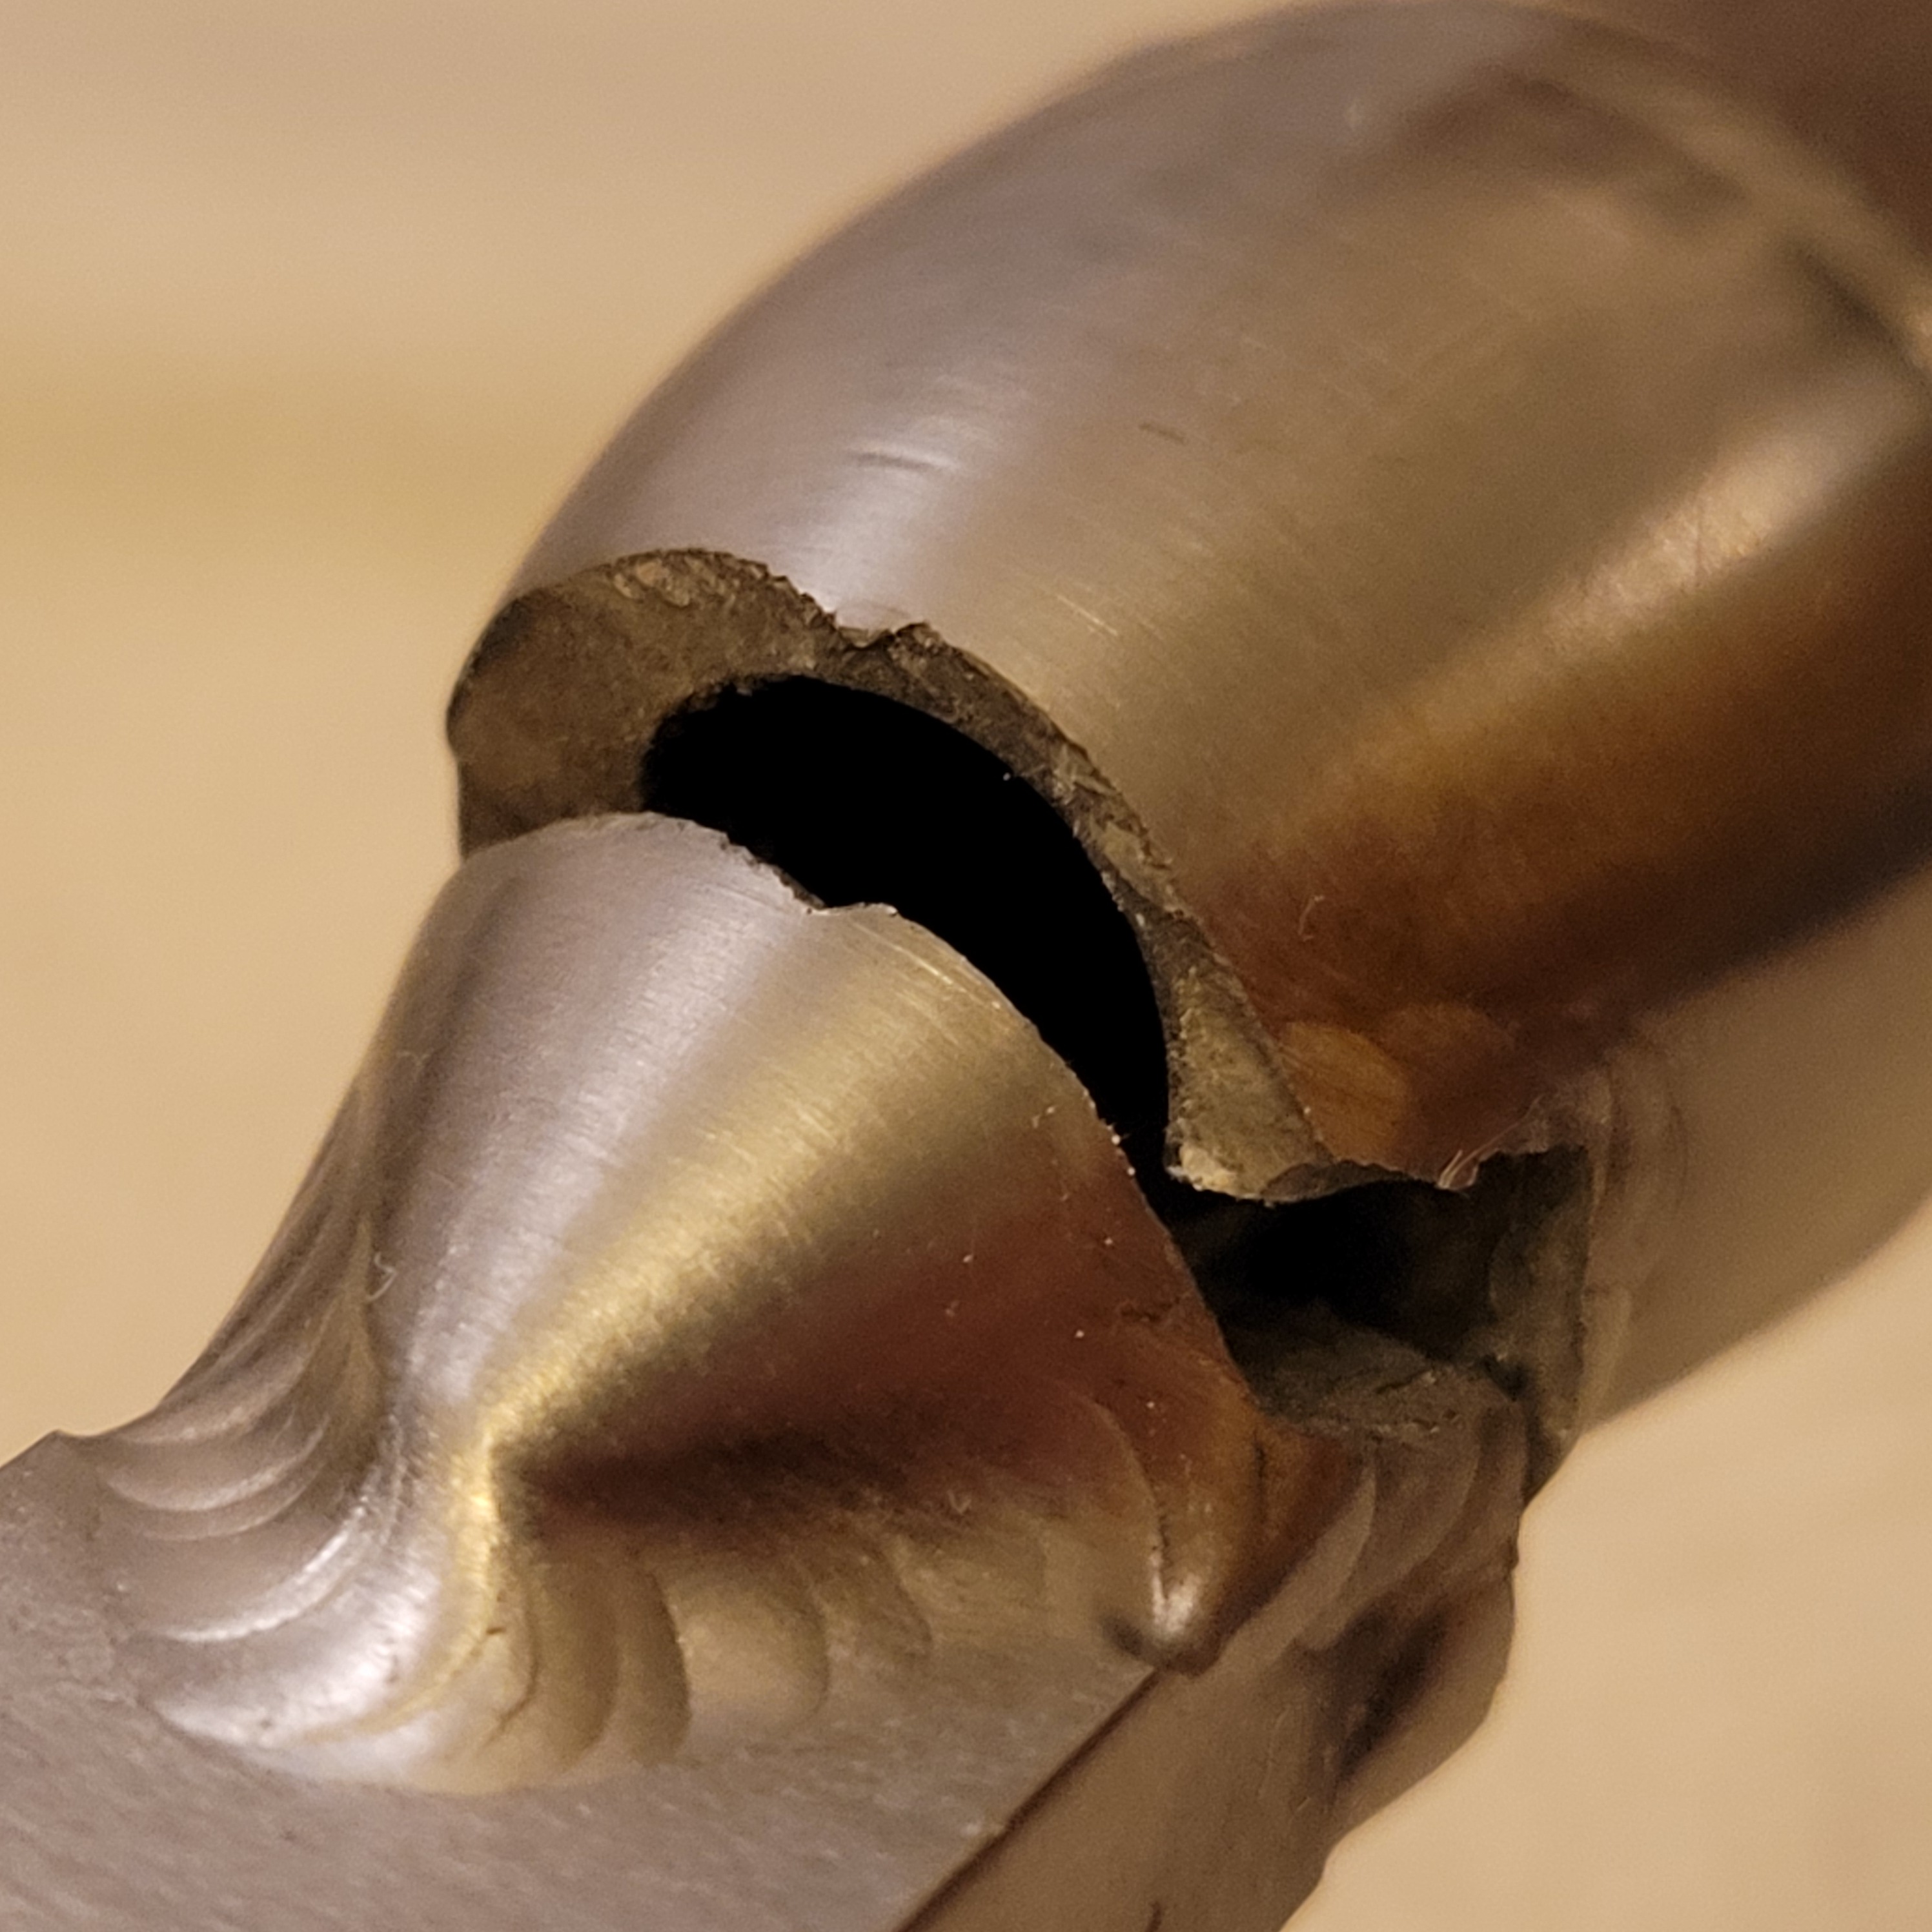
The resulting 27.5" build - Version 2 - was amazing. I rode it on a two month trip in Norway soon after, heavily loaded, and on lots of gravel riding south of Munich. The project seemed to be completed until one evening in December 2022. I noticed unusual snapping noise while on the commute home. The right chainstay had broken close to the dropout (no, not at the insert). The frame went back to Daniel for repair.
It was in the waiting time that the idea formed: how would this bike ride with longer reach and even slacker head angle? The 2.5deg change already had made it much more capable and fun to ride.
The plan was entirely unreasonable. We were thinking of changing country and our lives, and I knew that usually such projects take much more time and energy than thought - but anyhow, I found myself in the the CAD design soon after. Things should be easier, as I had the design from the first conversion already, right? And it was only the new headtube to design, print, postprocess, machine... and the sawing jig, sure. Things were slightly complicated by the fact that the frame was already in Berlin, so I had to rely on photos and some measurements by Daniel for the actual geometry.
My idea for Version 3 was inspired to a large part by the successful conversion of my mountain bike frame to 27.5" and modern geometry. Not only the project went very well, it was a complete transformation of my riding experience. So how would it feel this time?
And - there is something special about riding the bike that you have designed and built. Bicycles seem to inspire a lot of creativity, and the result is so close to you physically and to your passion. To me, this is a deeply satisfying experience.
Worth noting here, at the same time I was working on my titanium rigid forks. They were meant to be light, aesthetically pleasing and fitting to this bike and my lightweight 'road bike', which is also a legacy titanium 26" mountain bike now with 27.5" wheels.
Early in the CAD sketches I figured that I could actually fit a 29" front wheel. I only had to lengthen one of the forks by 10mm and the design would accommodate a 29x2.4 tire. Wow - that would be even more unique. Who has a titanium full rigid mullet? The big front wheel should increase rollover capacity, riding comfort on rough roads and gravel, and also increase offroad capability.
I went for it, and included the fallback option to put in a 20mm lower headset cup in case I would wish for a 27.5" front wheel.
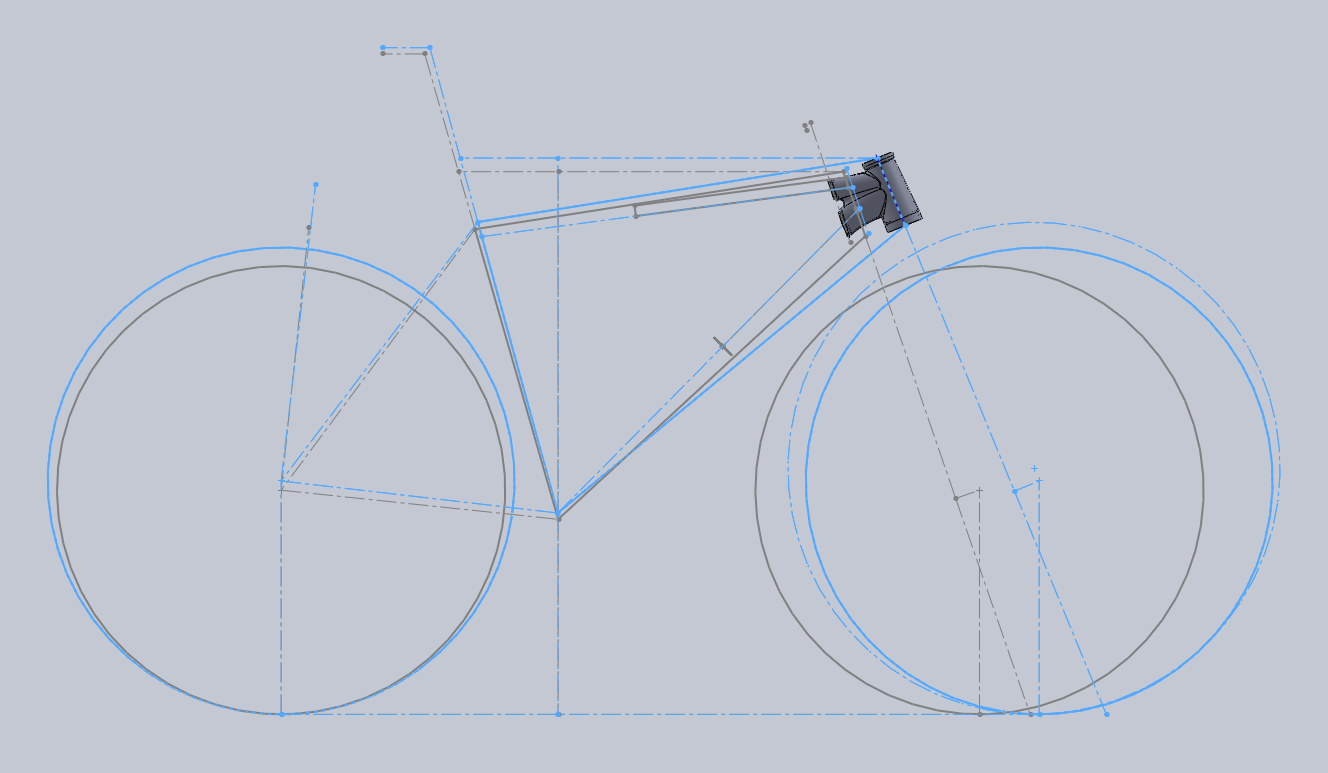
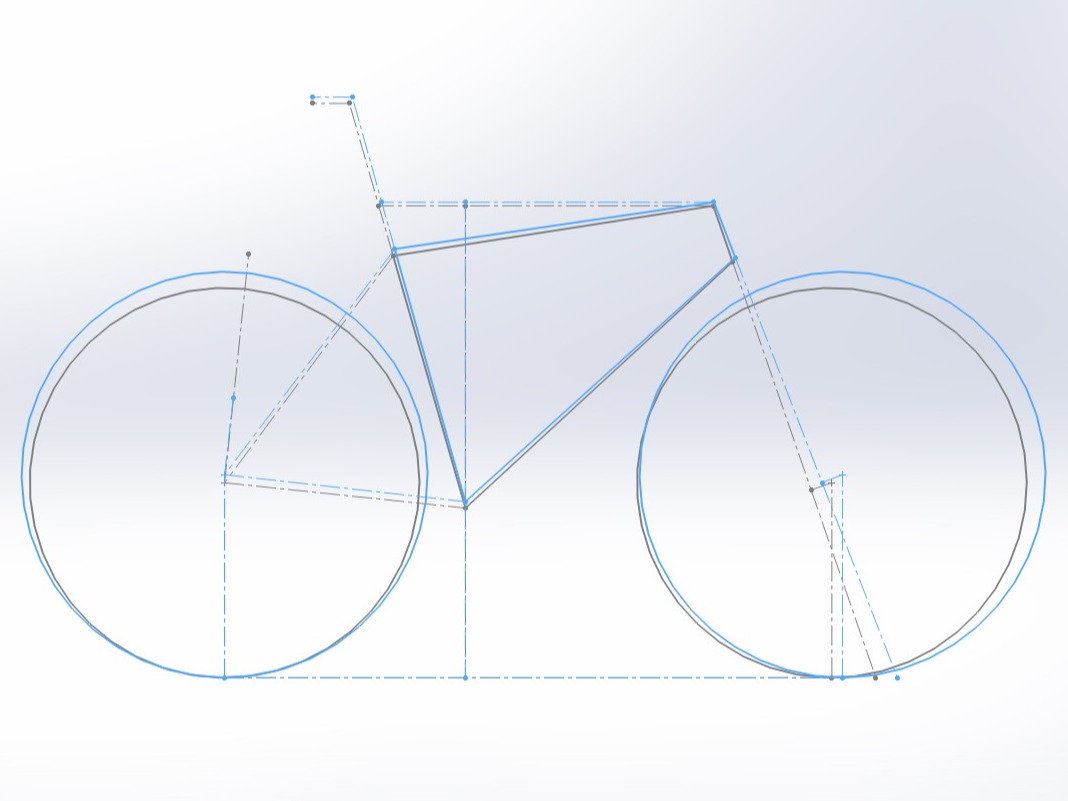
At first, a quick look at the geometry of the three versions. This is the step from 26" (Version 1) to 27.5" (Version 2).
For context, I am about 182cm tall.
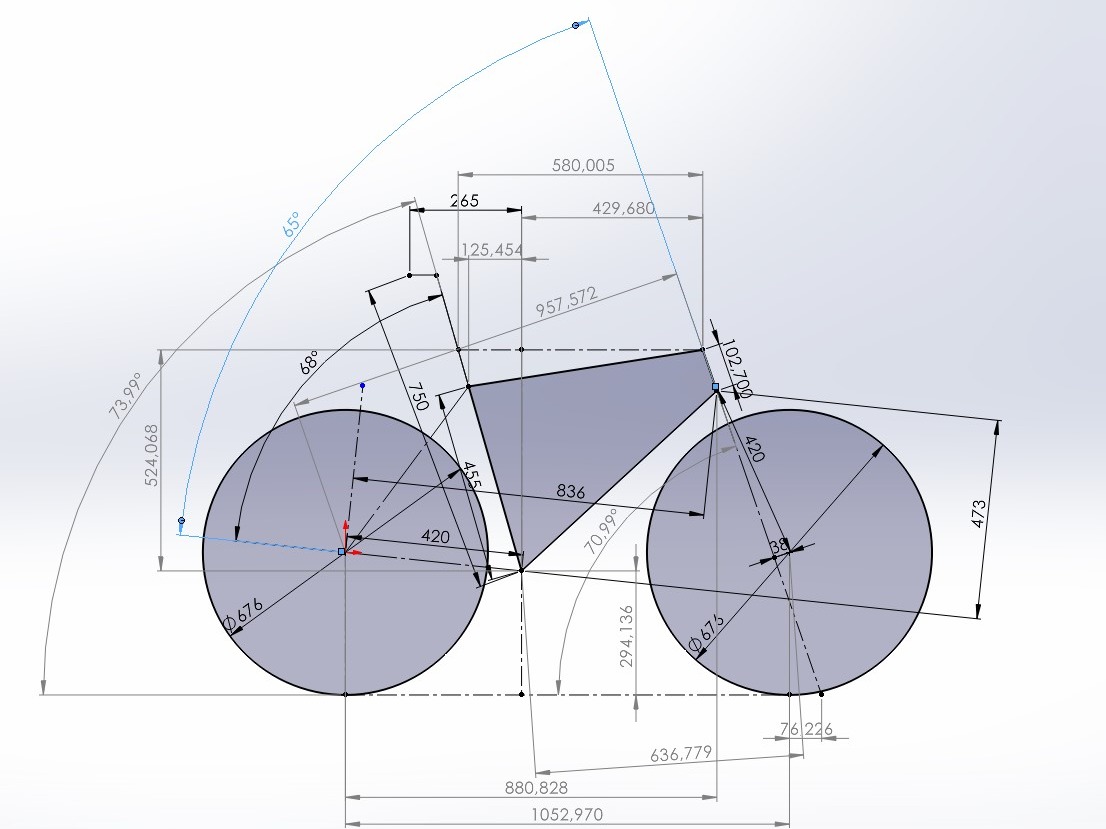
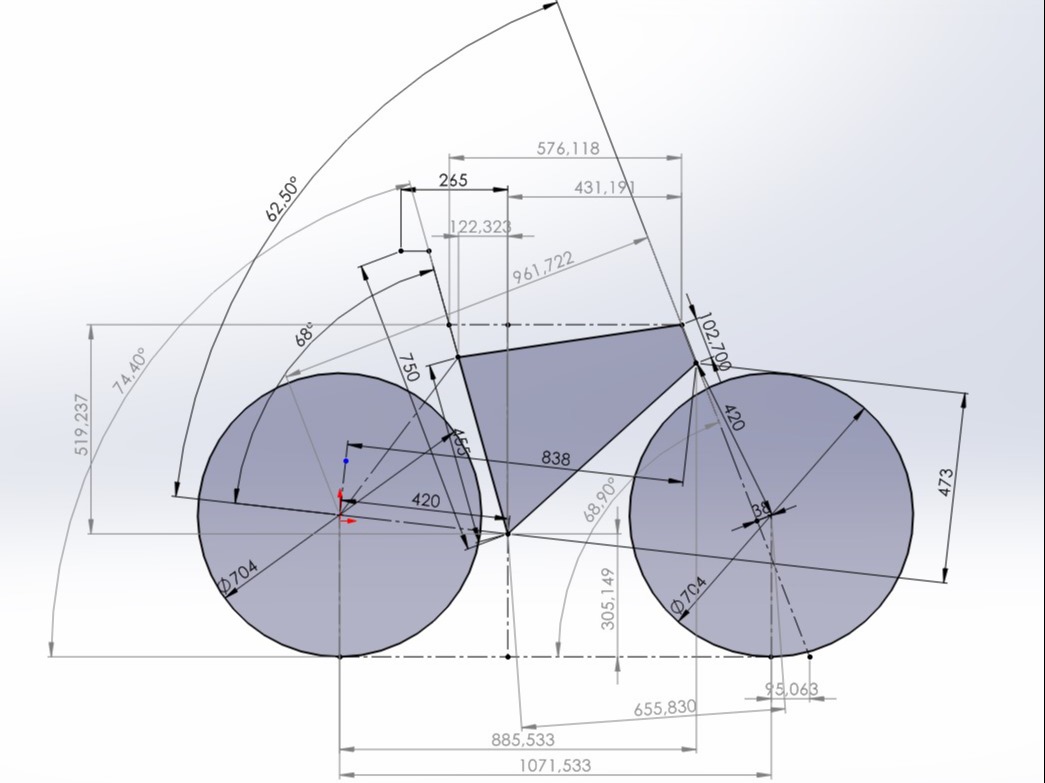
Version 1 is a classic from the 90s. 71deg at the front, 74deg at the seat tube - slightly steeper than the ancient go-to number of 73deg. A wheelbase of 1052mm, super short by today's mountain bike standards, short 420mm chainstays and a rather low bottom bracket height of 294mm.
In the comparison, the differences to Version 2 seem minor. The frame is rotated forward by 0.4deg, thus the reach is a little longer. With the slackened head angle, front center length and trail have increased slightly. The bottom bracket sits a bit higher due to the larger wheels, otherwise the body position remains almost unchanged.
Yet the ride feel had improved a lot - much more planted, stable at speed, more comfortable, and just rad.
No wonder I felt compelled to take things further. My plan was to maintain the proven seating position while making the front of the bike significantly longer, both in frame reach and in front center length.
This meant to define the desired head tube angle and the new frame reach. The current figures were 68.9deg and 431mm.
I did not want to go too slack with the HTA. I lowered the angle by 1.5deg compared to version 2 - which meant a change of 4deg to the original frame (version 1). This frame-internal change resulted in 67.6deg with the 29" front wheel and the 415mm fork.
On the other hand, length seemed to be the recipe for stability and comfort. Result: a solid 481mm frame reach, 50mm longer than before. The handlebar should stay in place by replacing the 80mm stem with a 35mm version.
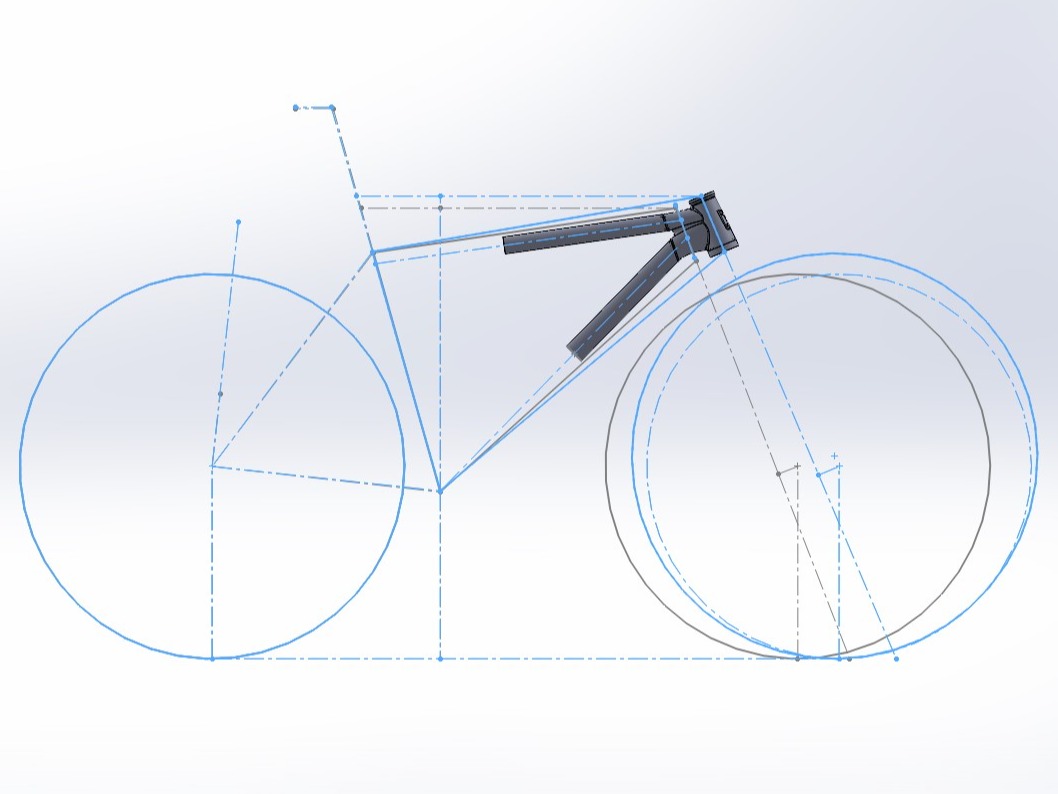
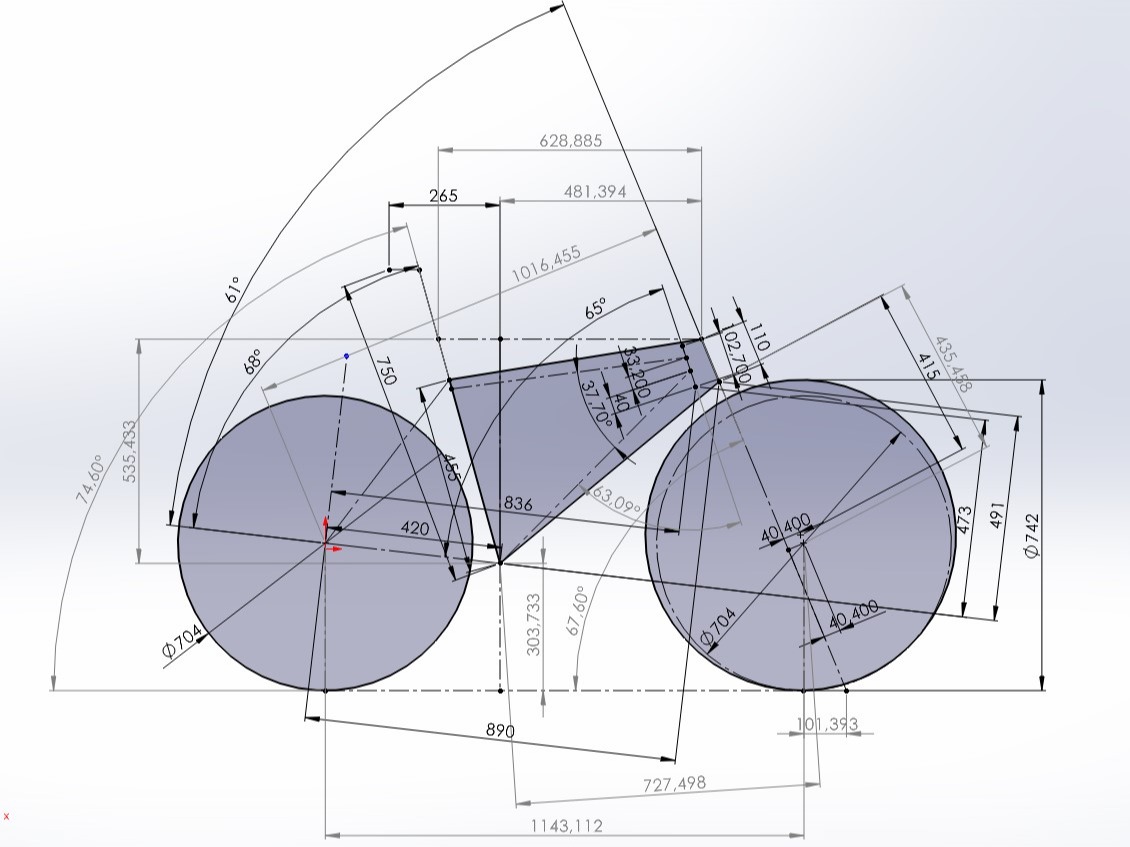
Modelling the relevant parts of the frame in 3D required precise knowledge of tube diameters and angles. The exact positioning of top tube and down tube at the original steerer tube was crucial for the fit of the new steerer tube - and the frame was already in Daniel's workshop in Berlin. He helped me with some measurements, and I used a photo as well.
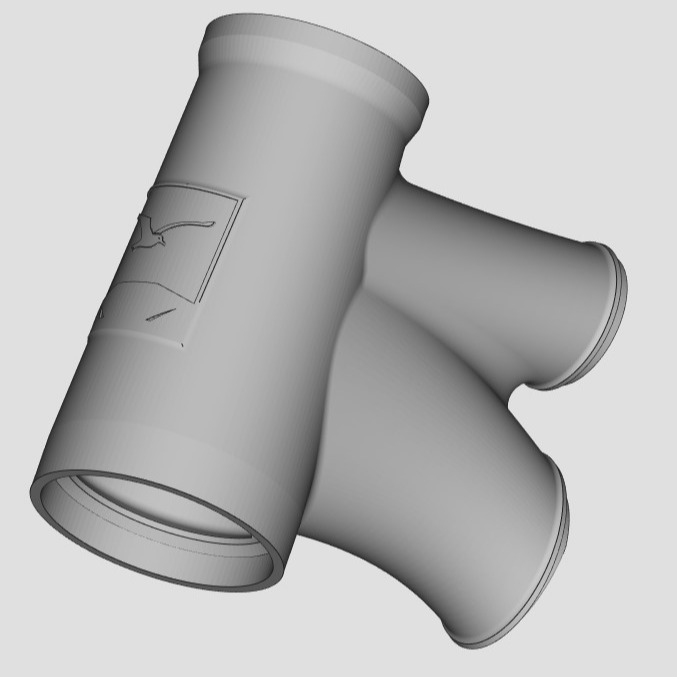
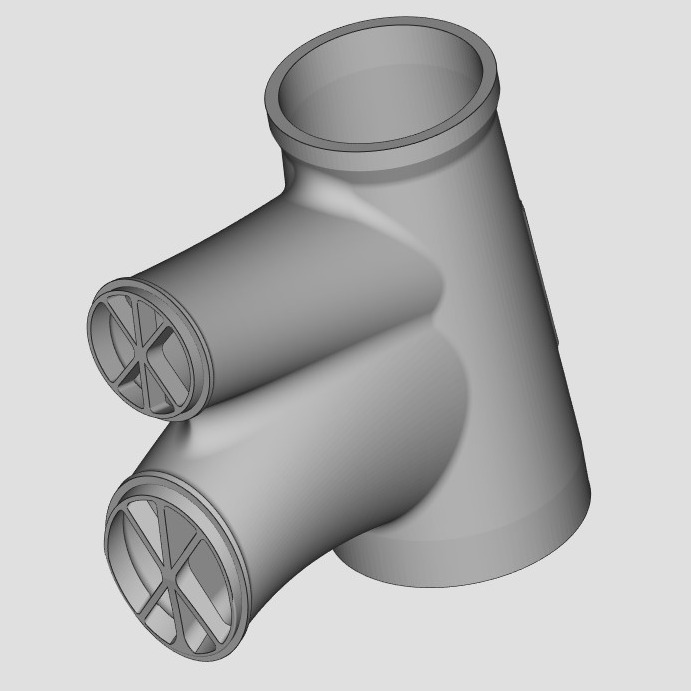
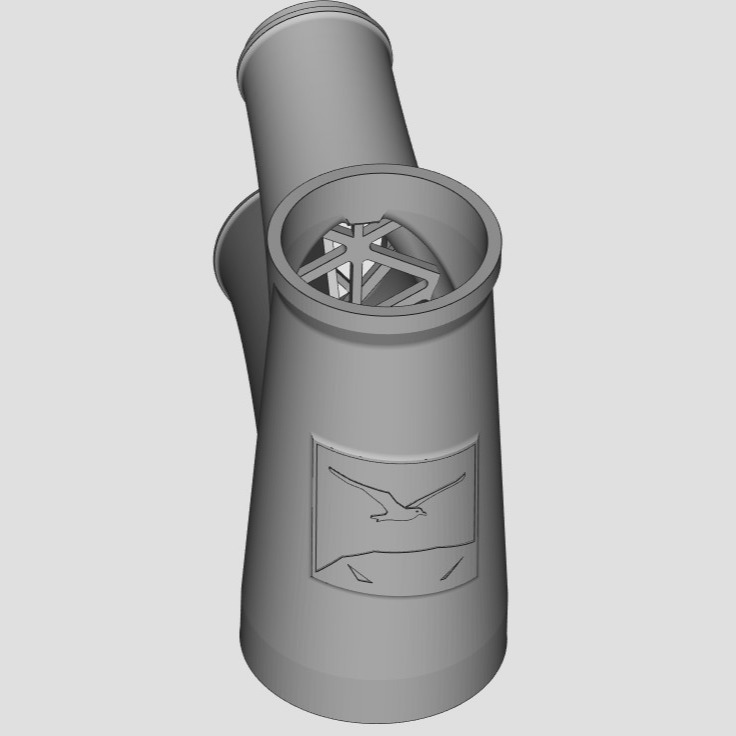
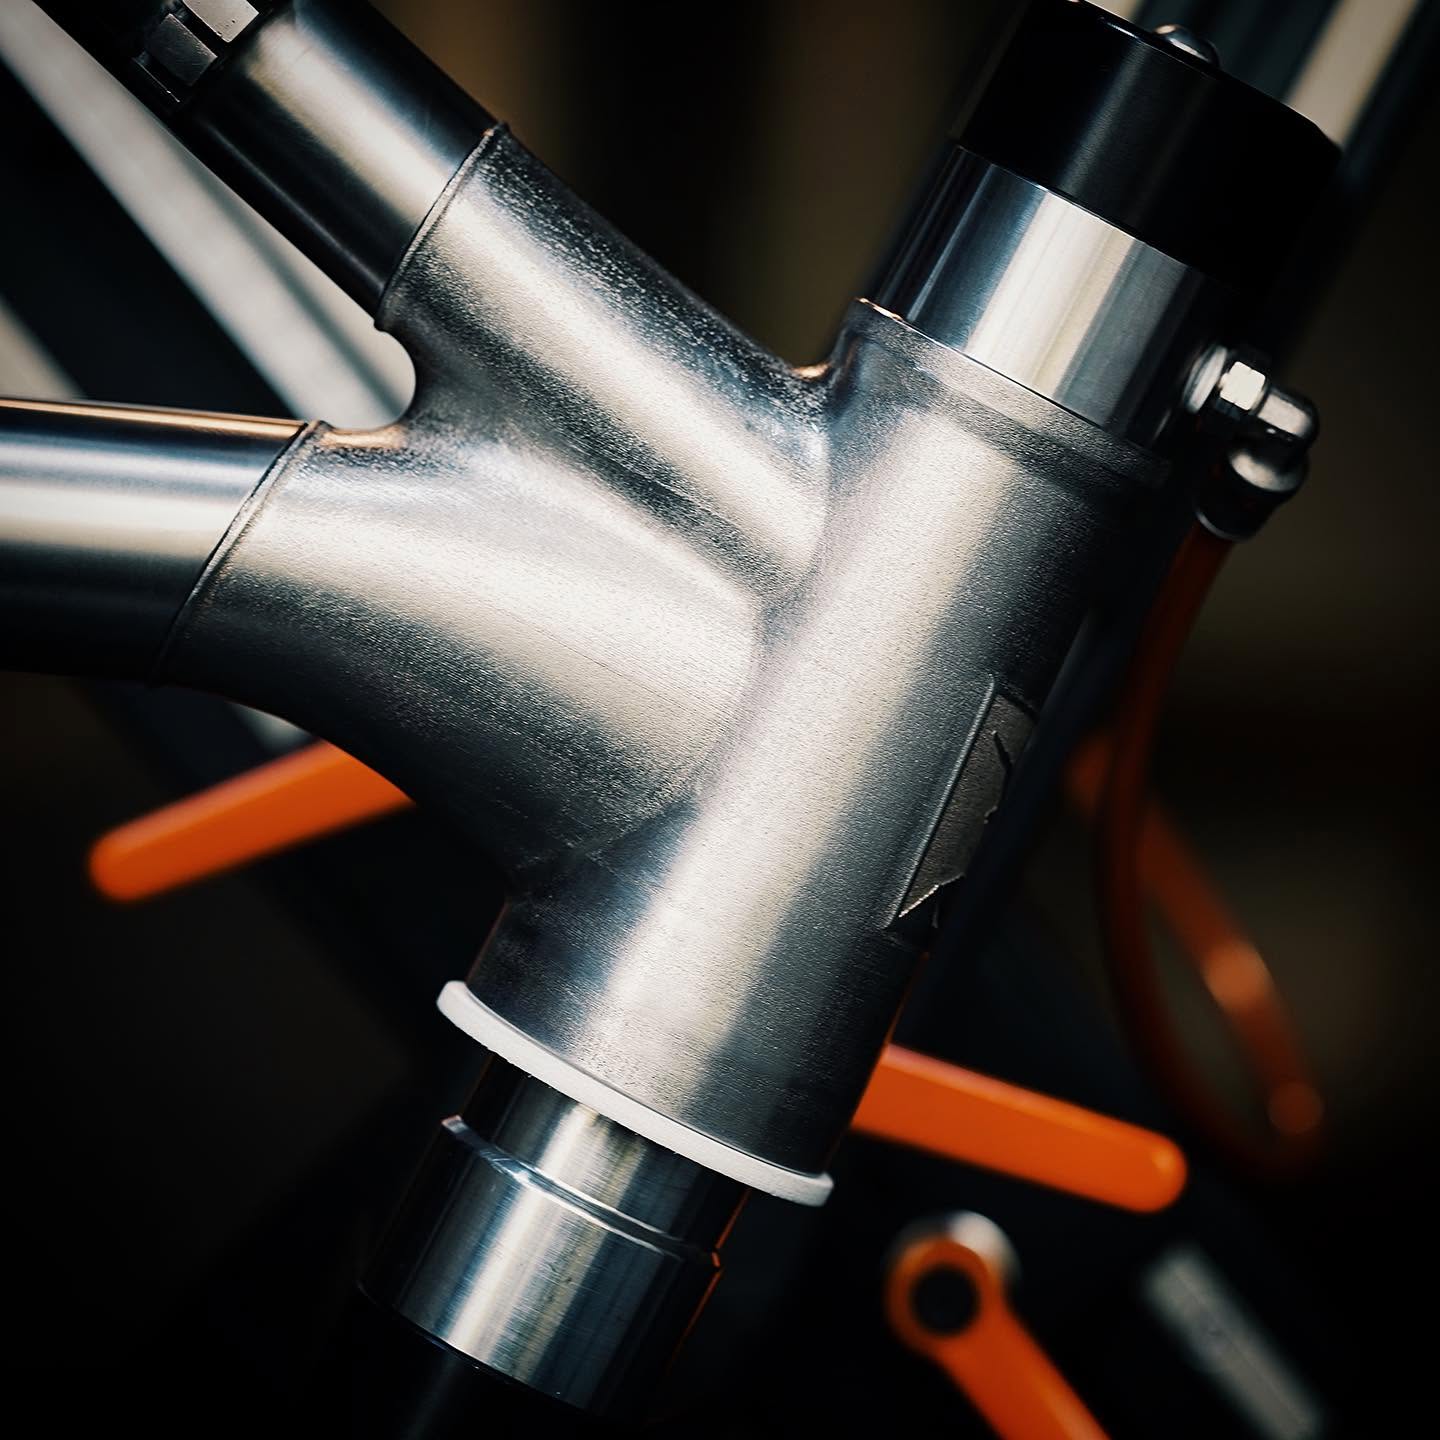
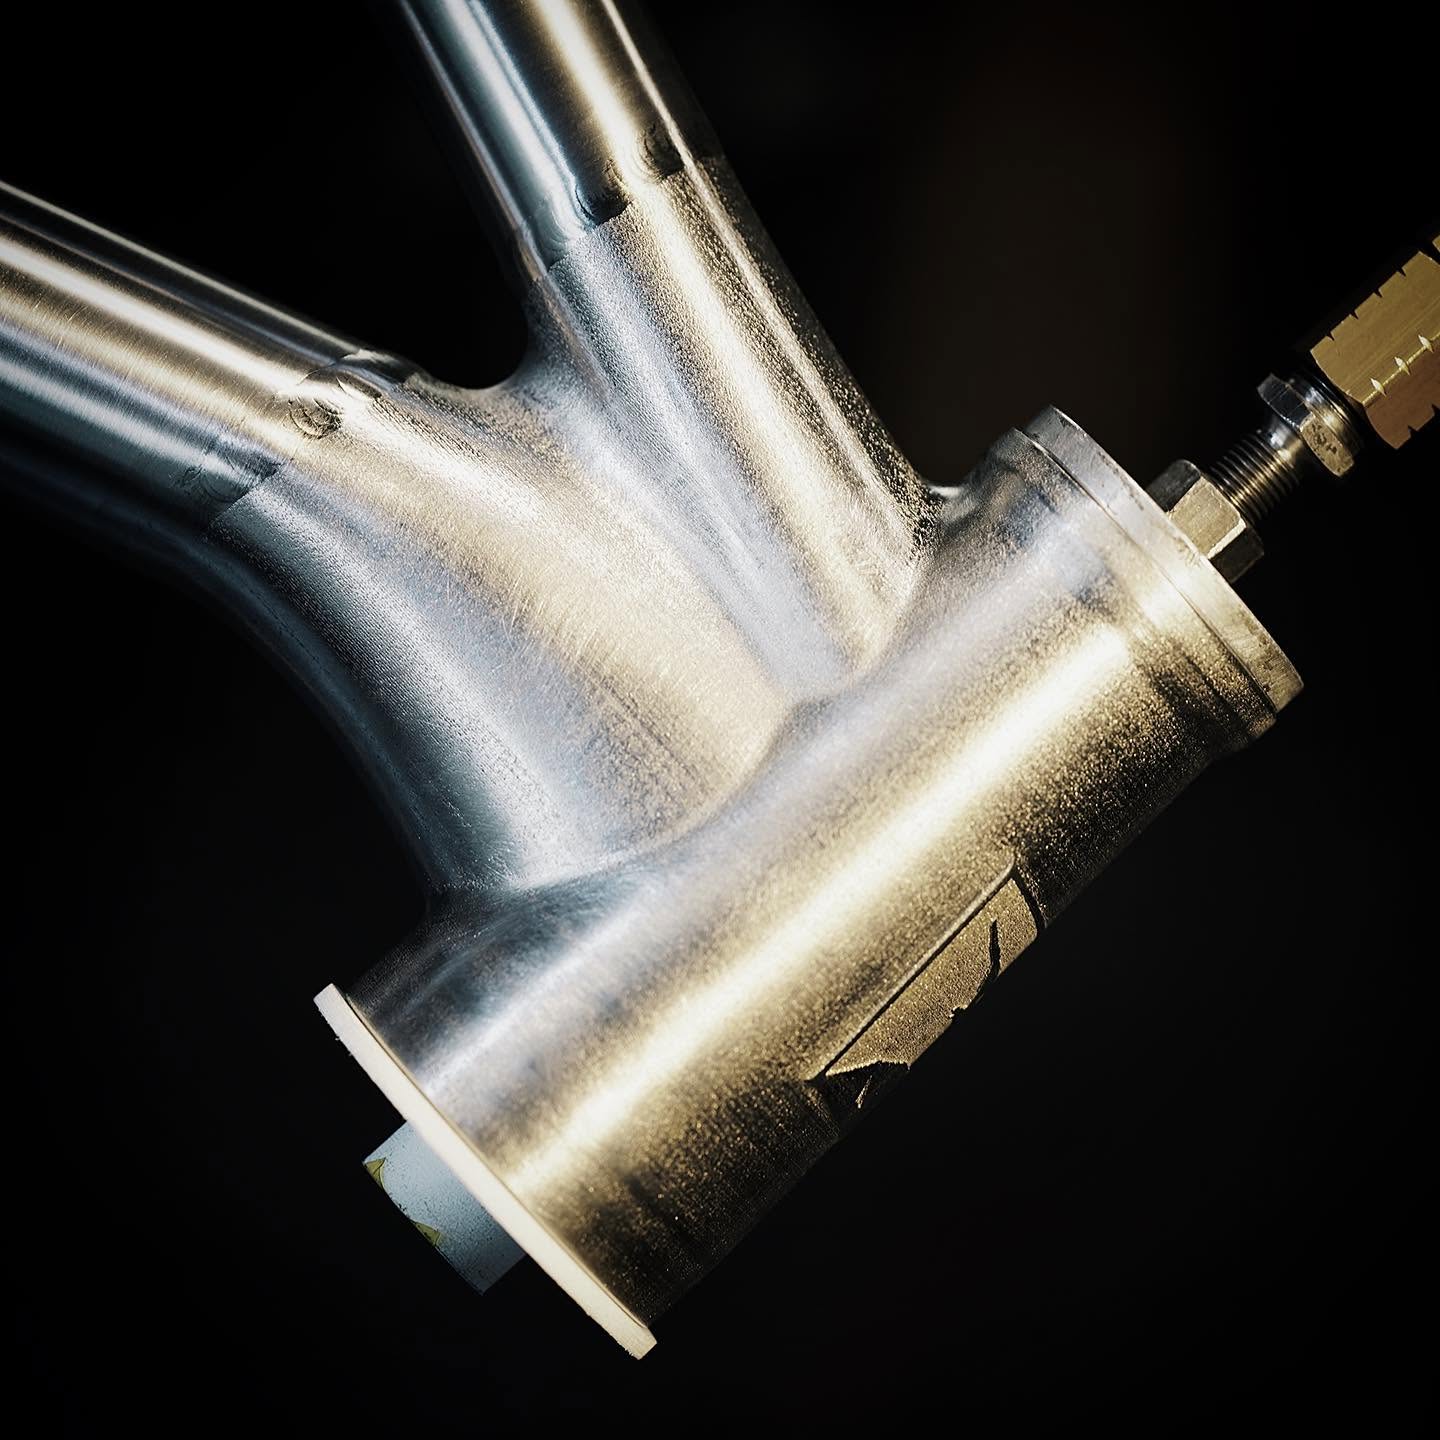
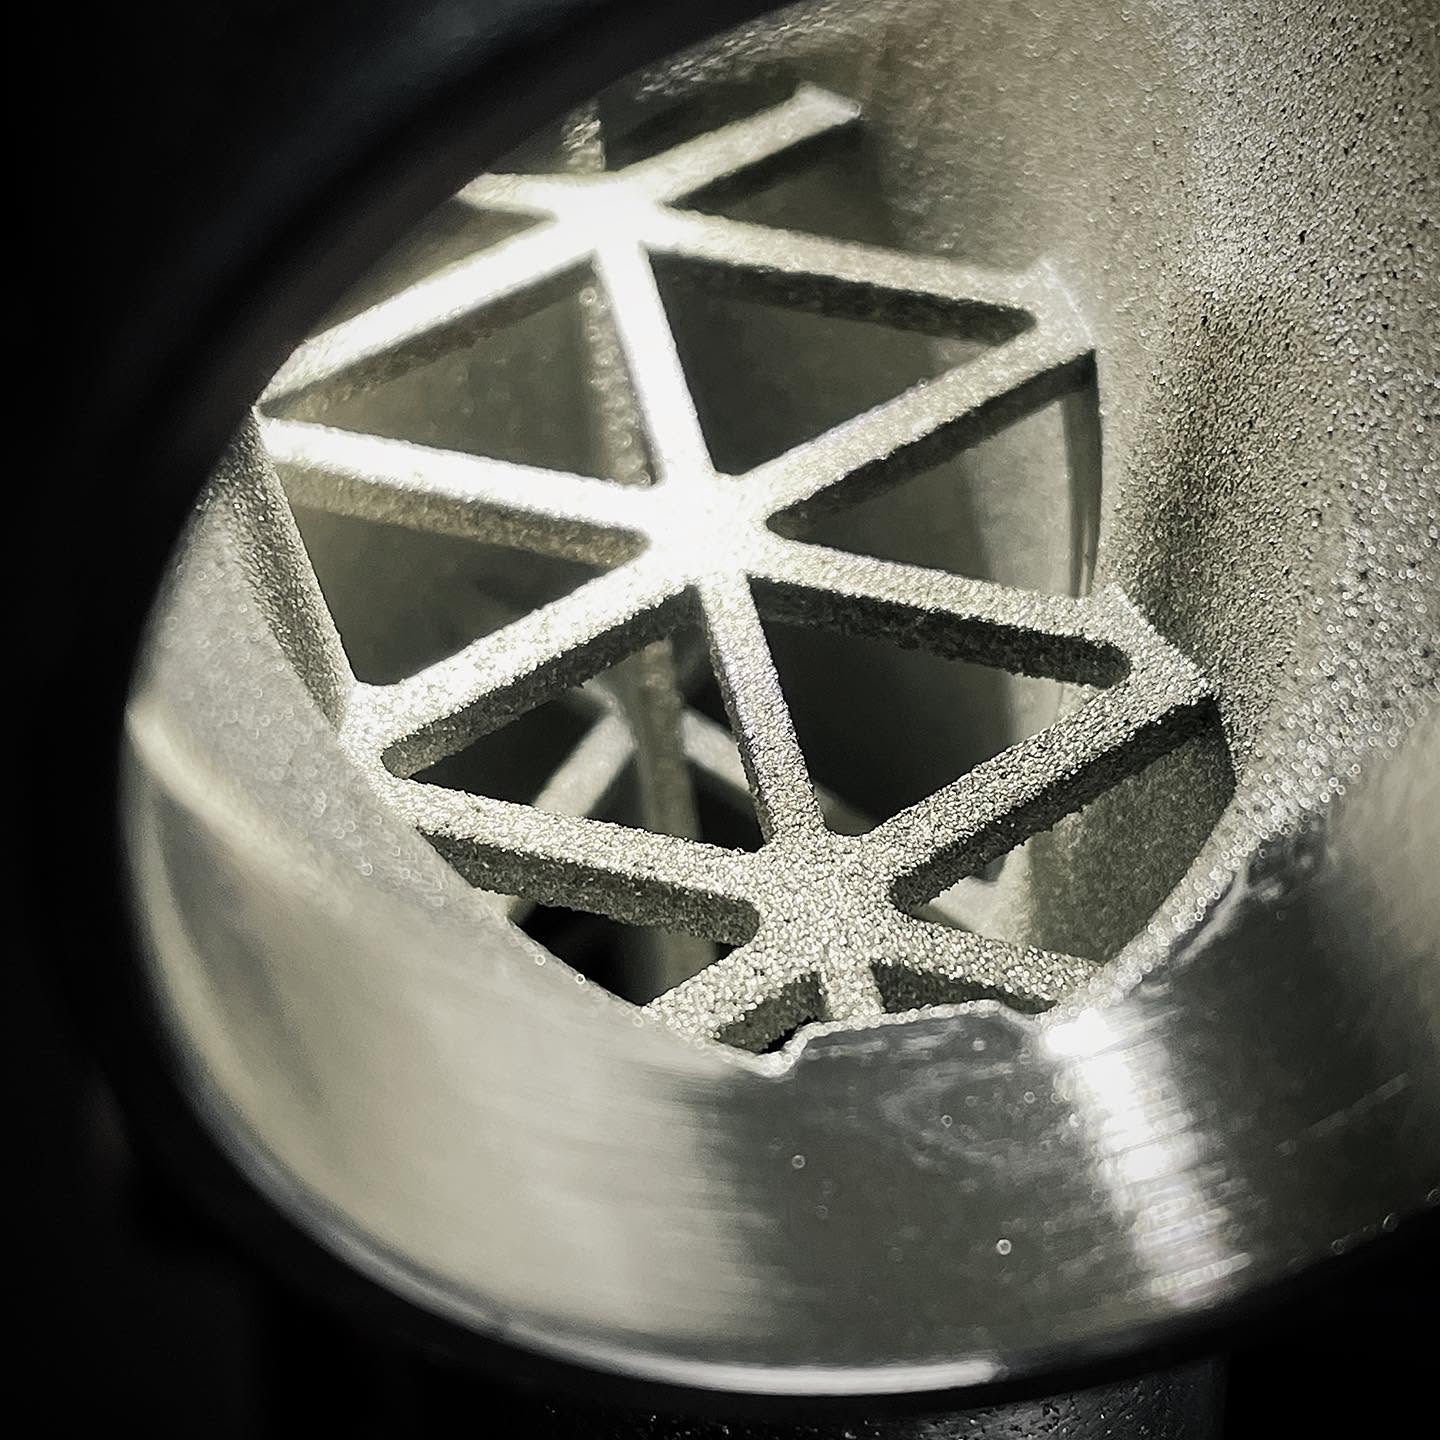
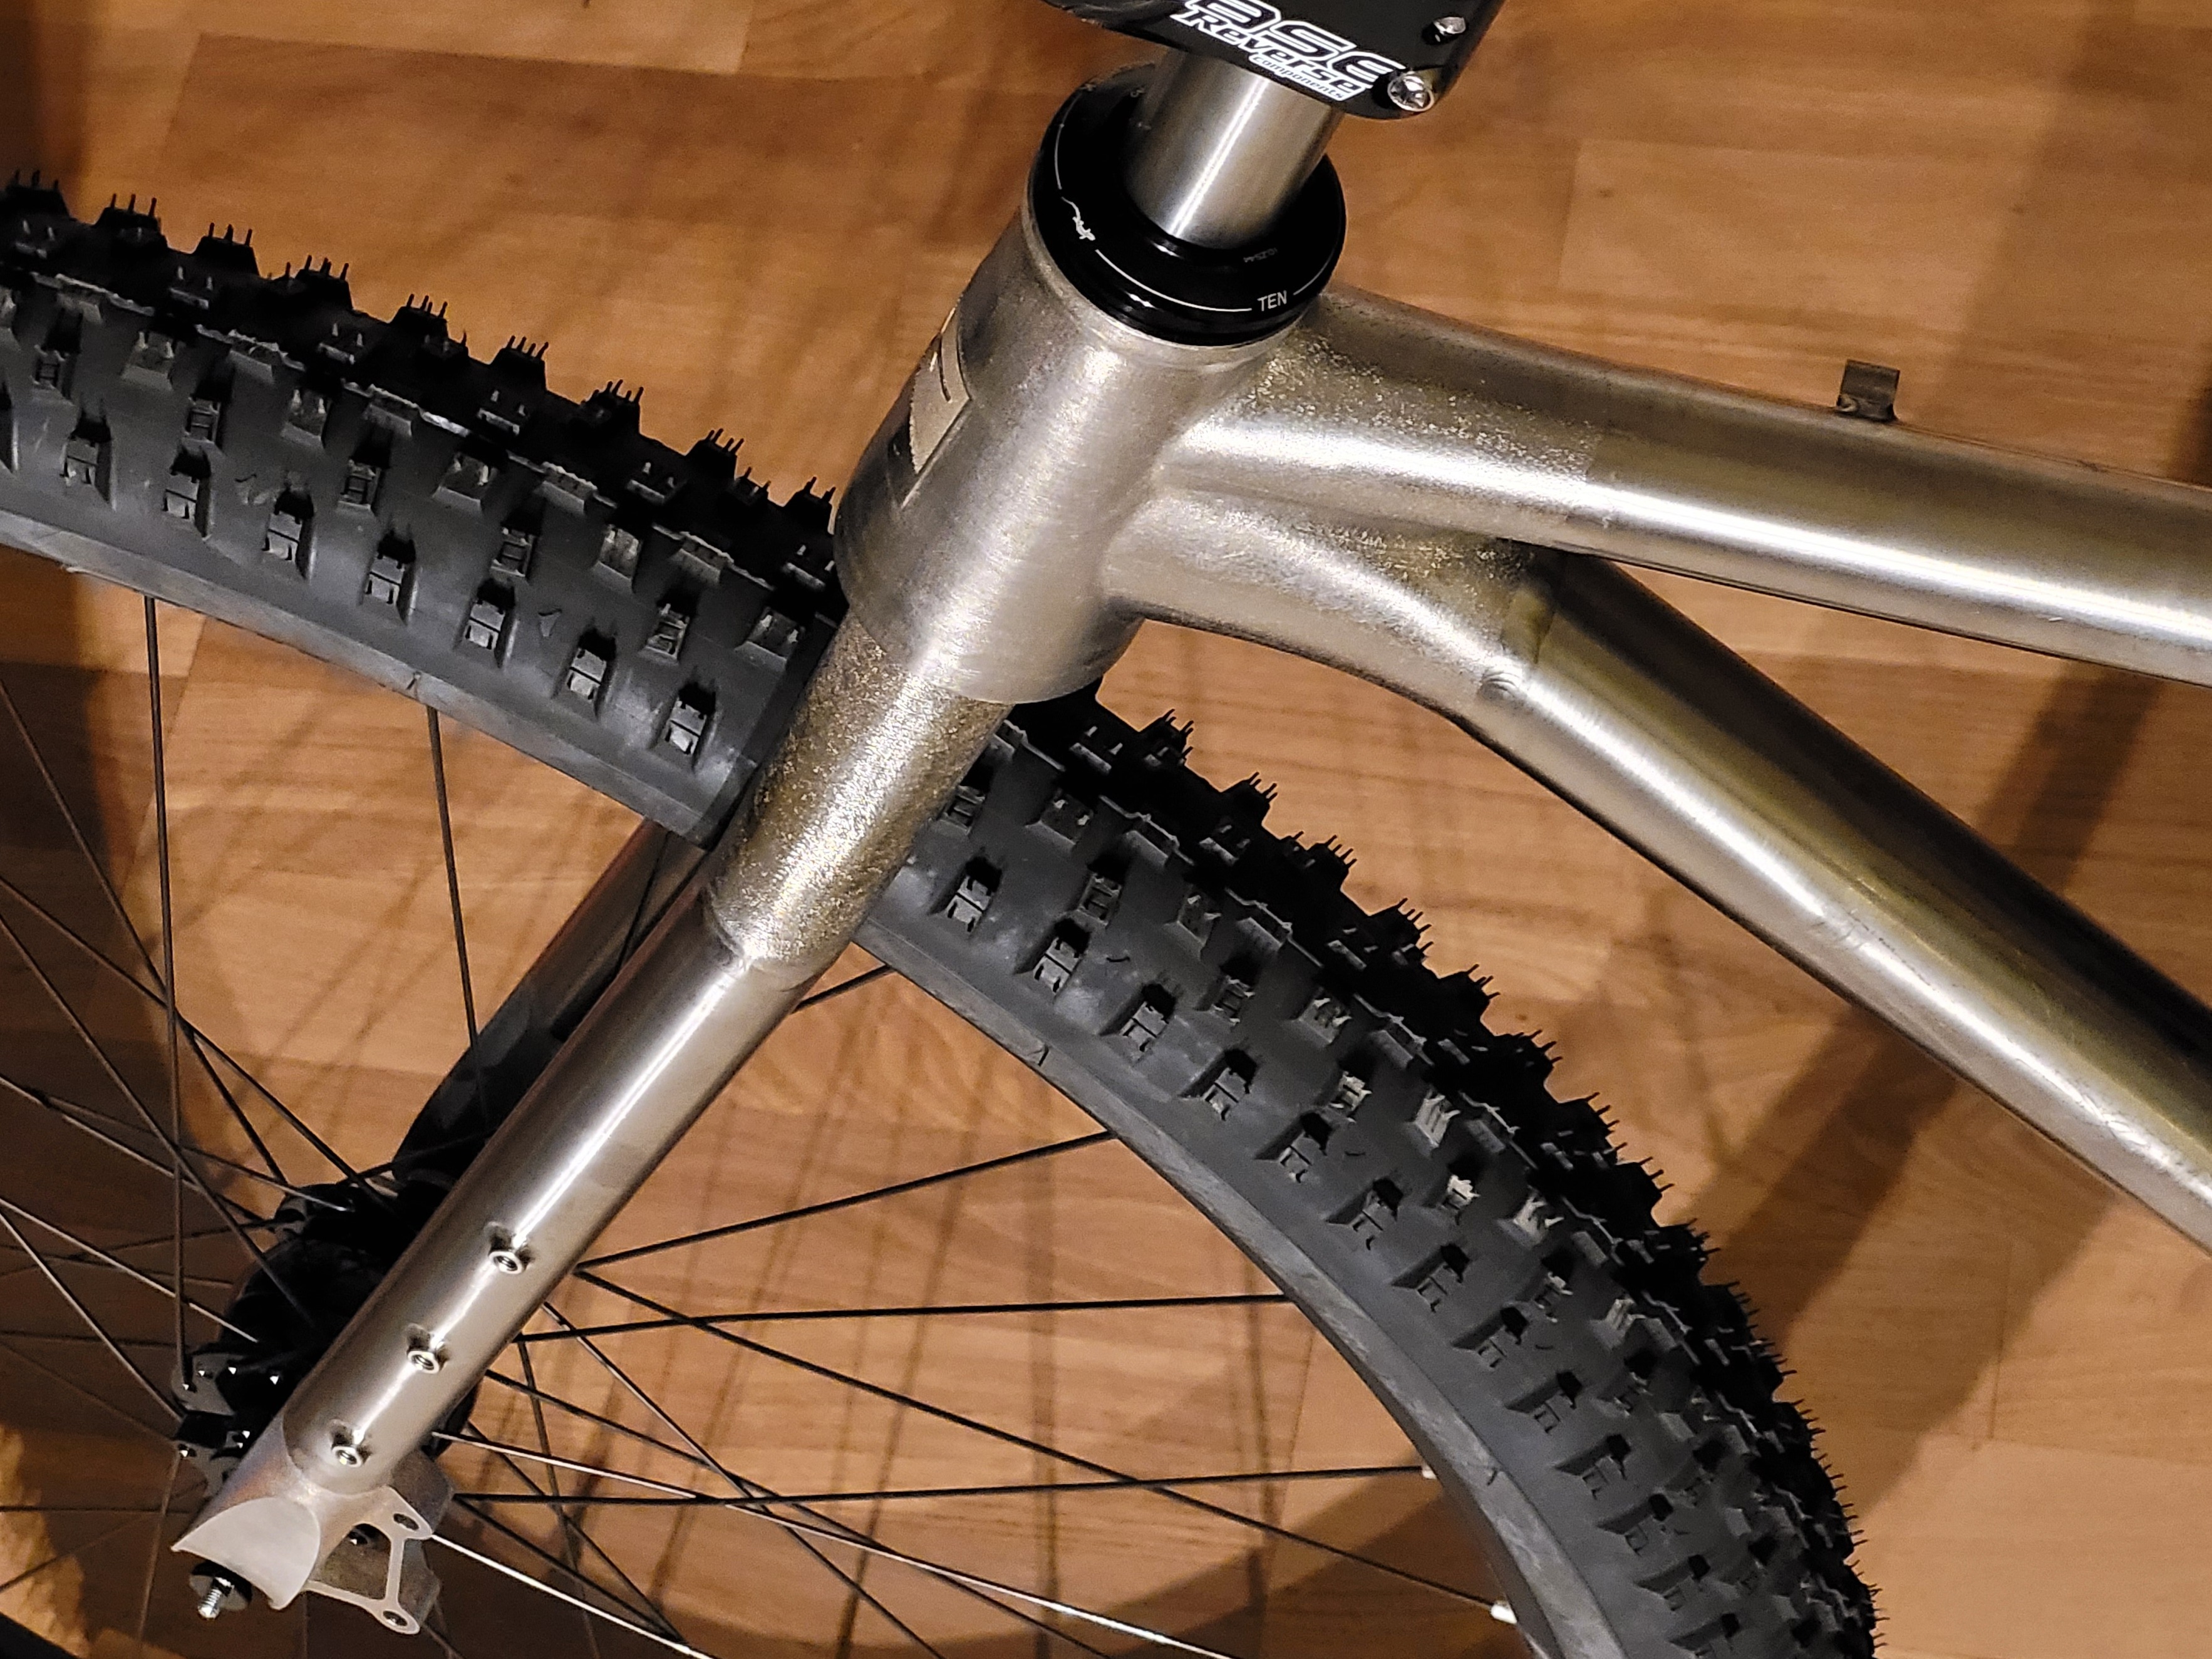
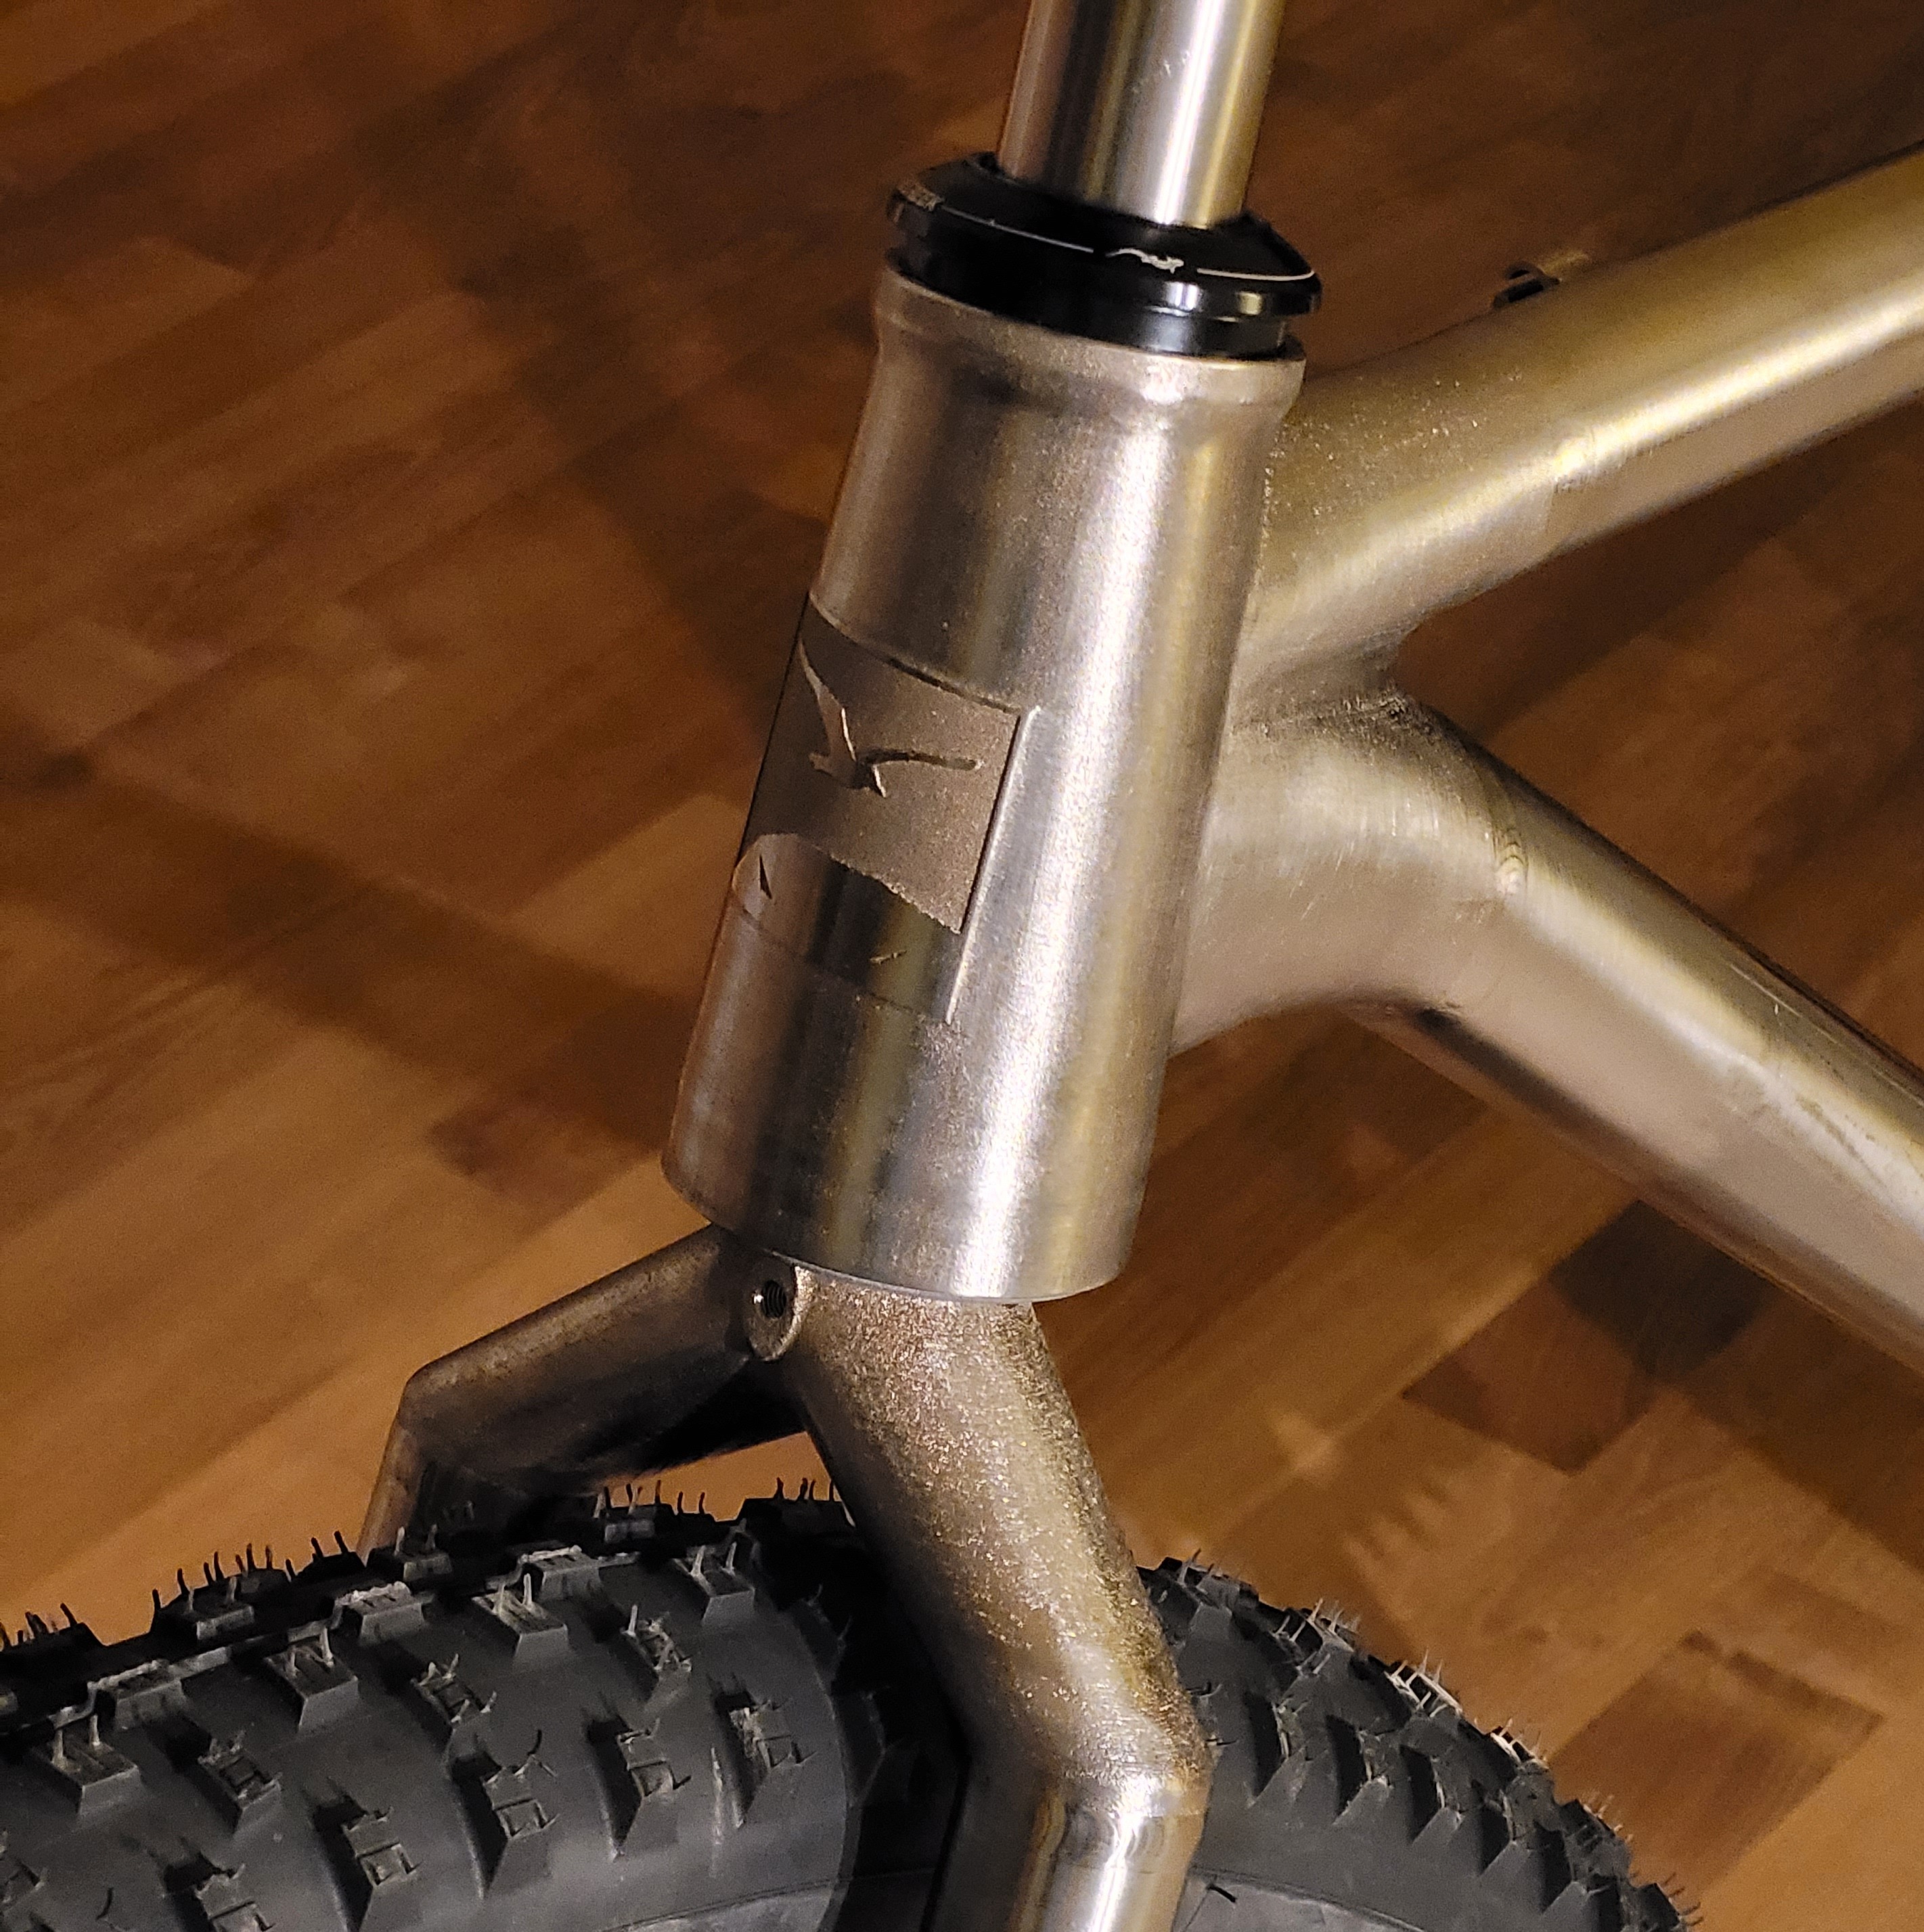
The basic idea was proven in my first frame conversion: cut off the old headtube, the intersecting plane parallel to the former steerer axis in a given distance. The new headtube was modelled with the desired angle correction and the more forward position. Headset standard was again ZS44 / IS52. This time, top tube and down tube would be separated by the cut. This allowed me to provide slide-in sections at the headtube for a centered fit in the tubes as they could flex enough while fitting the part. I designed on the assumption of 0.8mm wall thickness of top tube and down tube, the printed part had 1.2mm wall thickness. There was more material provided at the headset bearing seats, and a lot of internal reinforcements struts and ribs.
The new headtube in 3D CAD
This time, Daniel had to cut the frame, but I provided the jig for cutting. You guessed it - 3D printed as well, in polyamide. It was designed to clamp on the downtube and top tube with a flat surface at the cutting plane to guide sawing and filing.
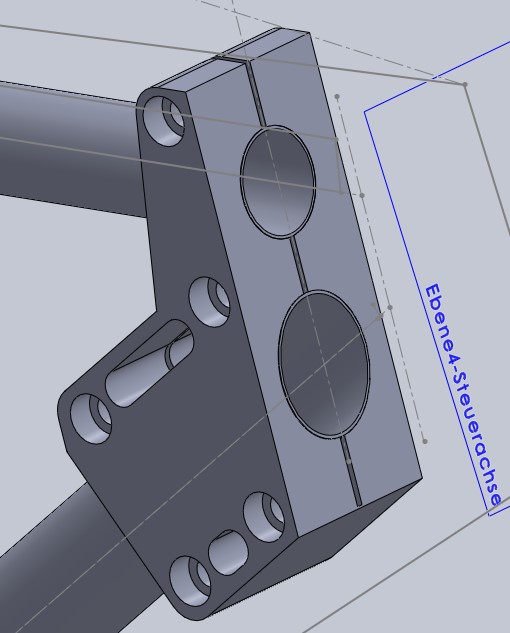
Result - the prepared frame
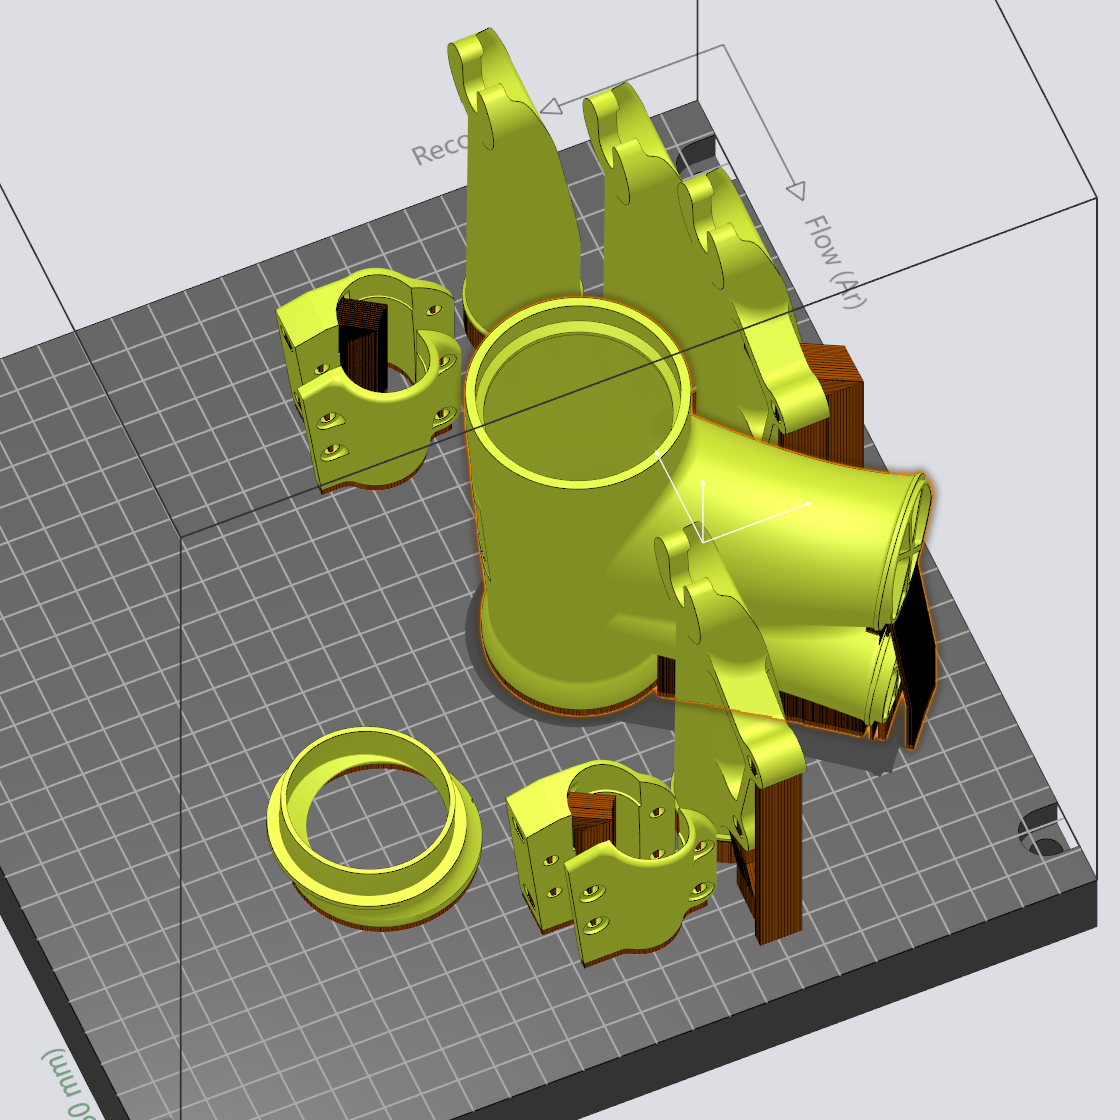
Also this time the prints were done at EOS. Jörg, senior process developer and a cycling enthusiast himself, and application specialist Vicenzo contributed a lot of professional knowledge while we worked on the project. We built on the experience of the first frame conversion, but the print process was not completely straightforward. The part looked slightly different, we chose to build it upside down with the steerer axis vertical, yet we had to overcome some warpage issues. The dropouts for the forks were put in the same build job, and a few loops were required to get support structures and part design just right.
There are several steps involved from the part in a 3D file format to the final object. Data preparation, support generation and the positioning on the build platform precede the actual printing process. The resulting build platform with the parts is depowdered and then goes to heat treatment before the parts are sawed off. Some areas may need machining to get the exact tolerances, and the surfaces need blasting / grinding / polishing to shine.
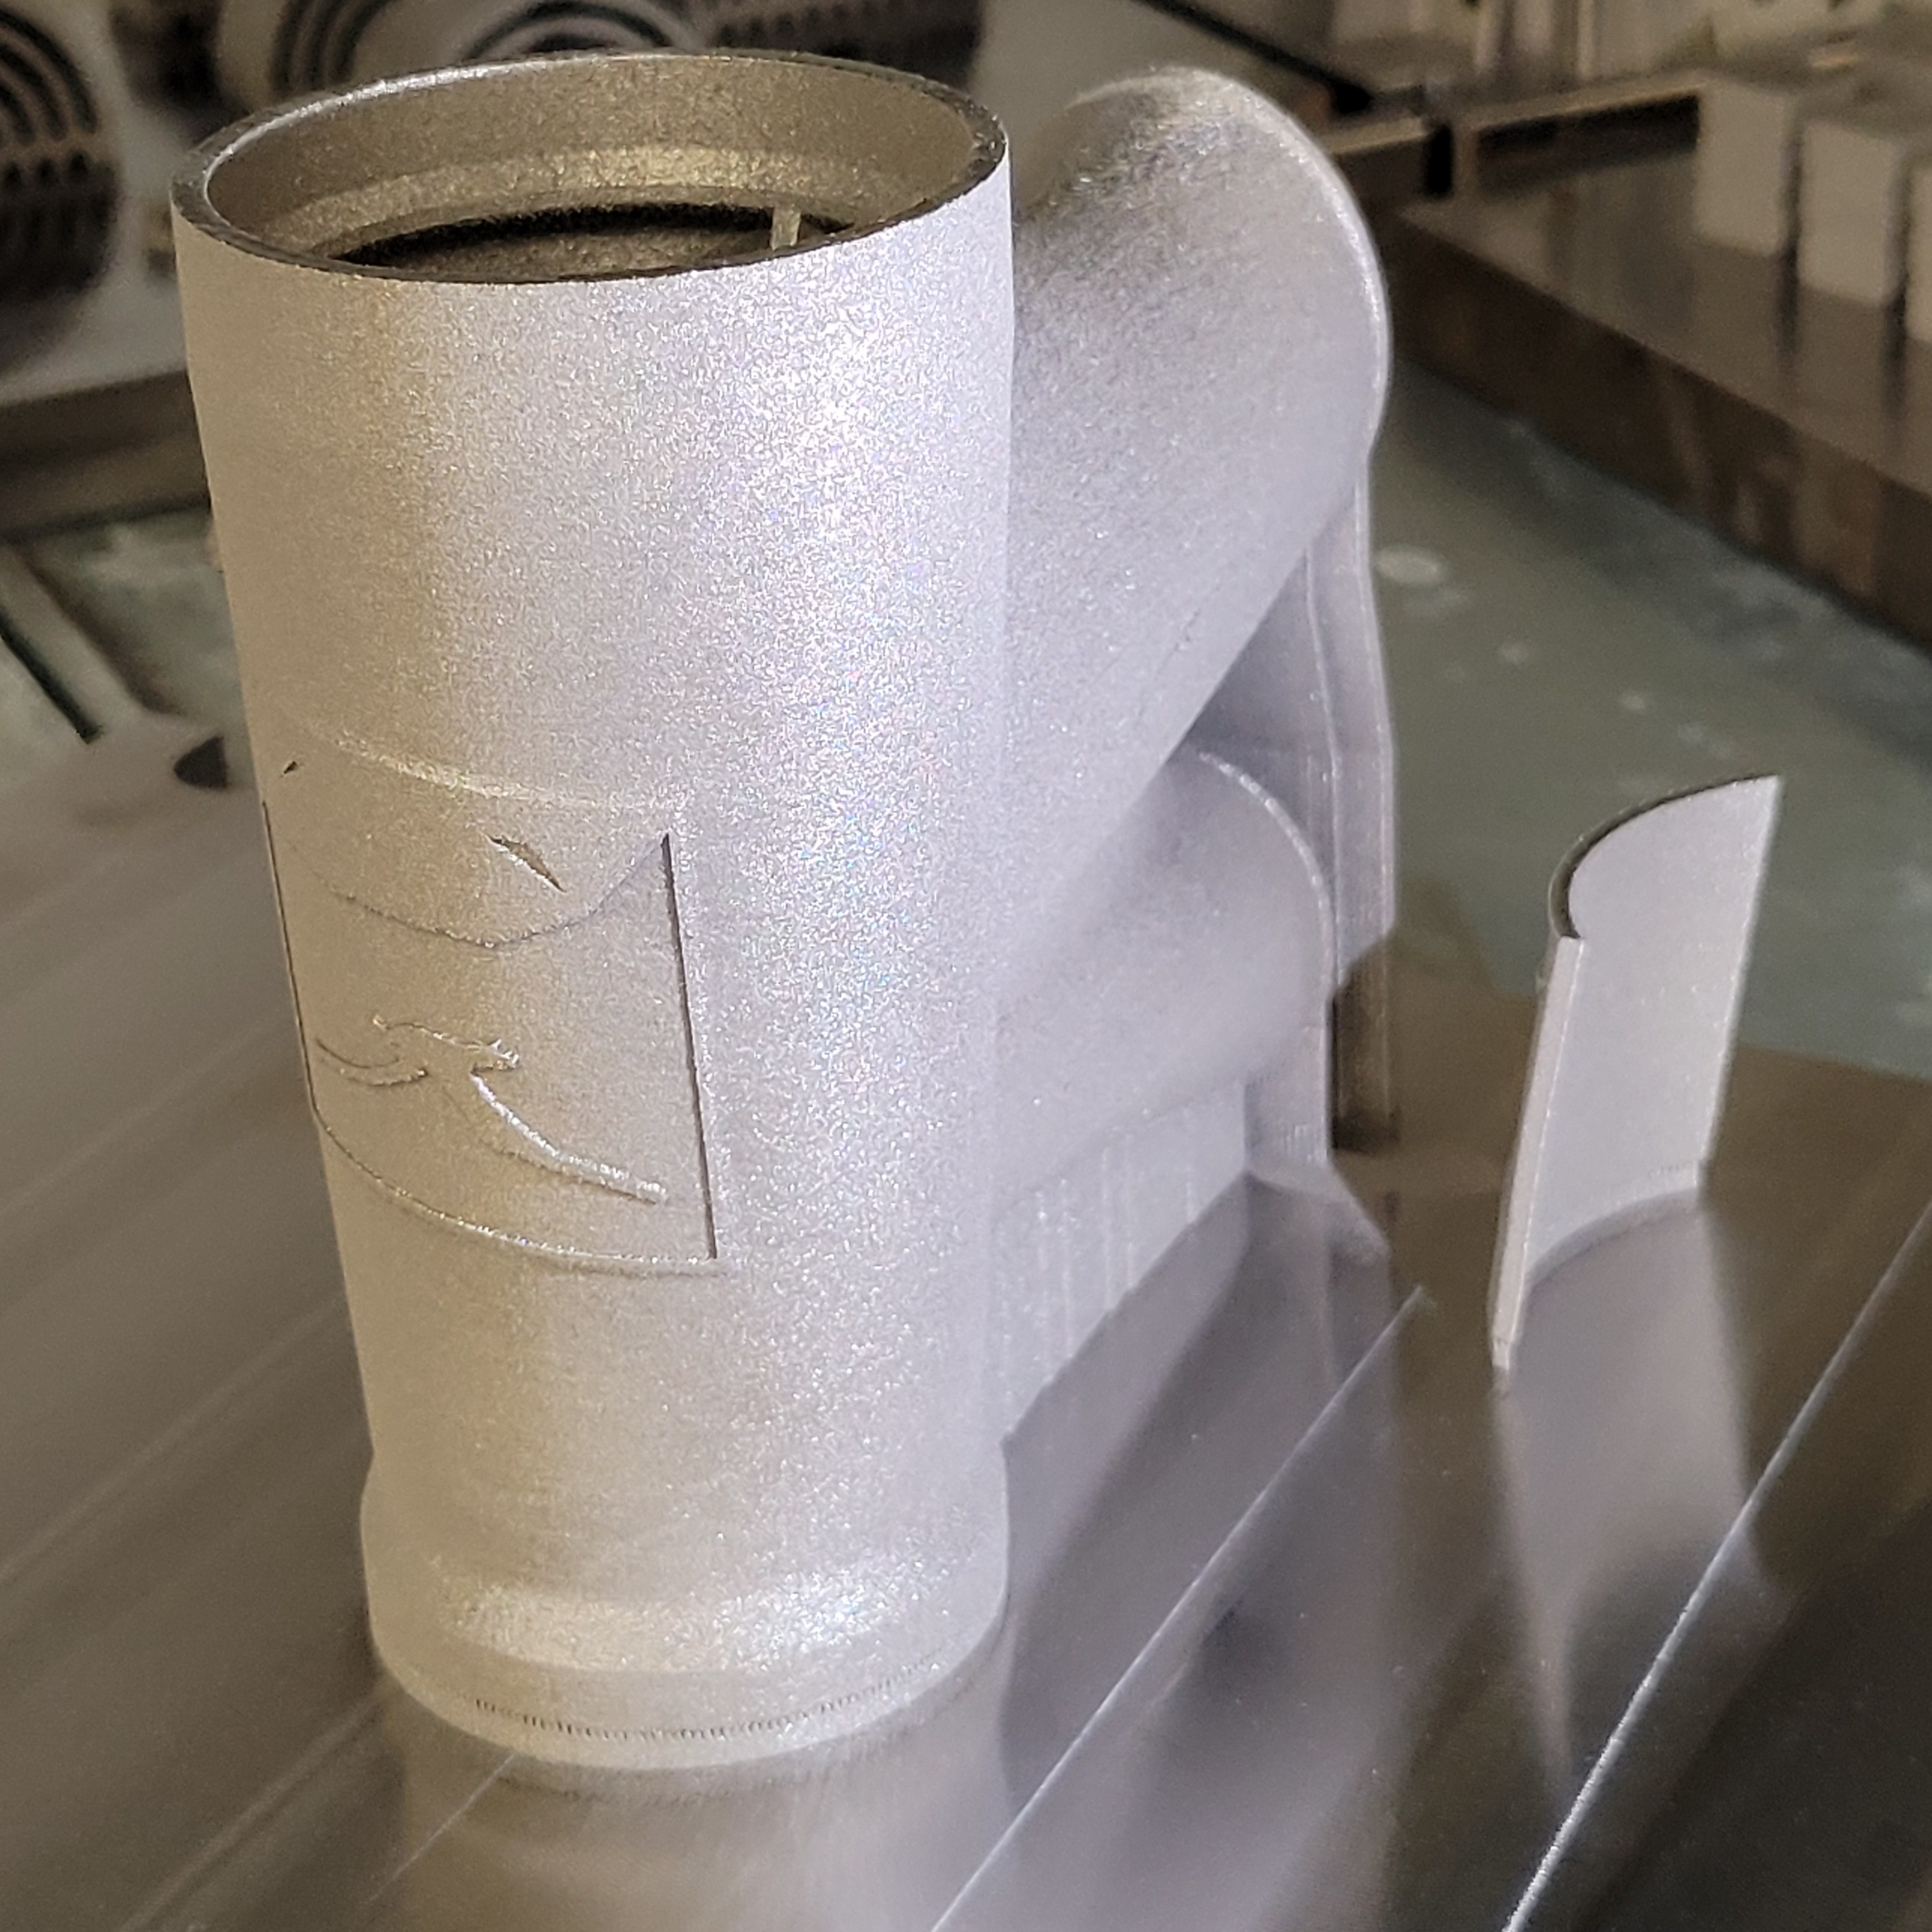
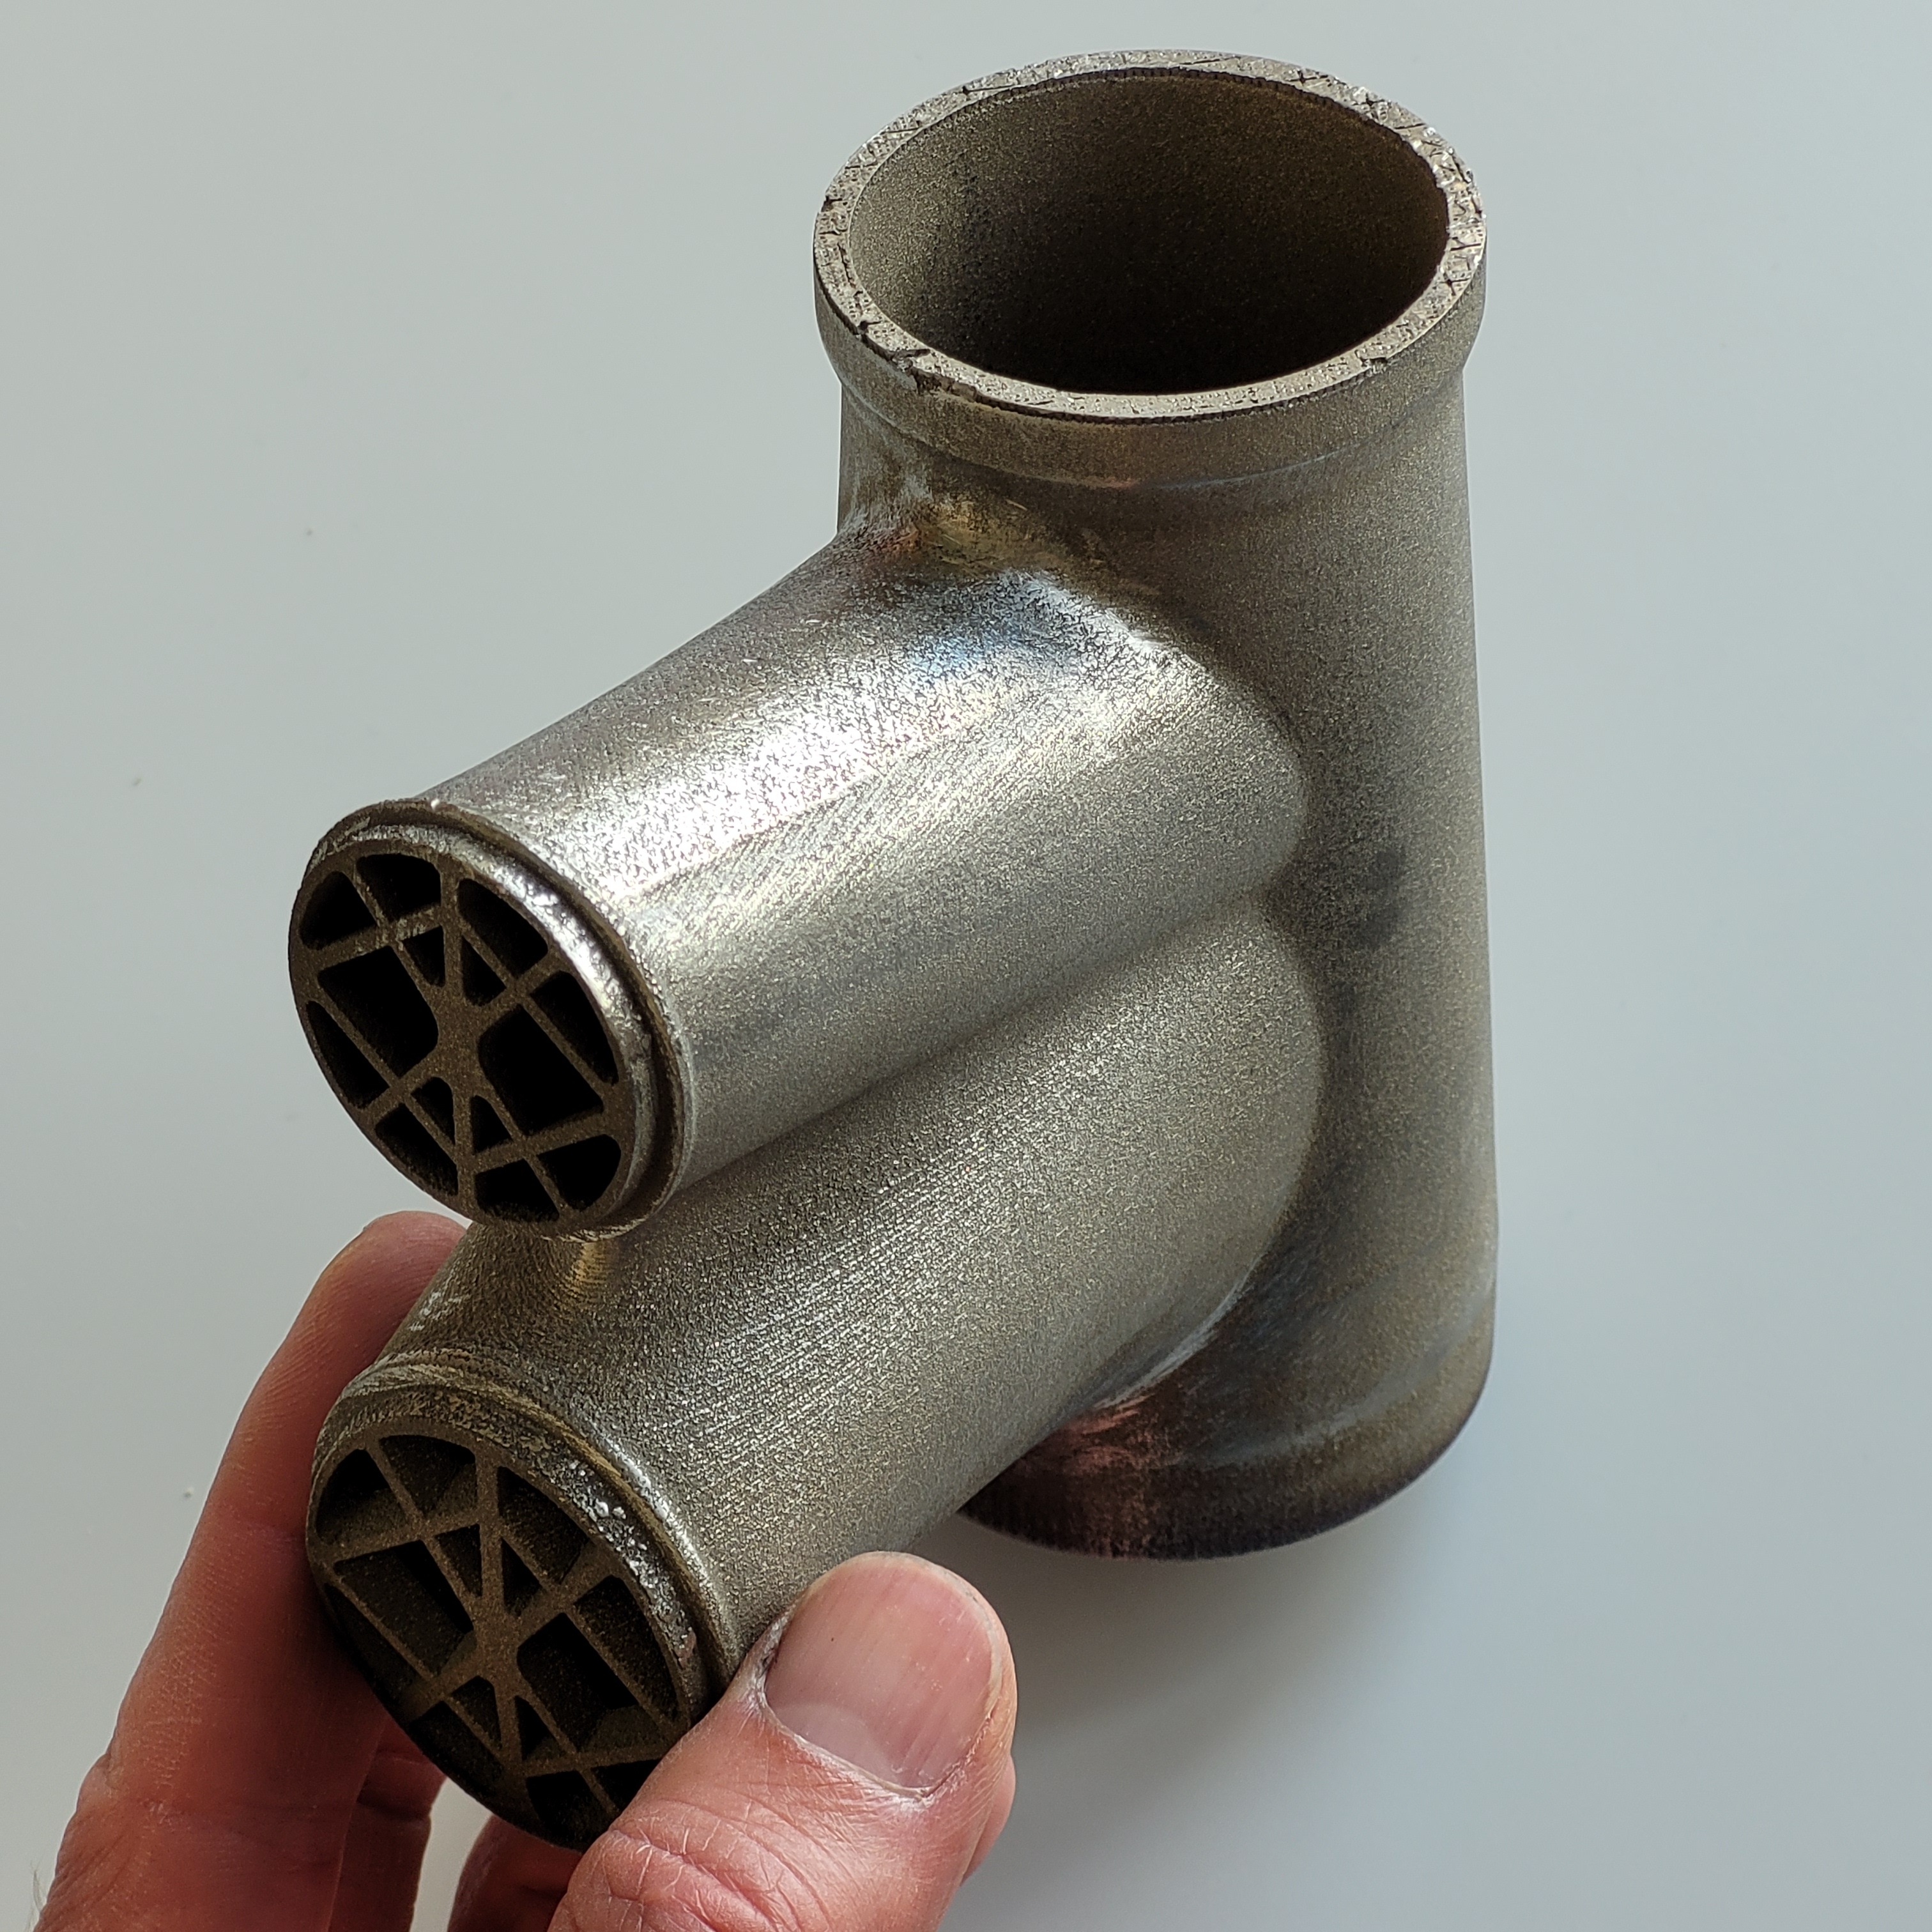
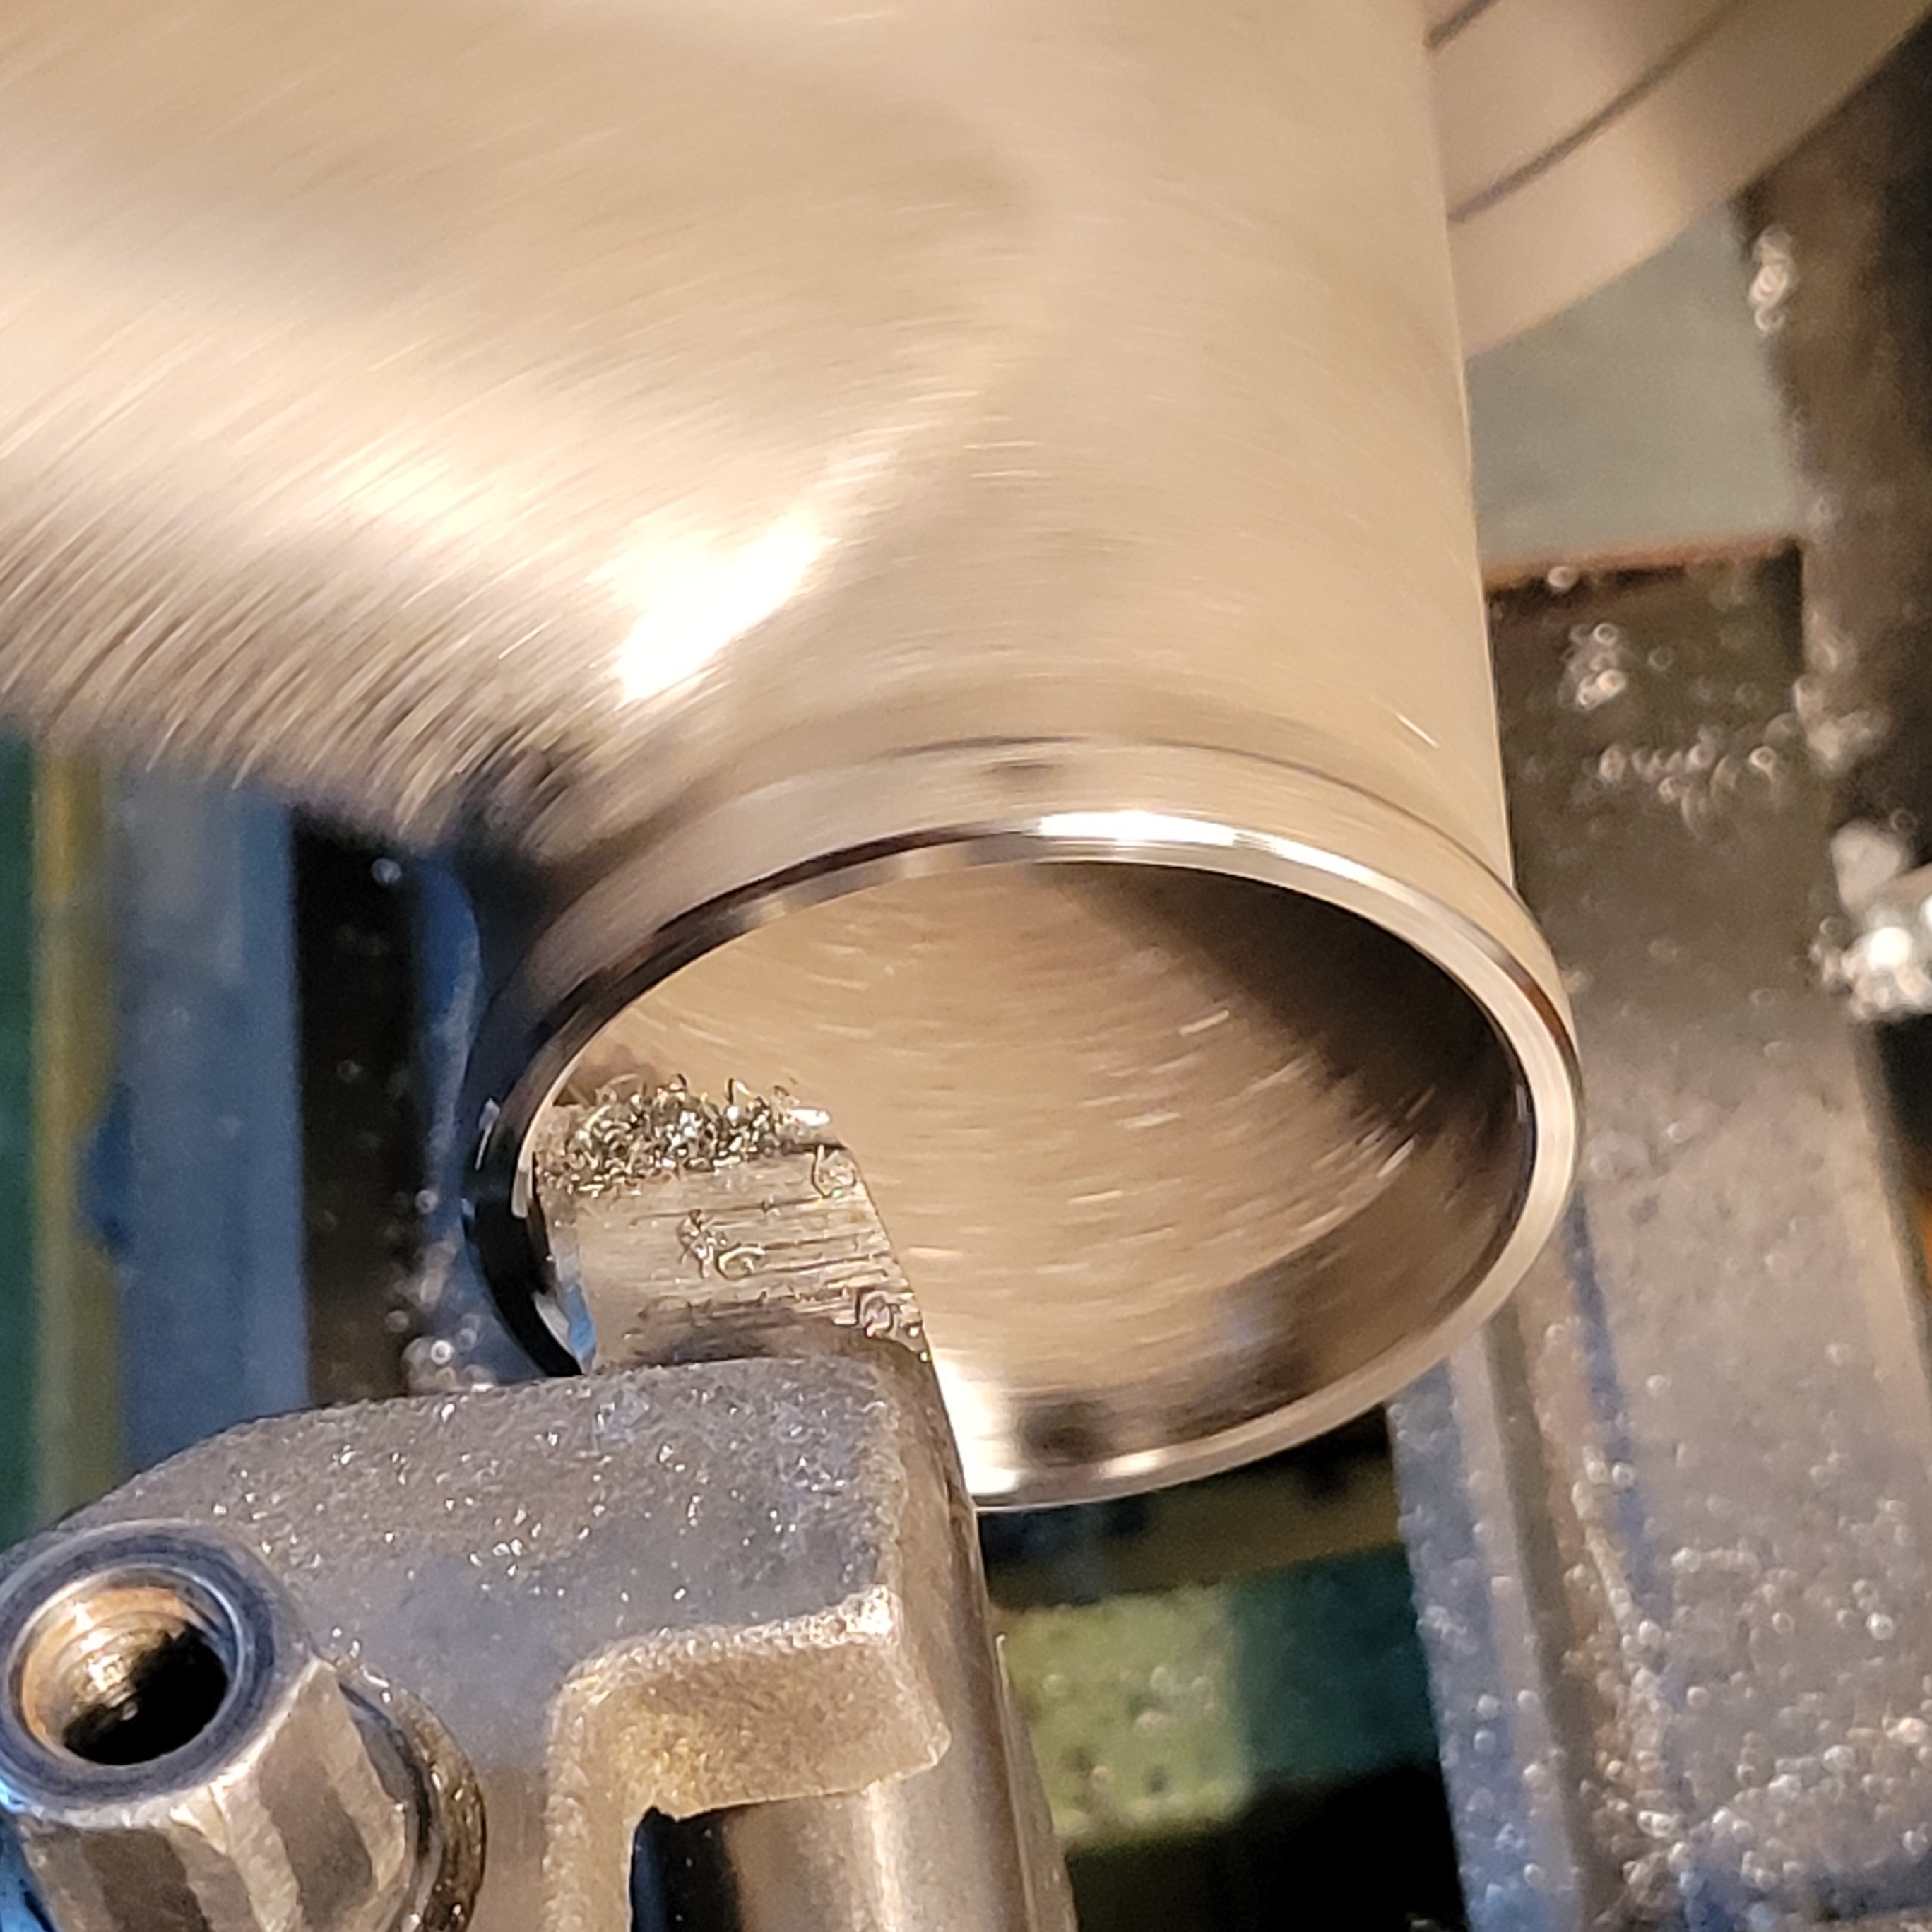
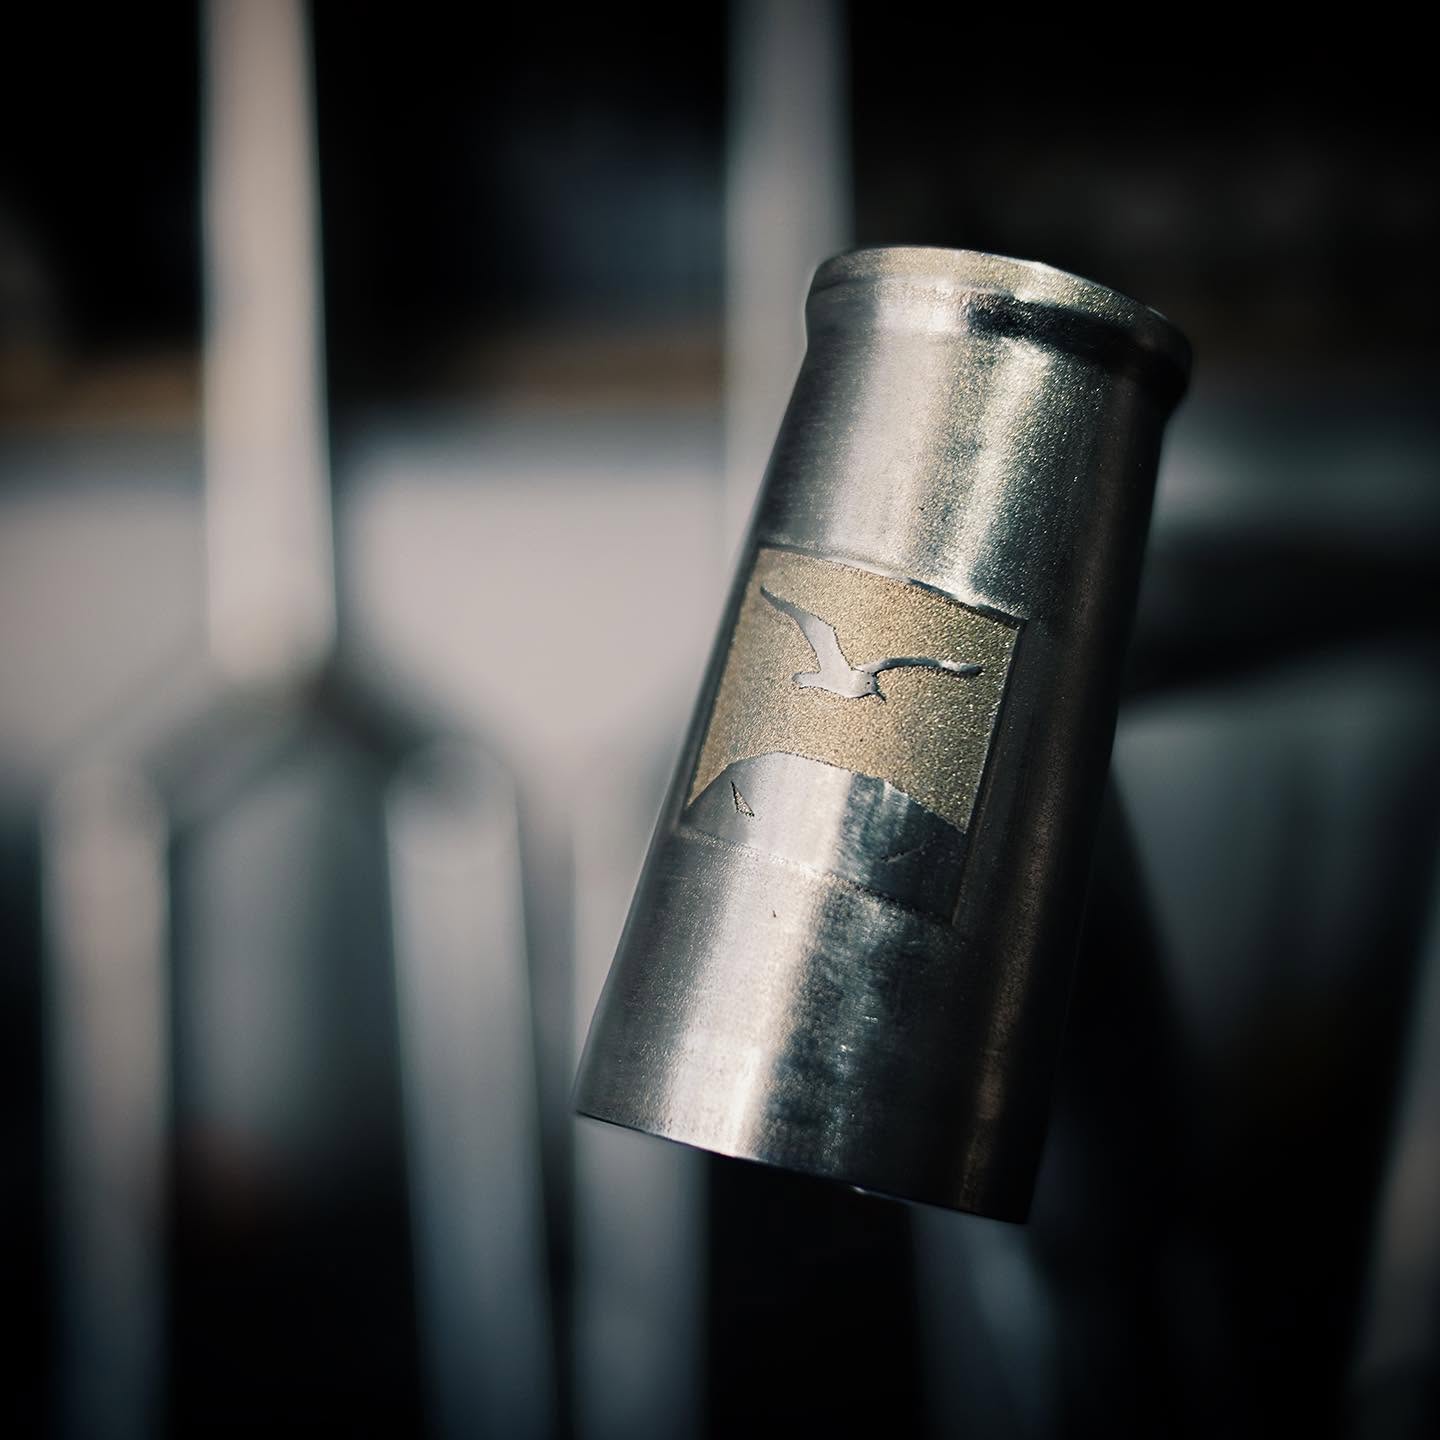
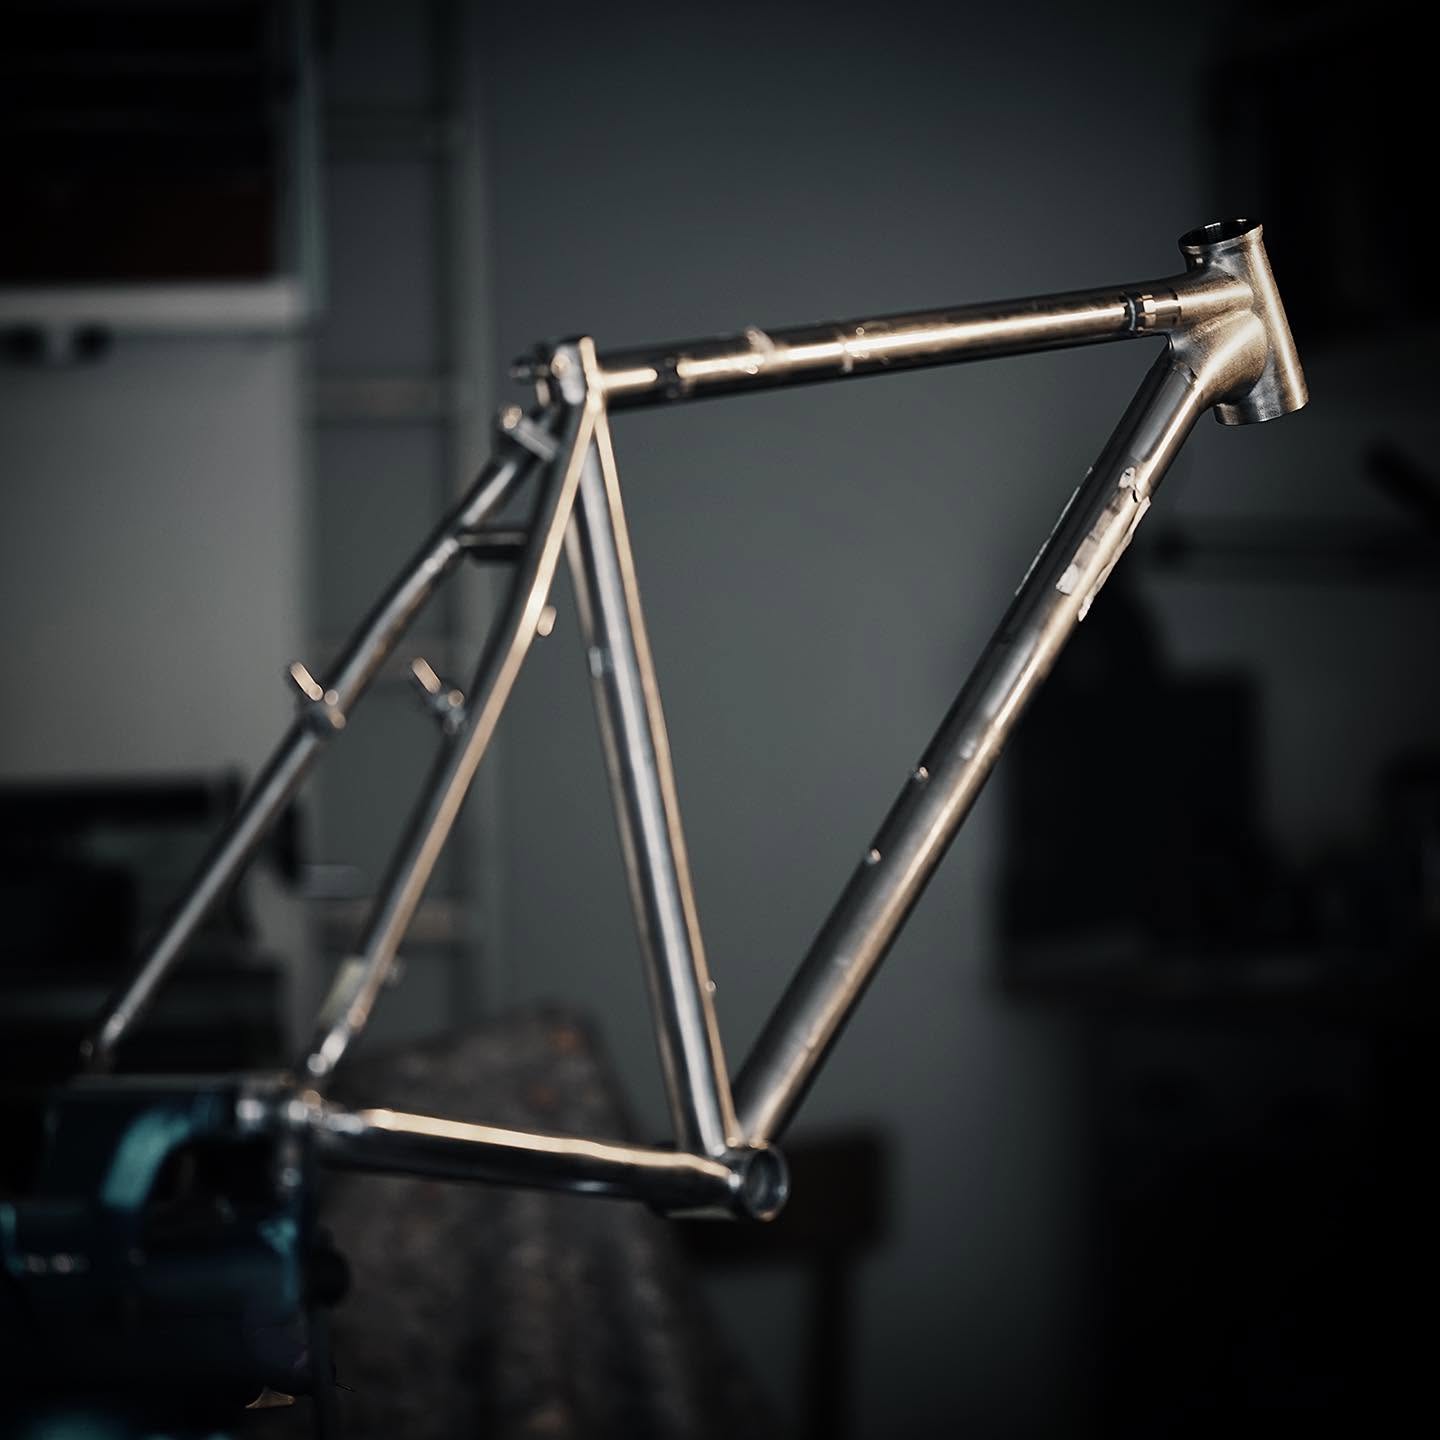
Fast forward to Berlin, to Wheeldan's workshop. Again, he put his craftsmanship into my project. On top of that, he took amazing photos - shared here with permission.
Photos: wheeldan.de
See the original post here
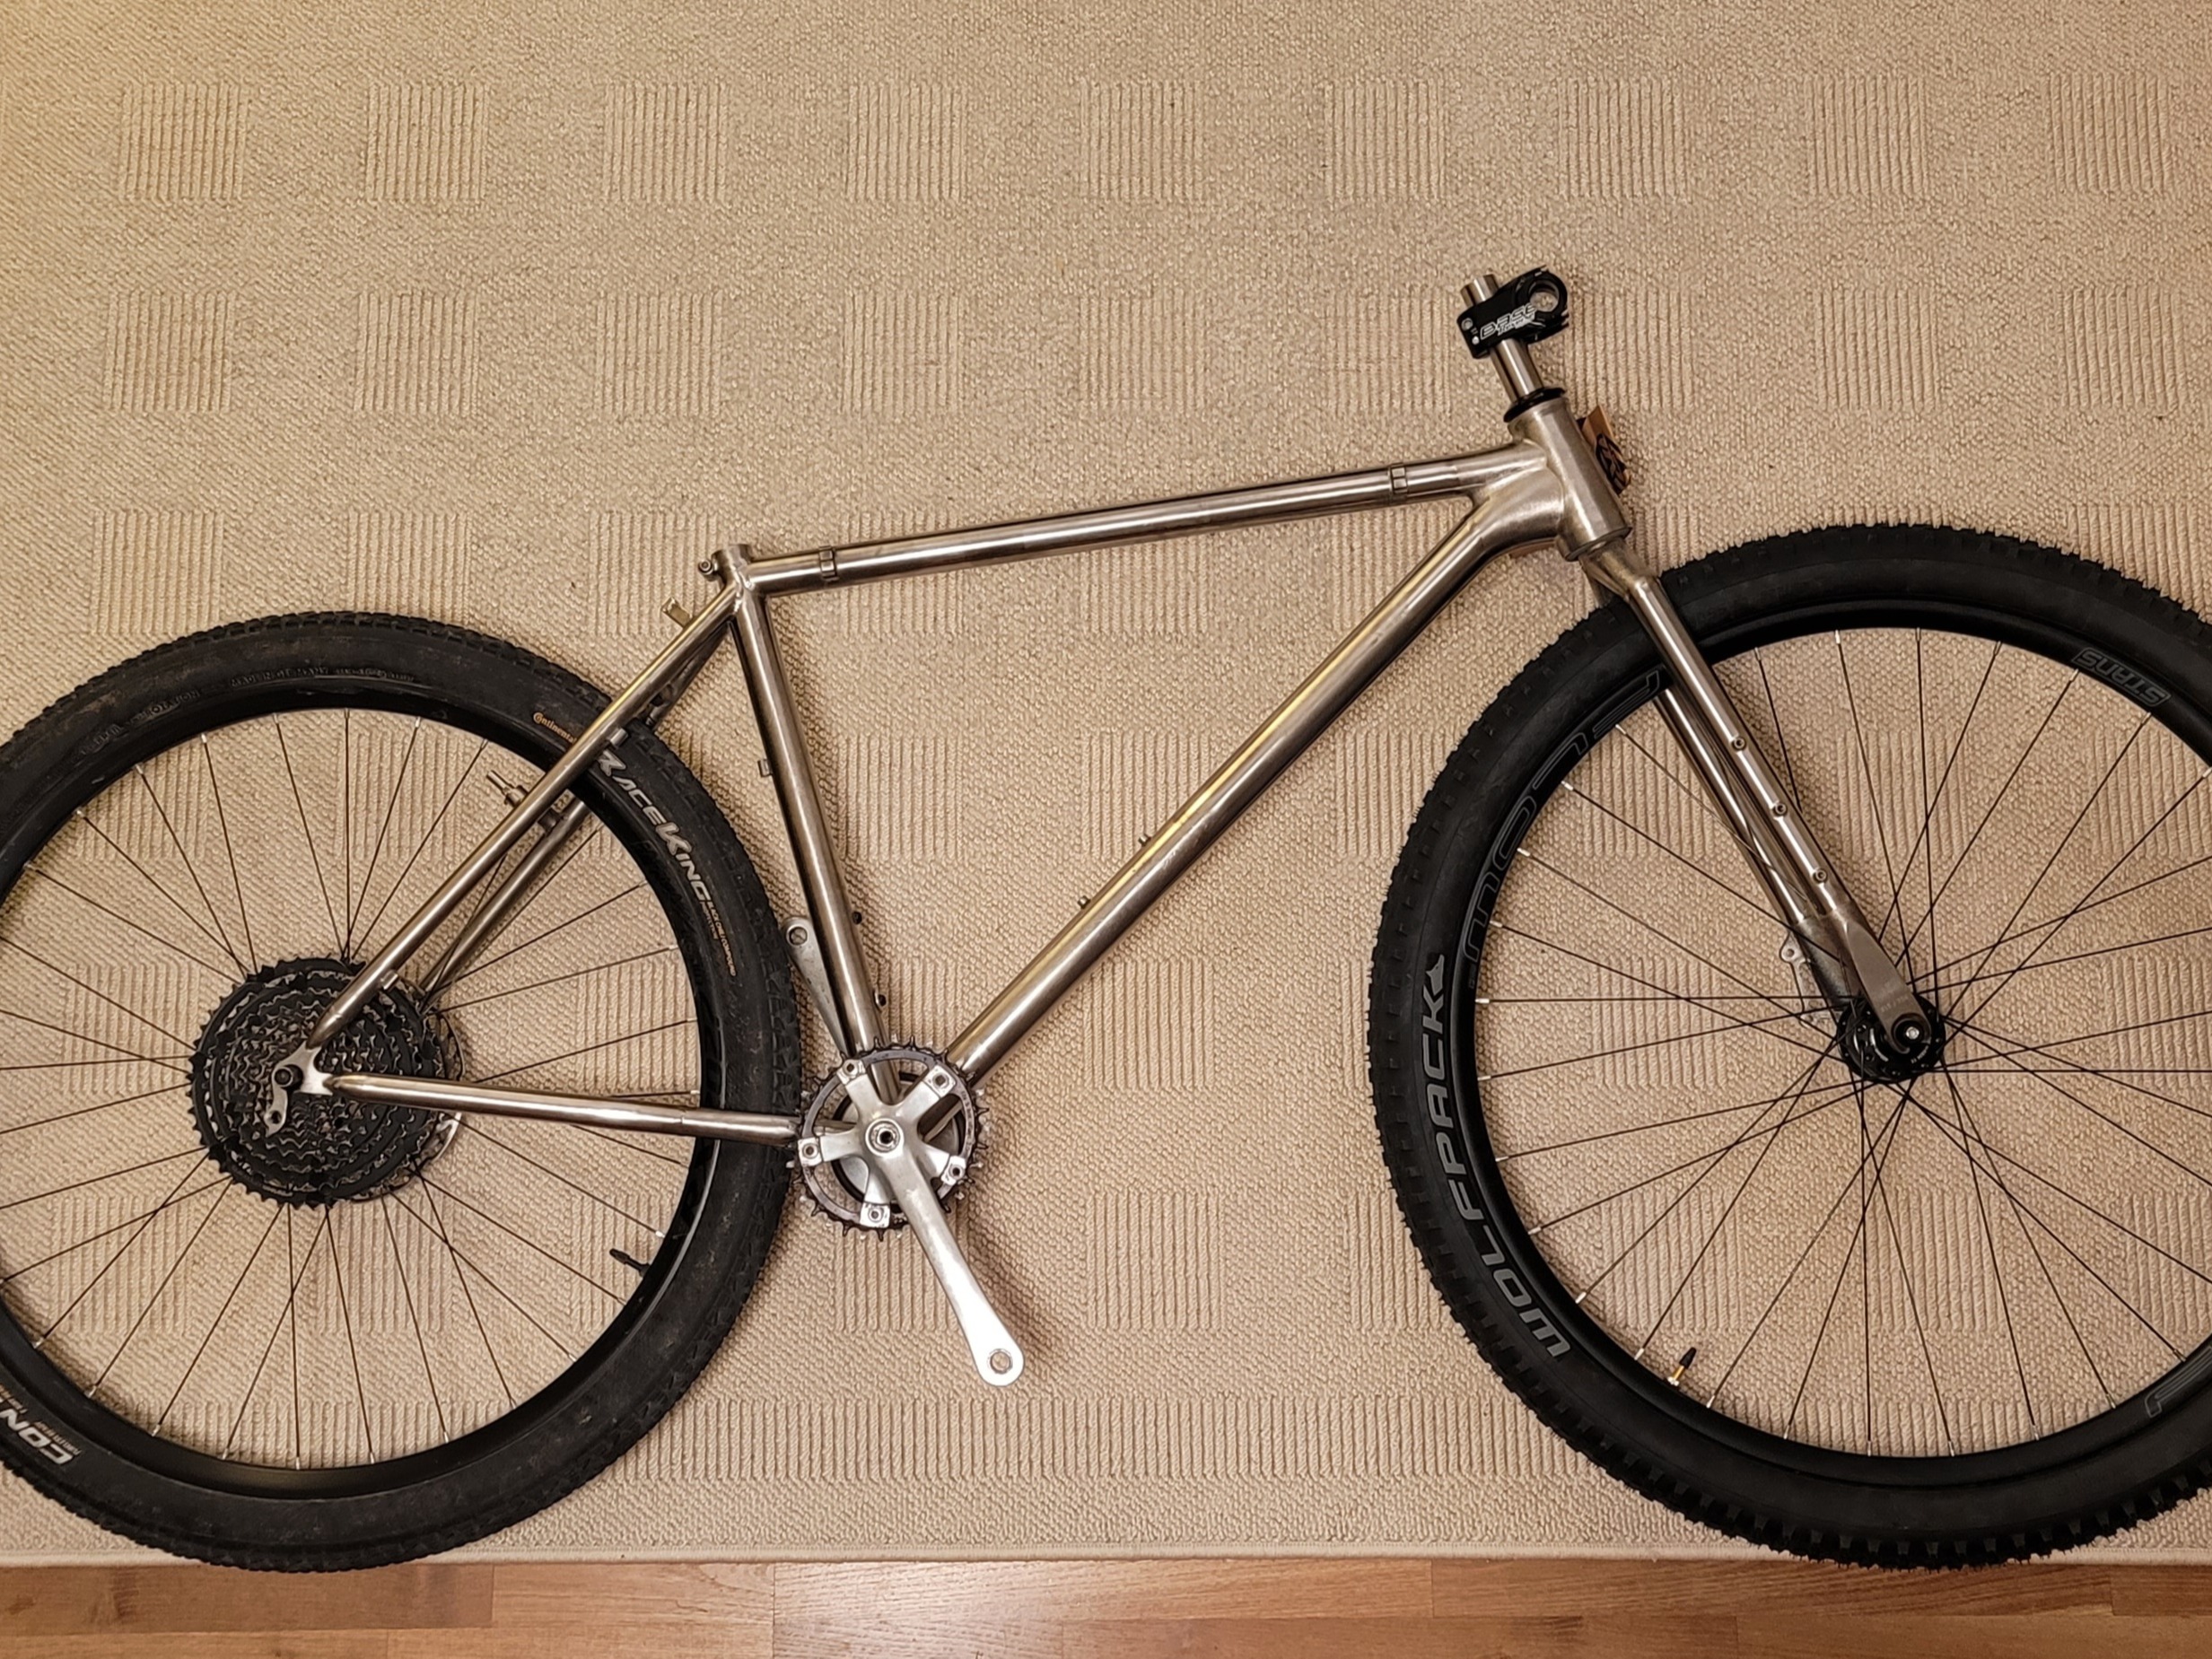
Not long after, a big parcel arrived with the frame and two forks in it. The 29" front wheel was built already, the stem was there, a 125mm dropper post, and the parts from the former build. The frame now weighed 1672g, probably 100g more than before. I set everything up in the living room and got the bike rideable the next afternoon. Time for a few laps in the underground parking!
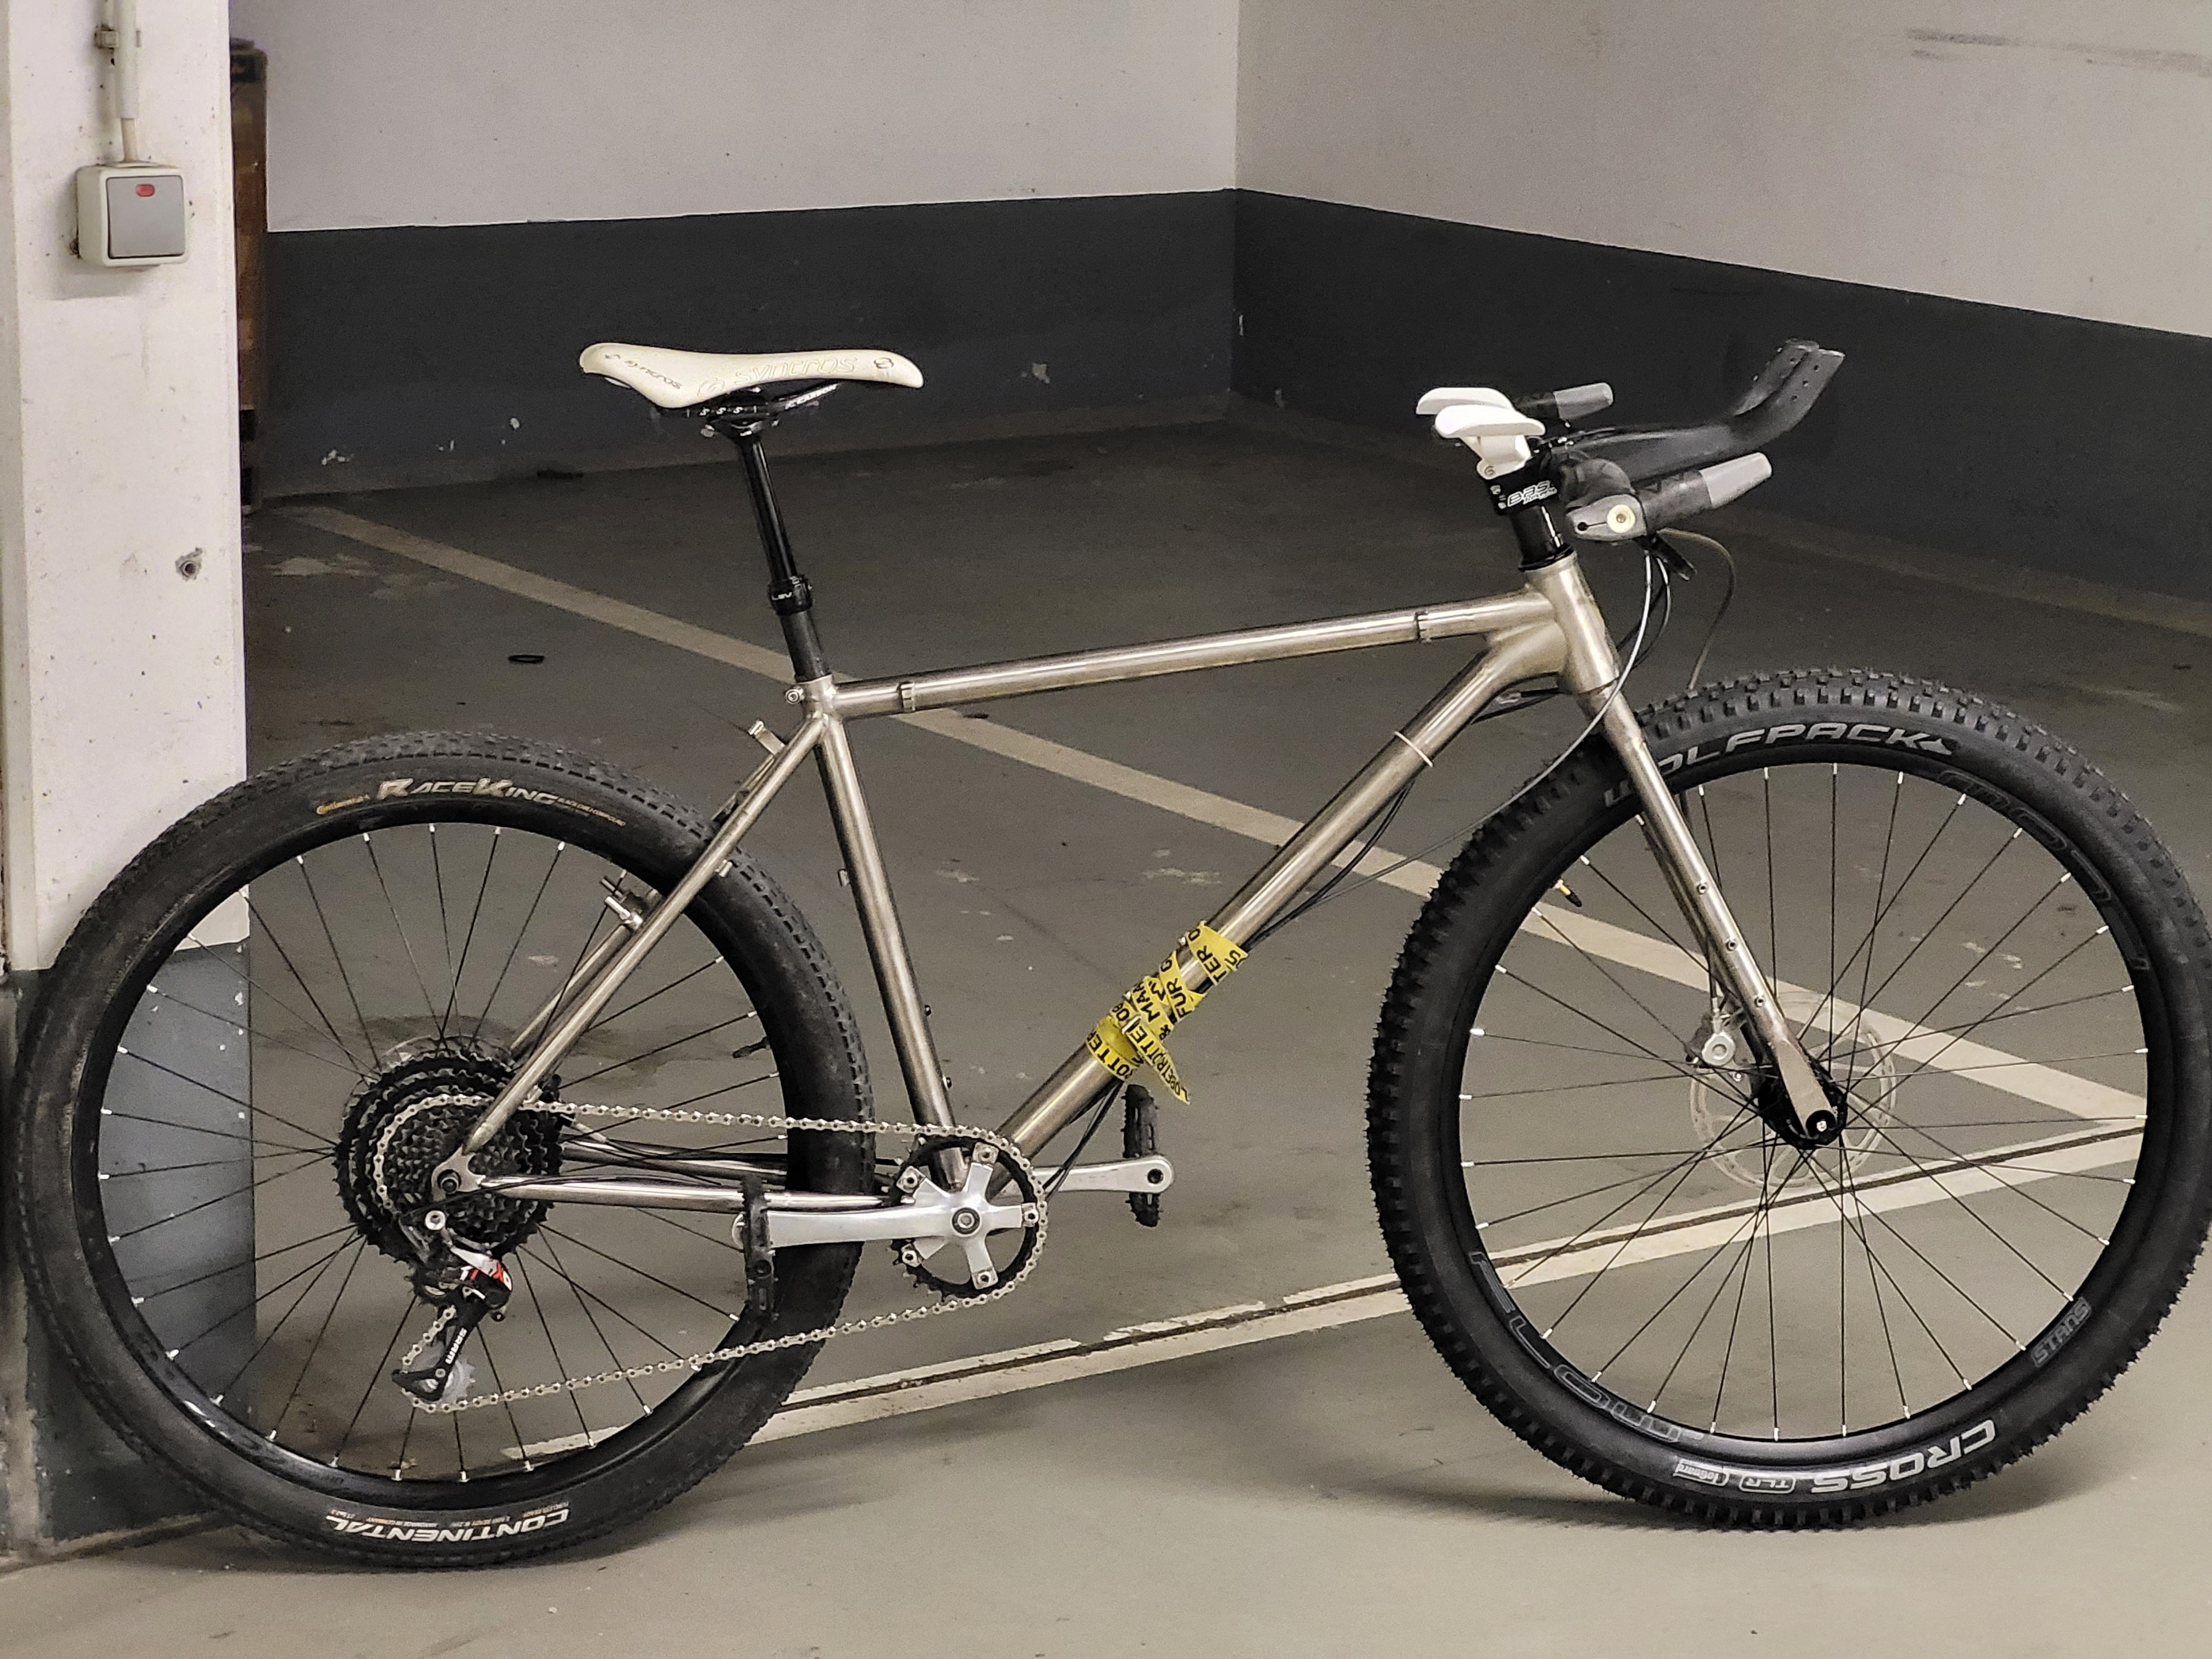
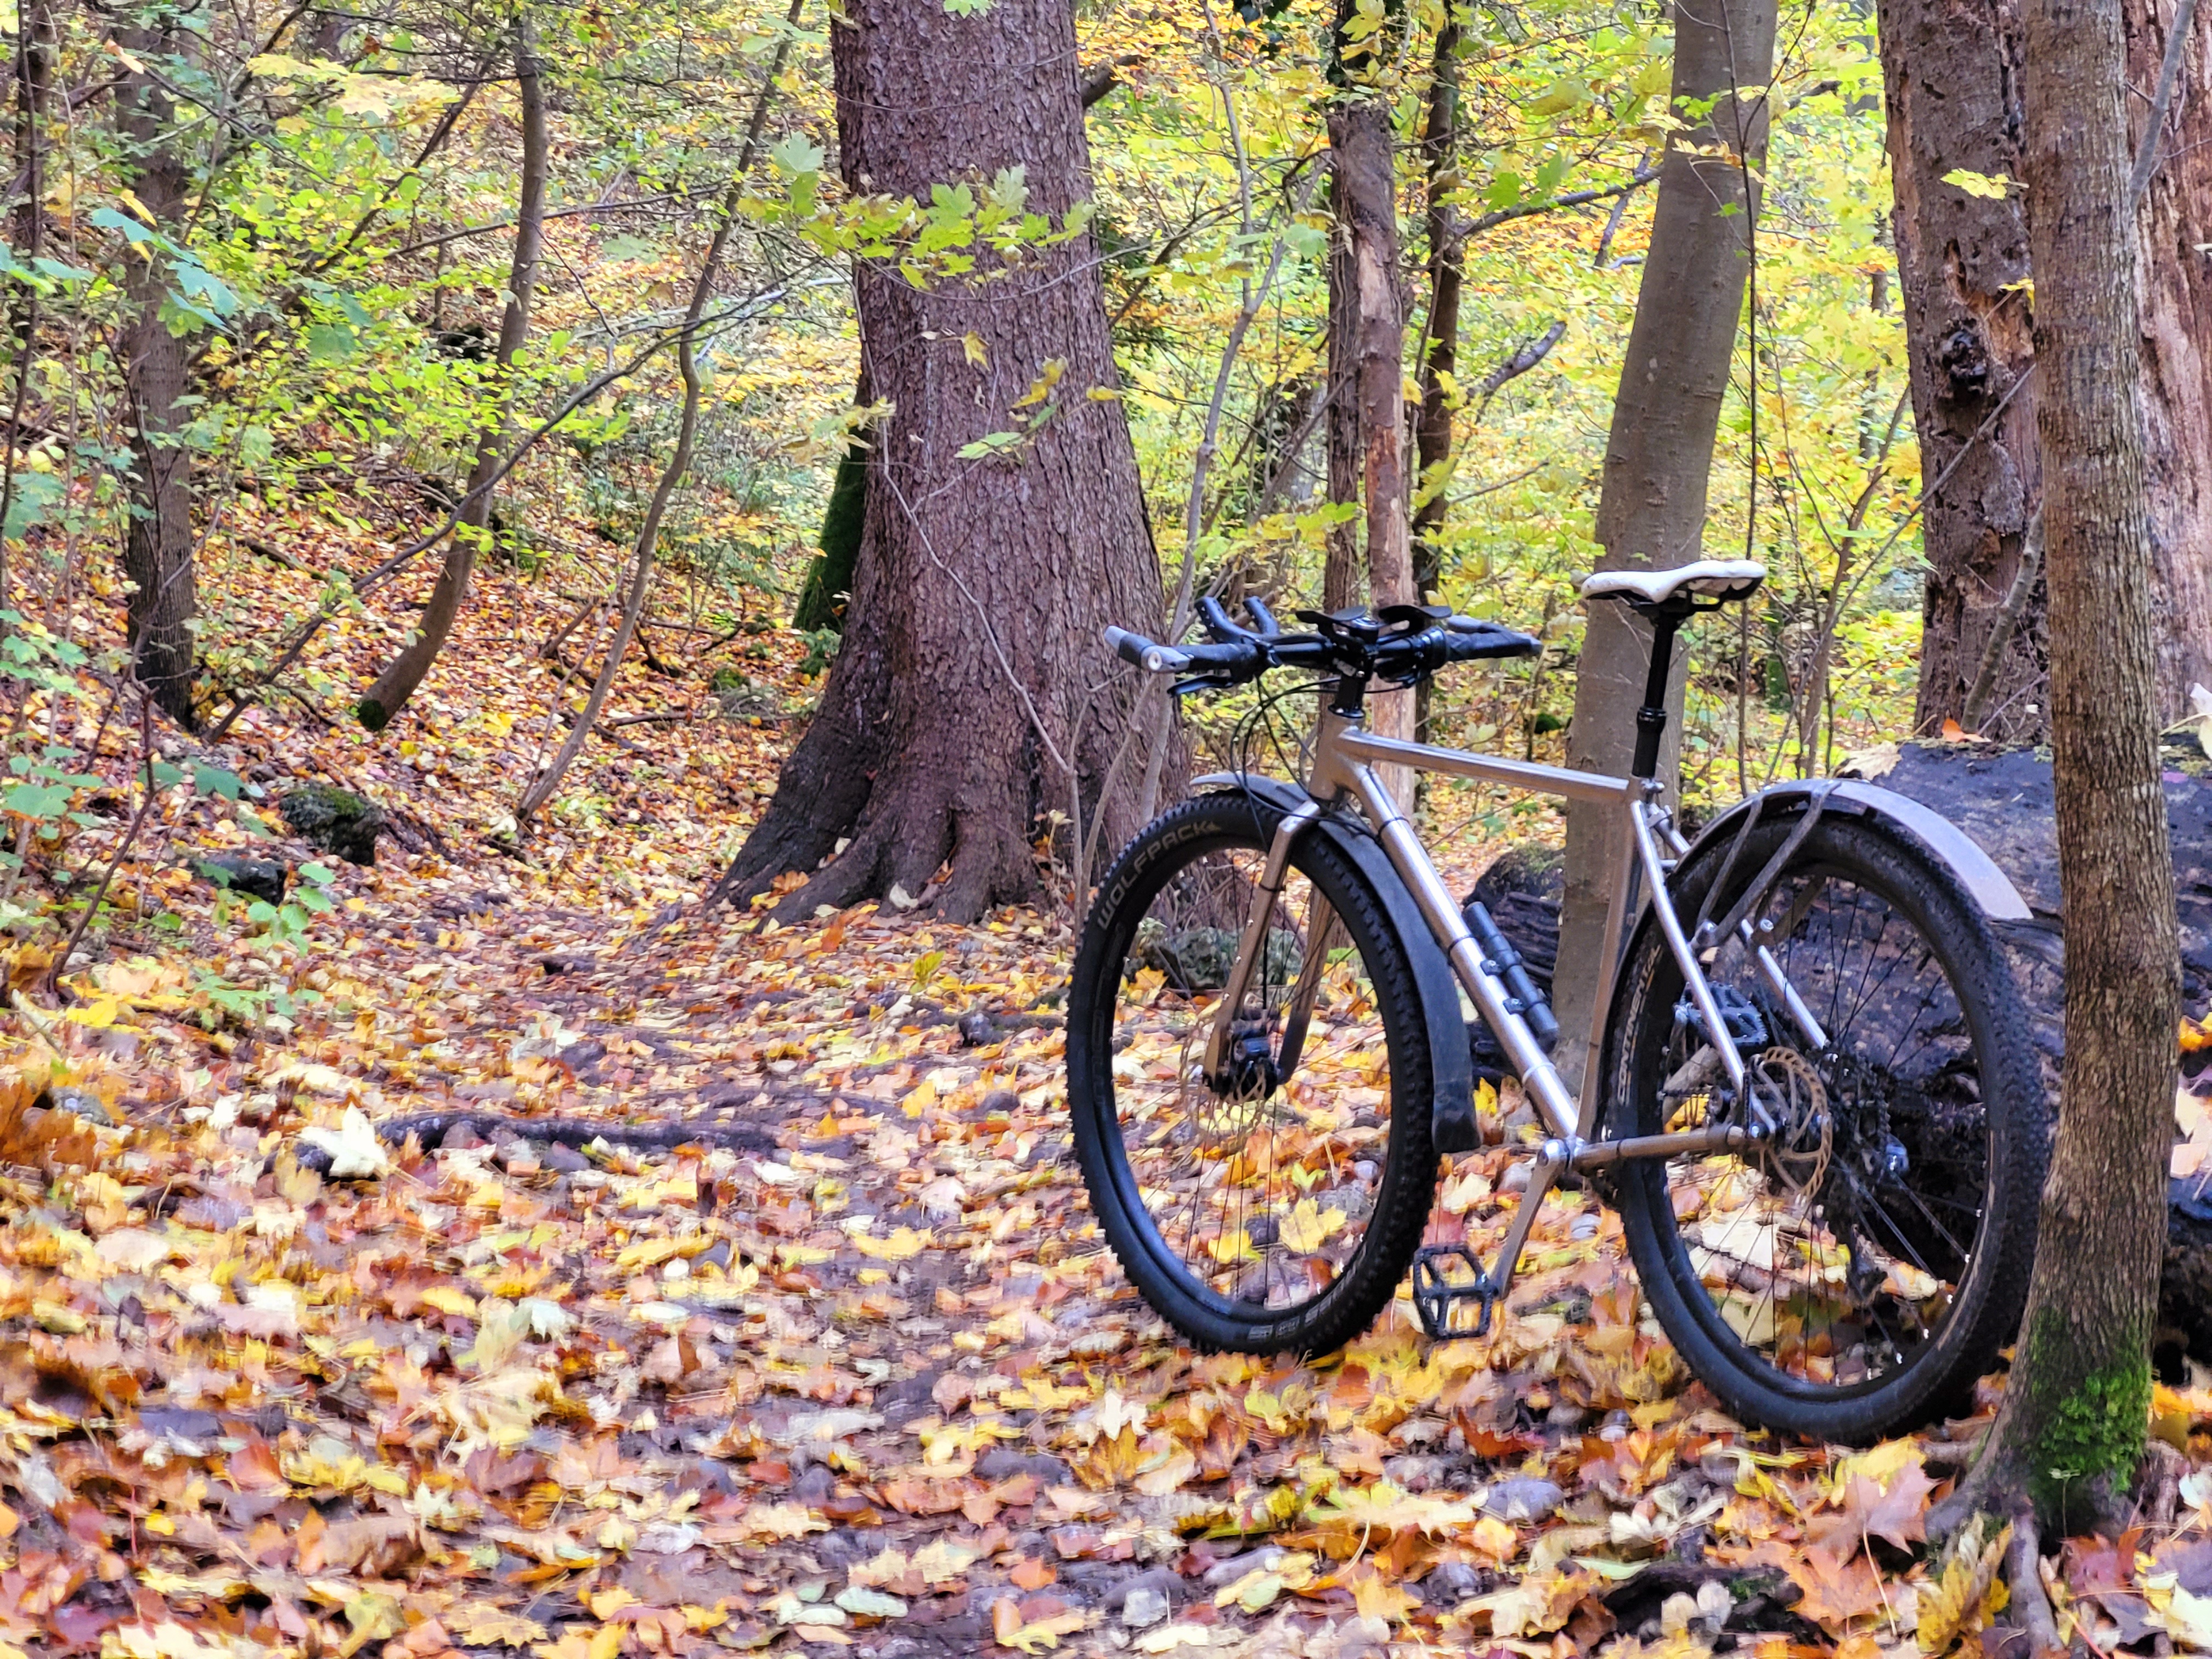
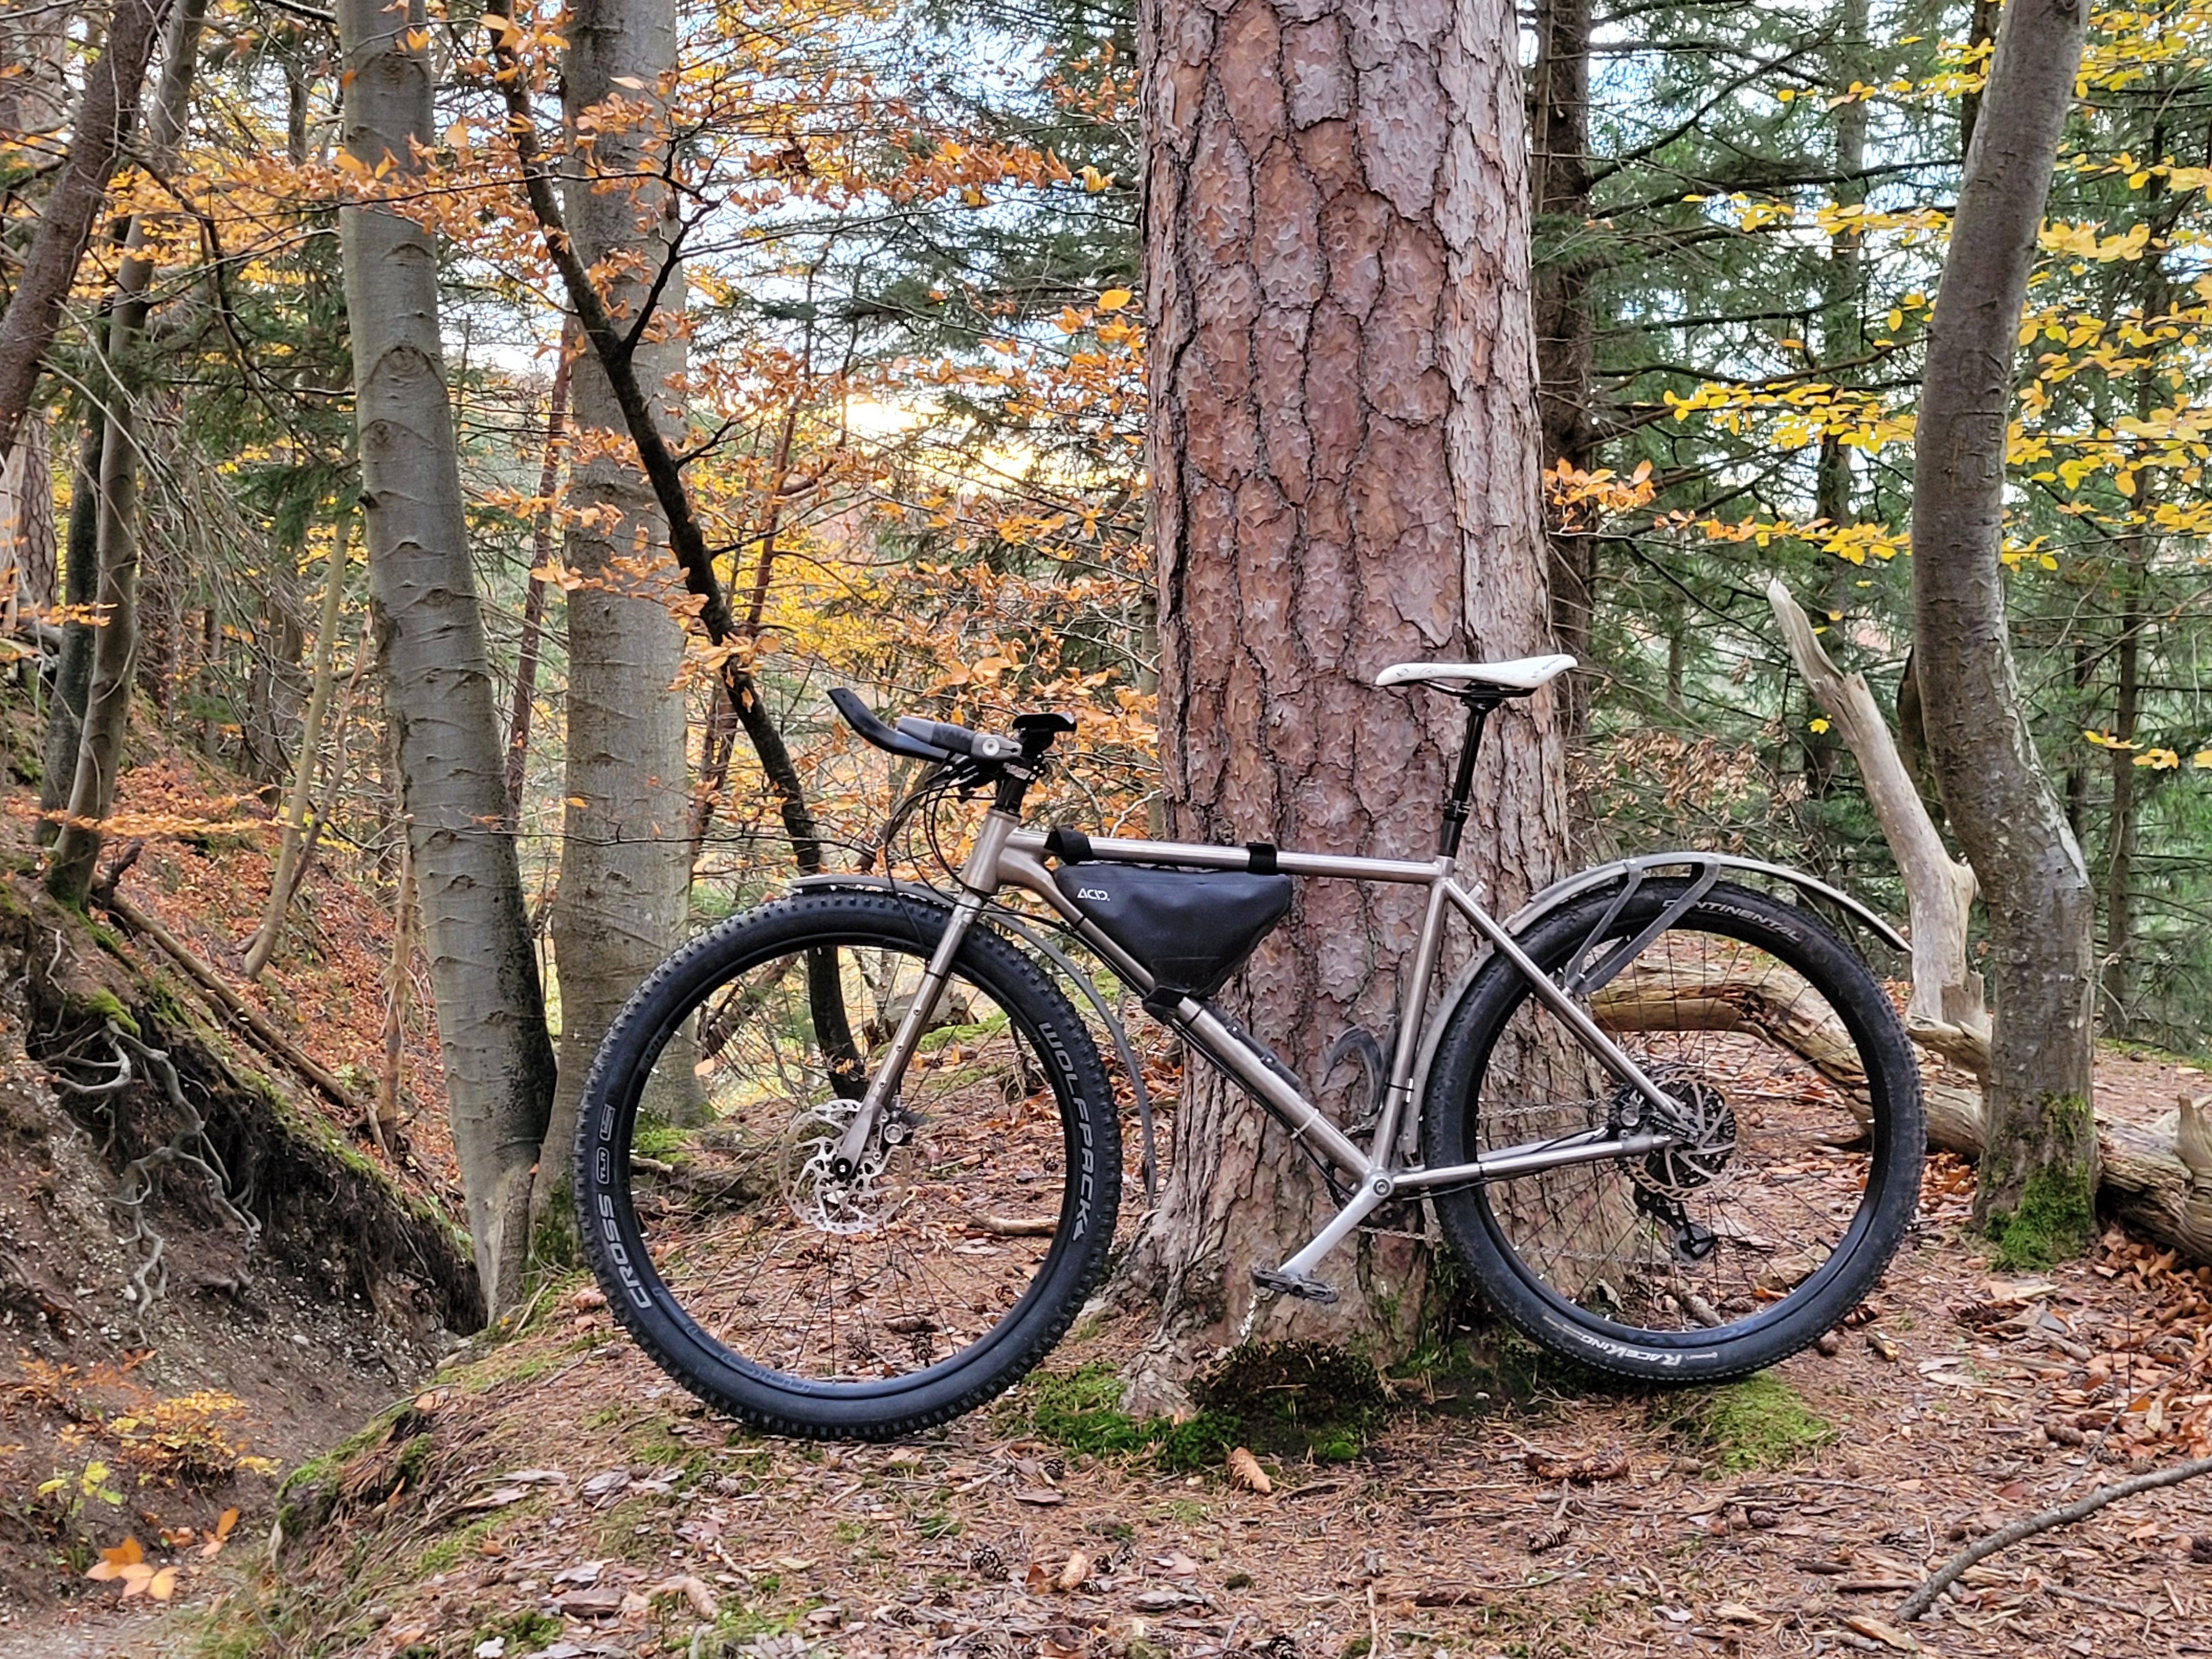
To me, these clean builds without fenders, rack and other stuff look just beautiful. - Anyway, the bike was surprisingly agile while cruising around tight turns and up and down the ramps. I had expected it to be more on the run-straight-through side, but it was pleasing. The feeling persisted on my home trails along the river. At the same time, the length felt more grown up than before, and corners needed a bit more space. It was easy to get up tight, technical climbs with leave-covered roots, and descending was calm and relaxed with the long wheelbase and the big front wheel - and the dropper post, for sure. Sometimes I rode into bumpy sections faster than thought and was reminded that I had a full rigid bike.
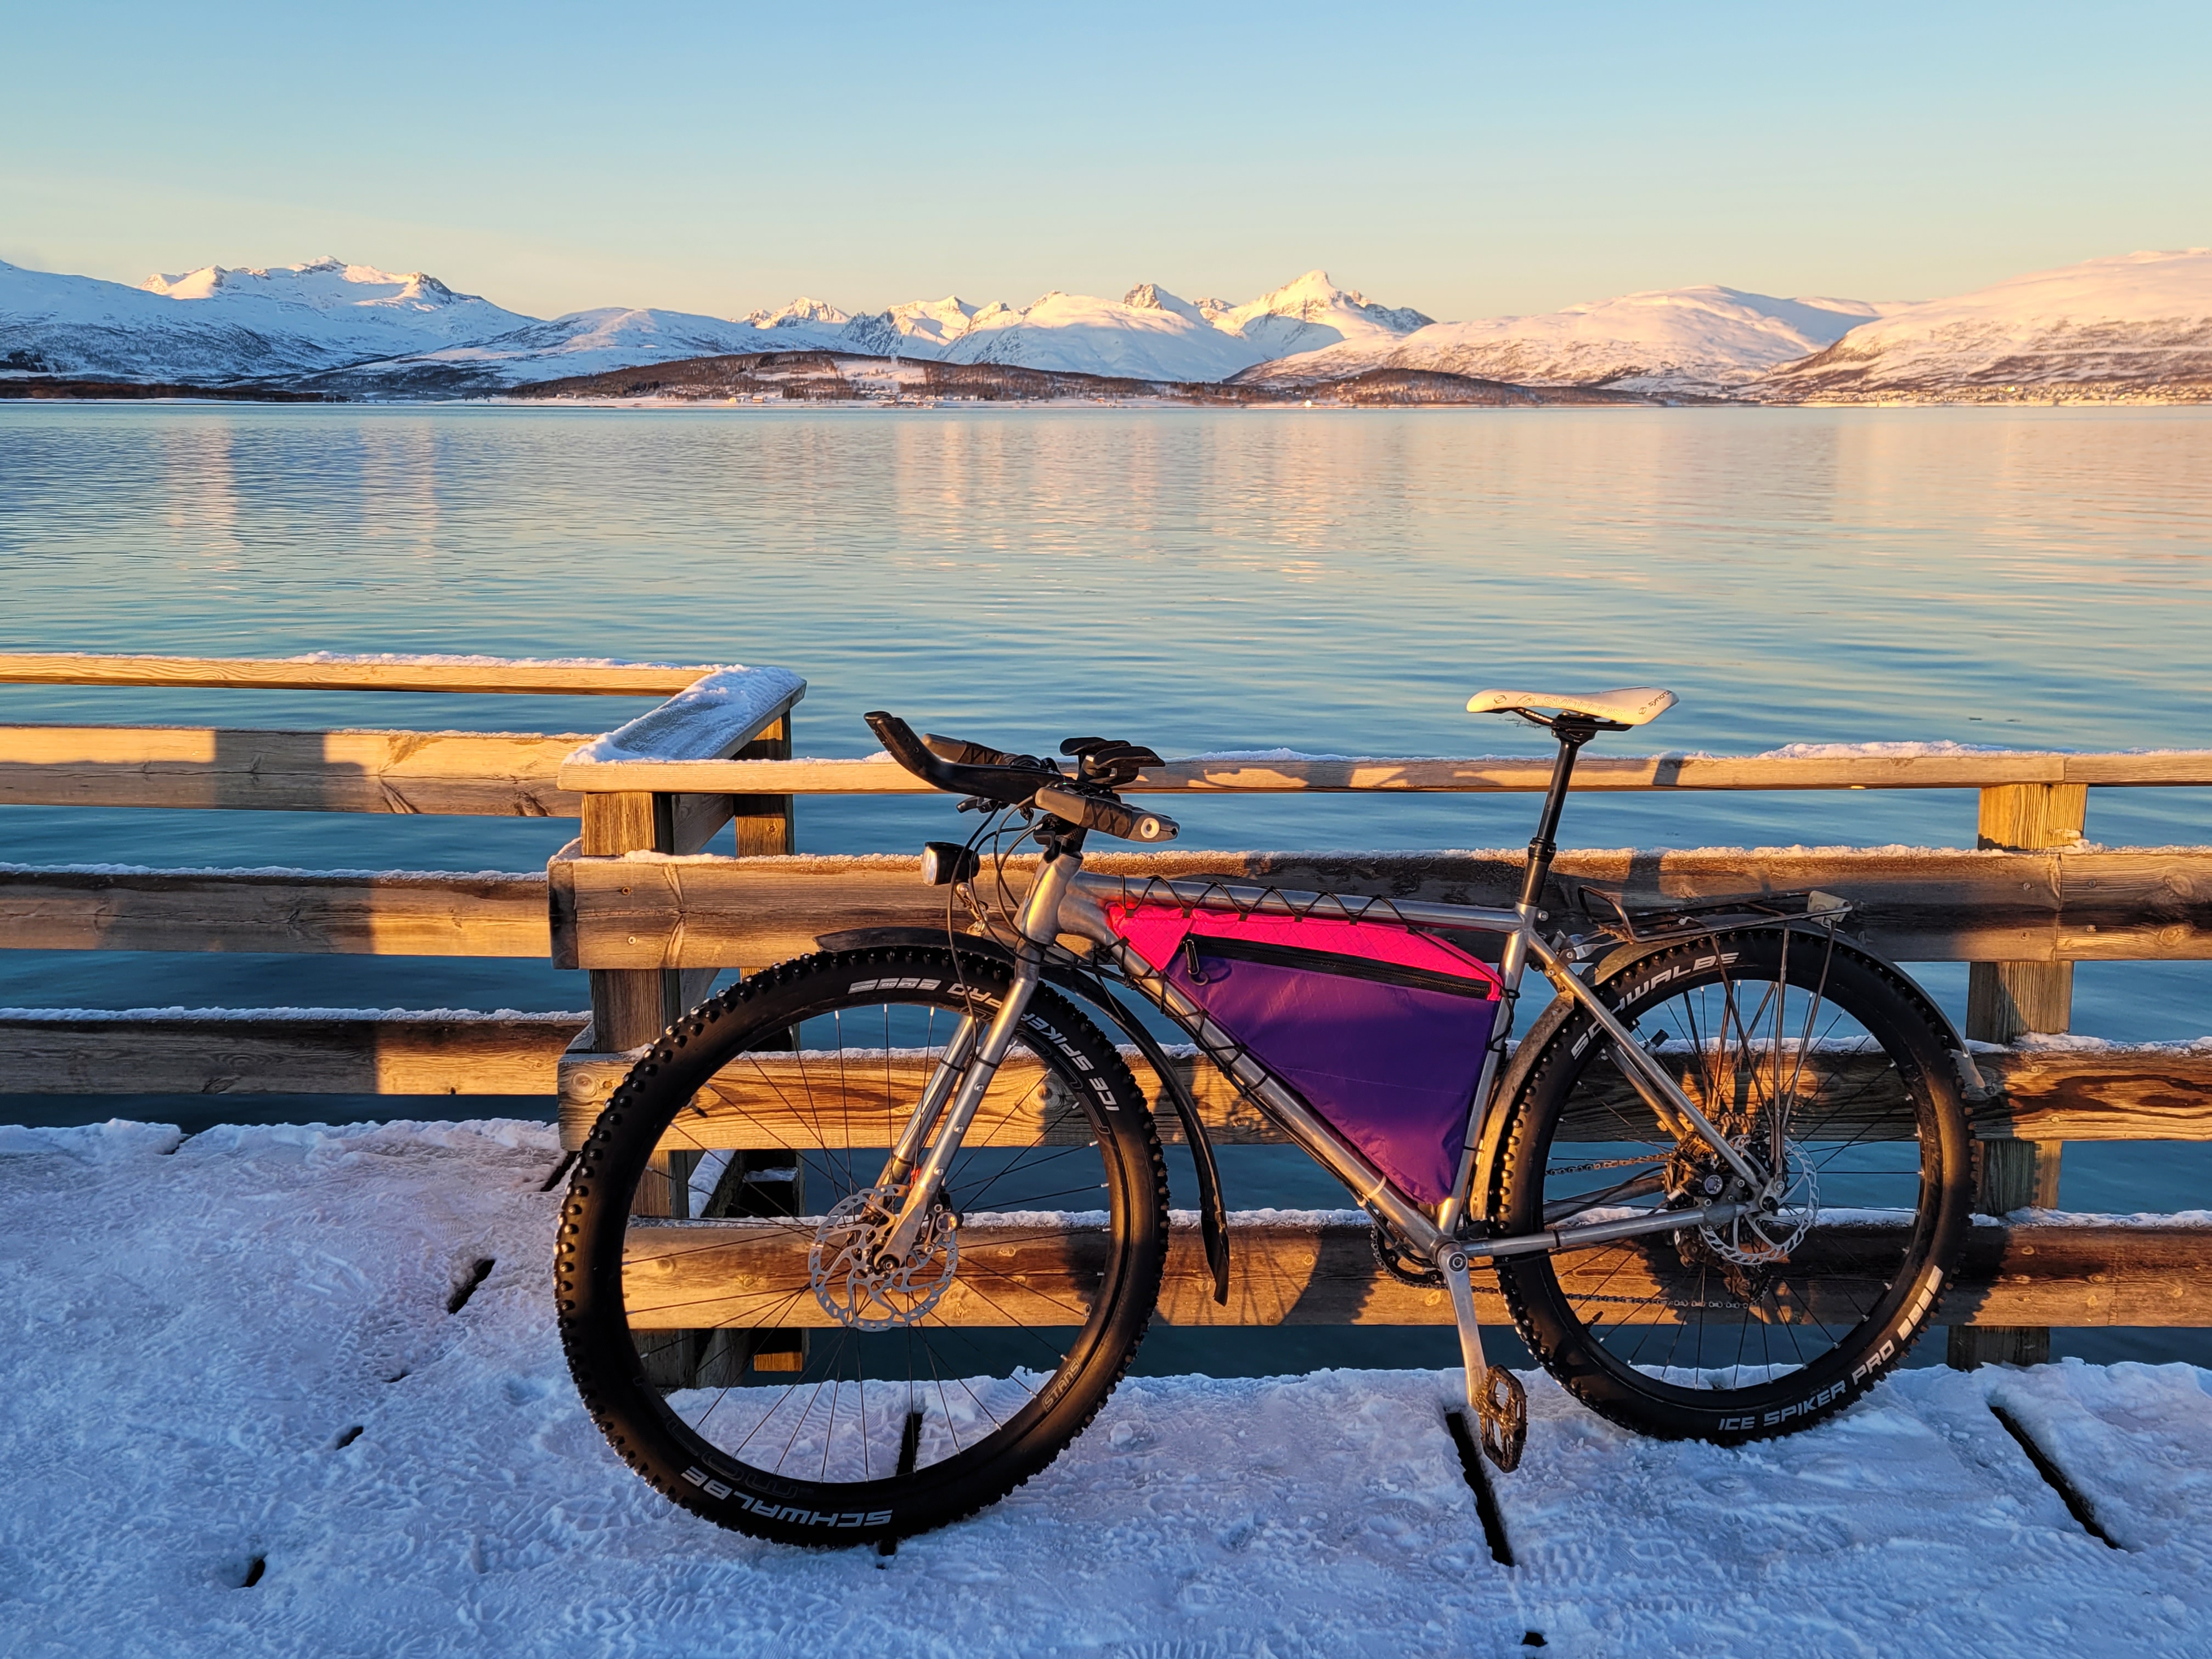
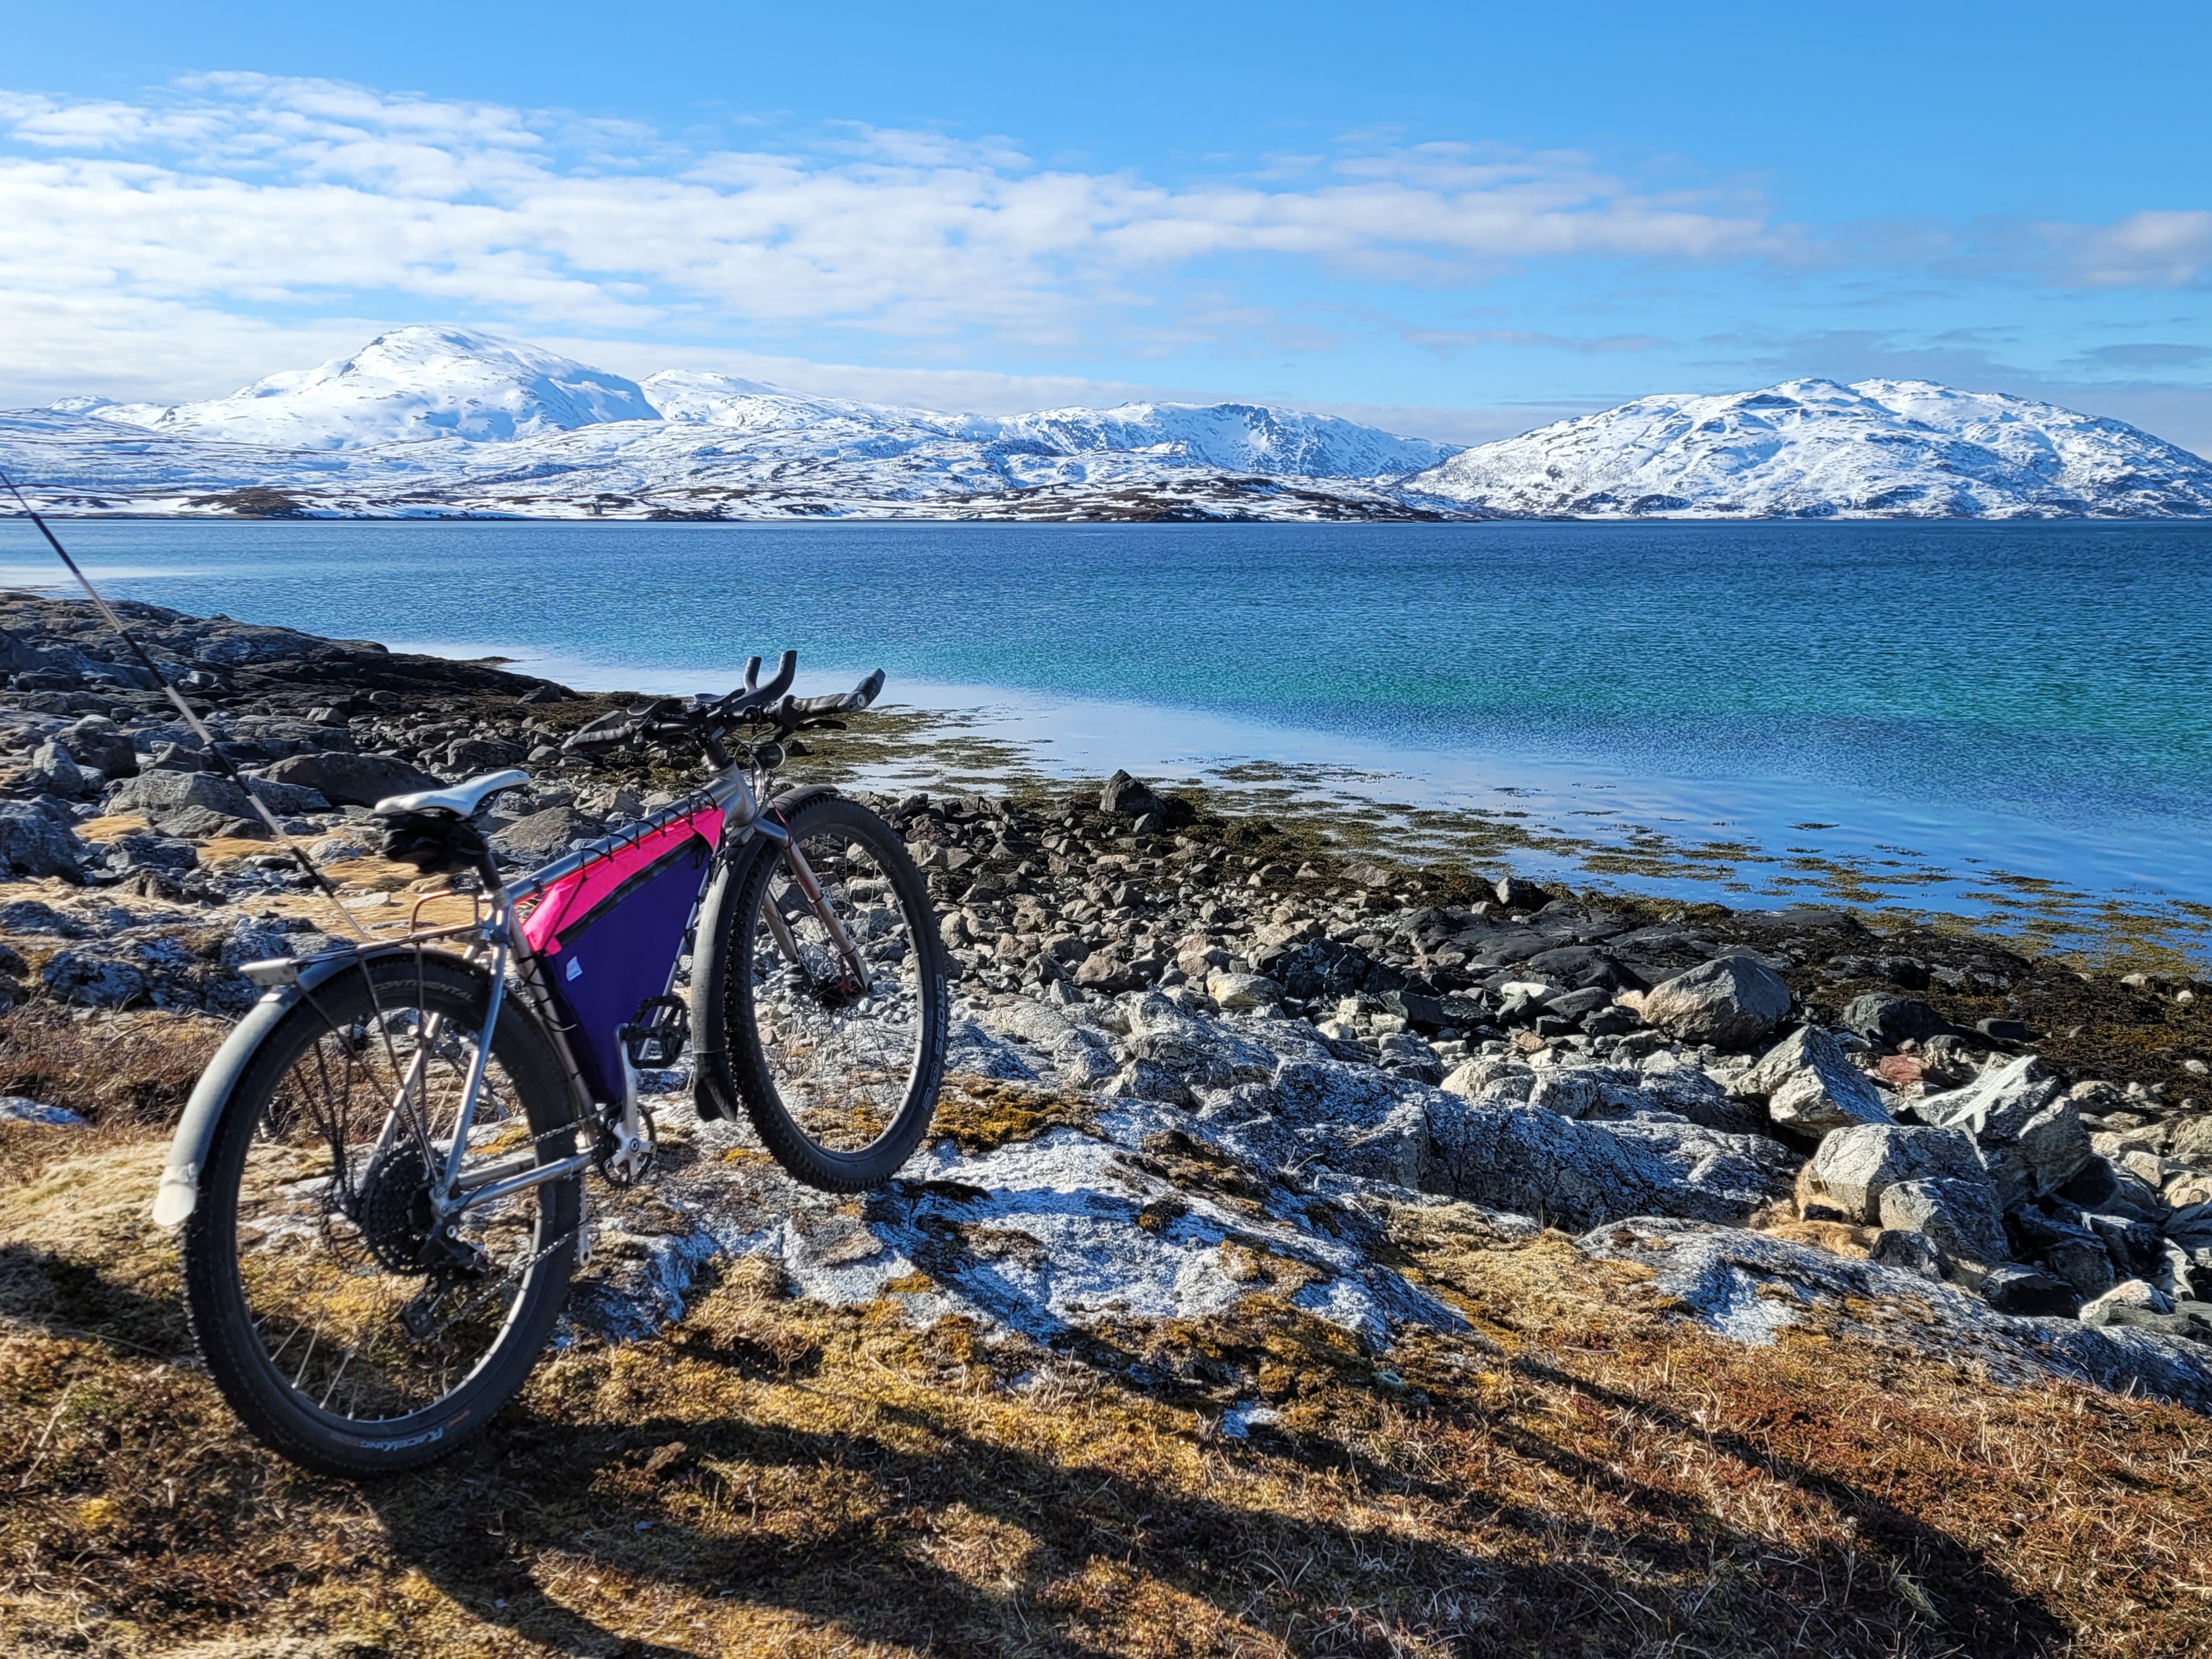
Soon after I fitted my second Witslingers custom frame bag and heavy duty spike tires and the bike moved with us into the arctic winter. No hiccups on steep icy roads or hardpacked snow, not even heavily loaded with groceries, but I started to notice some instability when riding at low speeds. It felt hard to hold my straight line, I had to steer actively instead of letting the bike just roll along.
Things got somewhat better with summer tires, still I found myself preferring my mountain bike for its intuitive feel.
Was this wheel flop? I started to investigate (see my article about the issue), but the result did not explain why the mountain bike felt better, as it had actually a higher wheel flop value. I experimented with changes in tire pressure and I also tried a 27.5" front wheel with a wide 2.6" tire. Yes, somewhat better, but still not good, even without a correcting 20mm lower headset cup and an accordingly steeper head tube angle. I even crashed nastily one time after striking a rock with my pedal - at least partially caused by the lower bottom bracket. As I wanted to have my nice big front wheel back, I was close to give up. I would get used to the feeling, right?
Sometimes on narrow trails, I had already wished my handlebars would be wider. The longer leverage should help navigating obstacles and controlling the bike. I had experimented with bar extensions and round grips instead of my ergonomic grip/barend combination before, but found the result quite annoying.
My setup was:
- Bar width 608mm
- Backsweep around 3°
- Upsweep set to about 3°
- Stem 35mm
I found a wider handlebar with more backsweep. To maintain the distance between saddle and hands, I picked a longer stem. Result:
- Bar width 640mm
- Backsweep around 8°
- Upsweep set to about 3°
- Stem 70mm
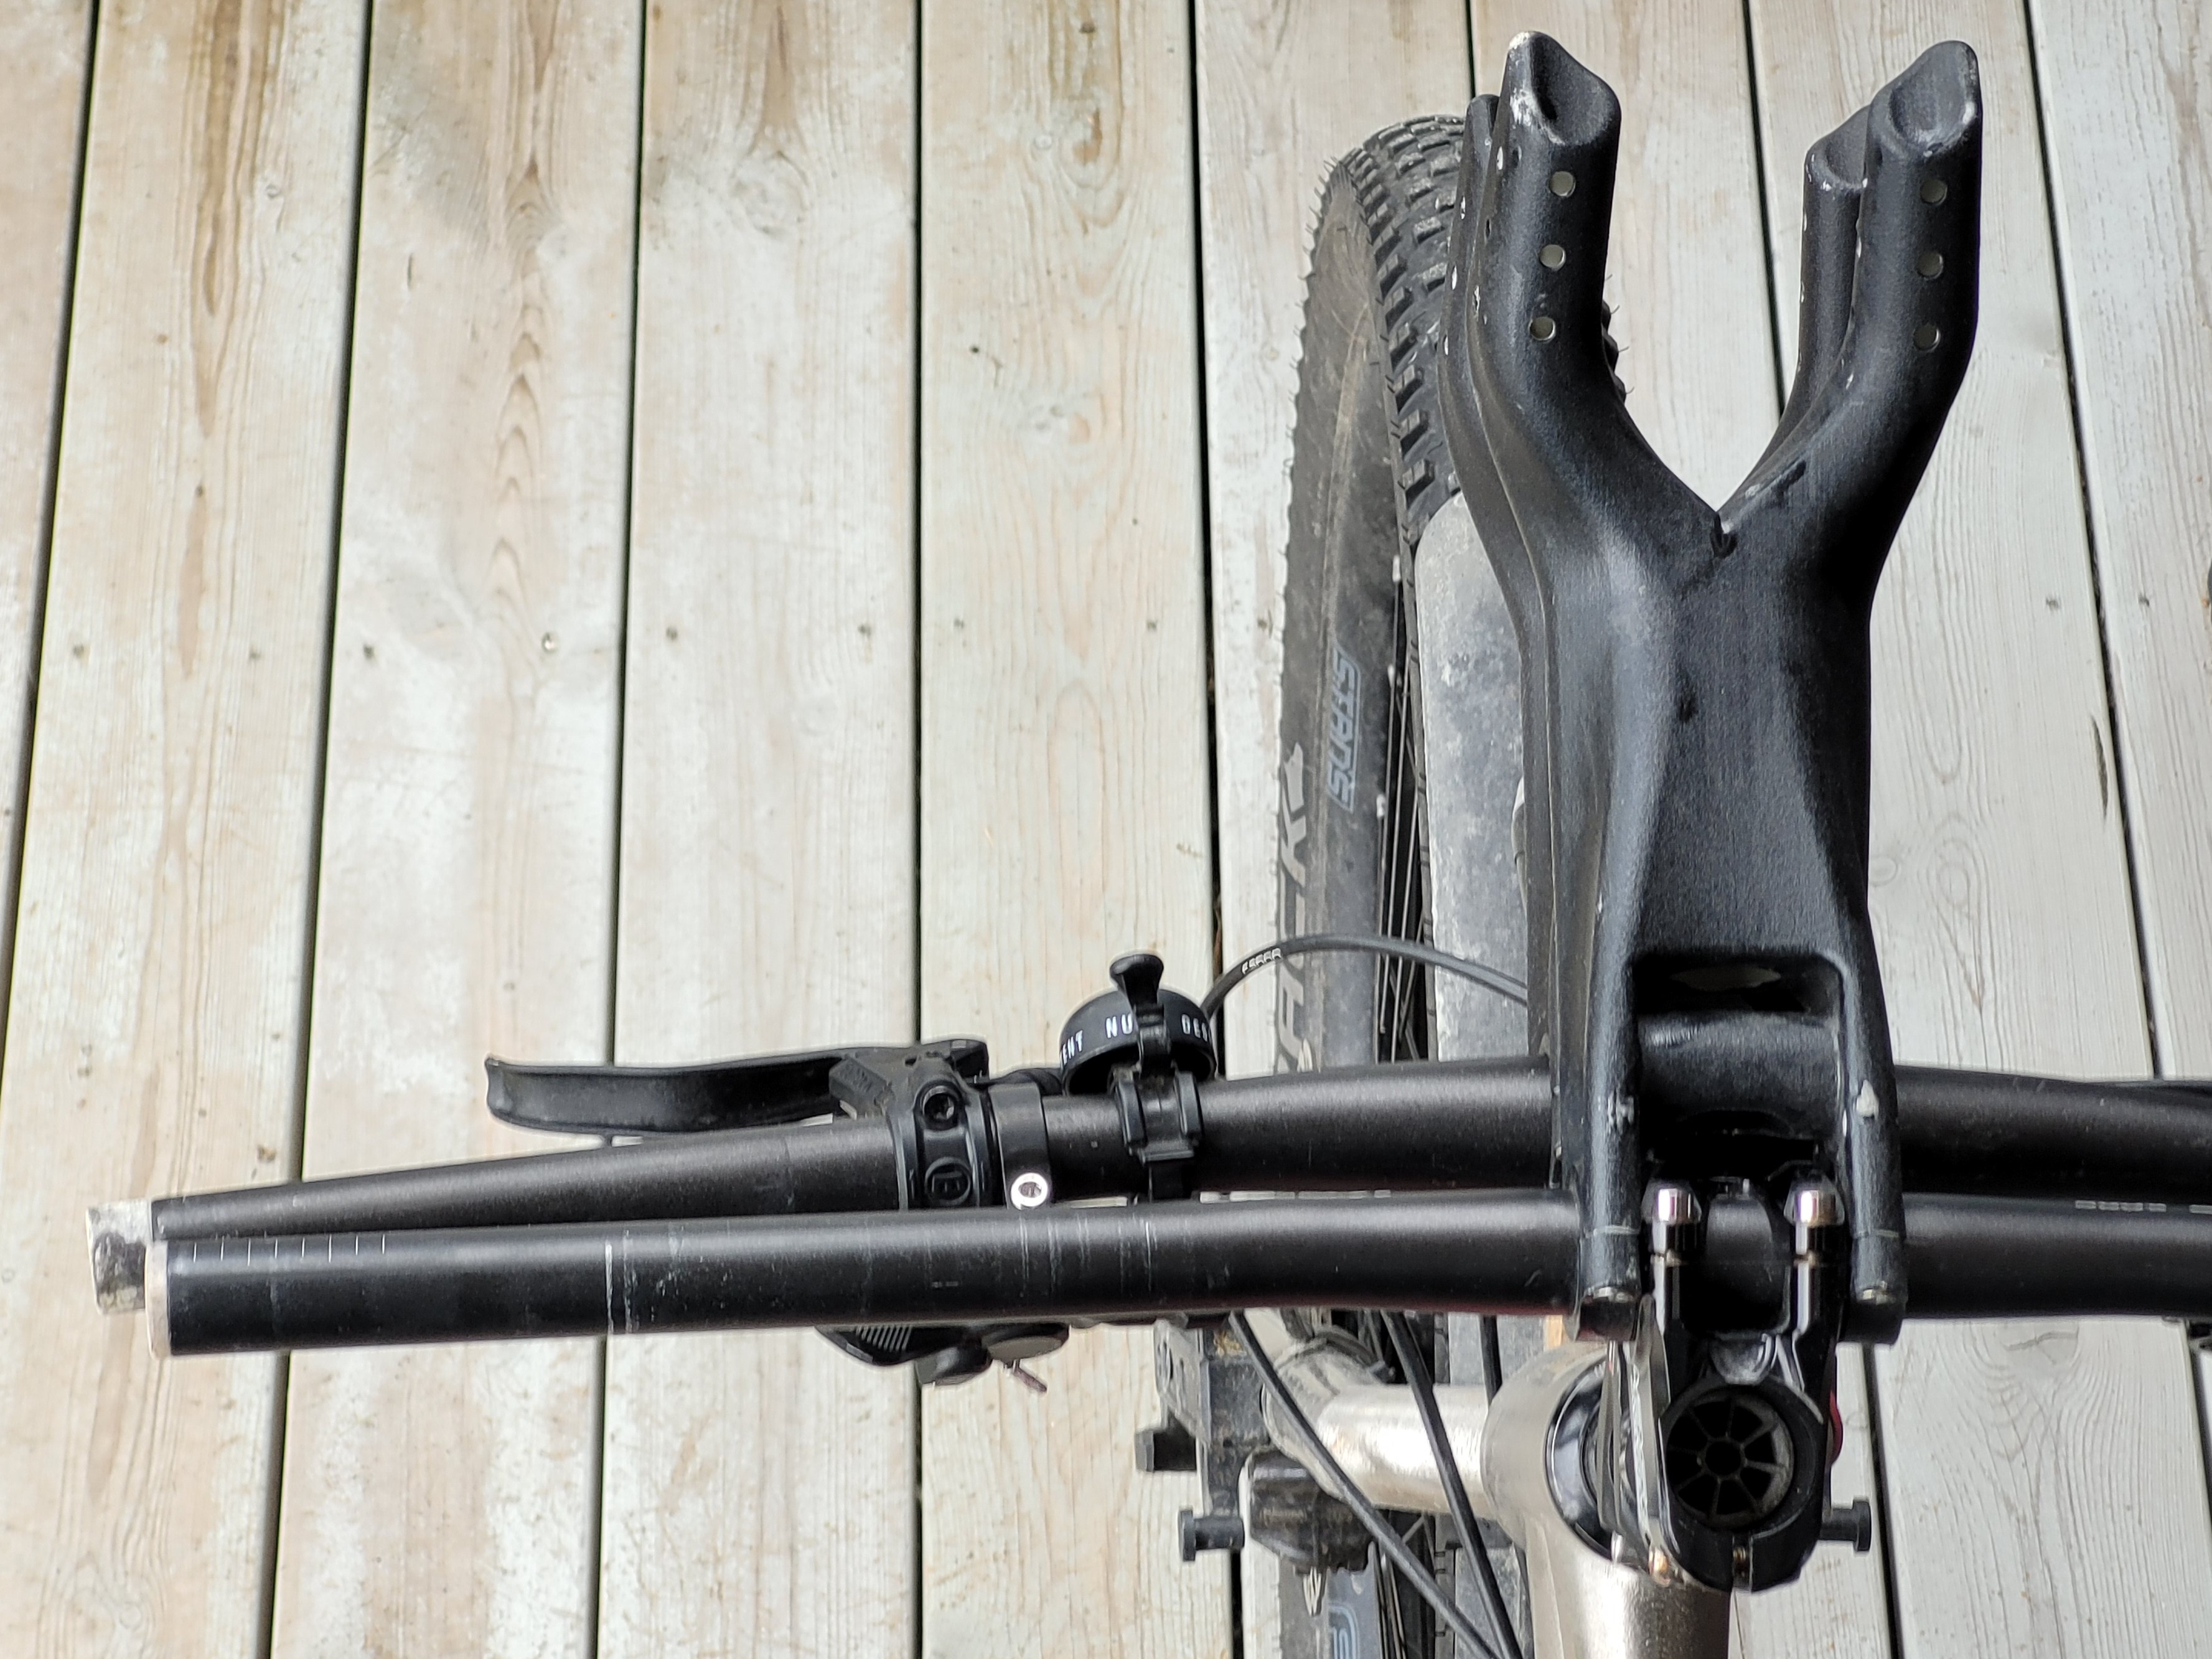
And there it was.
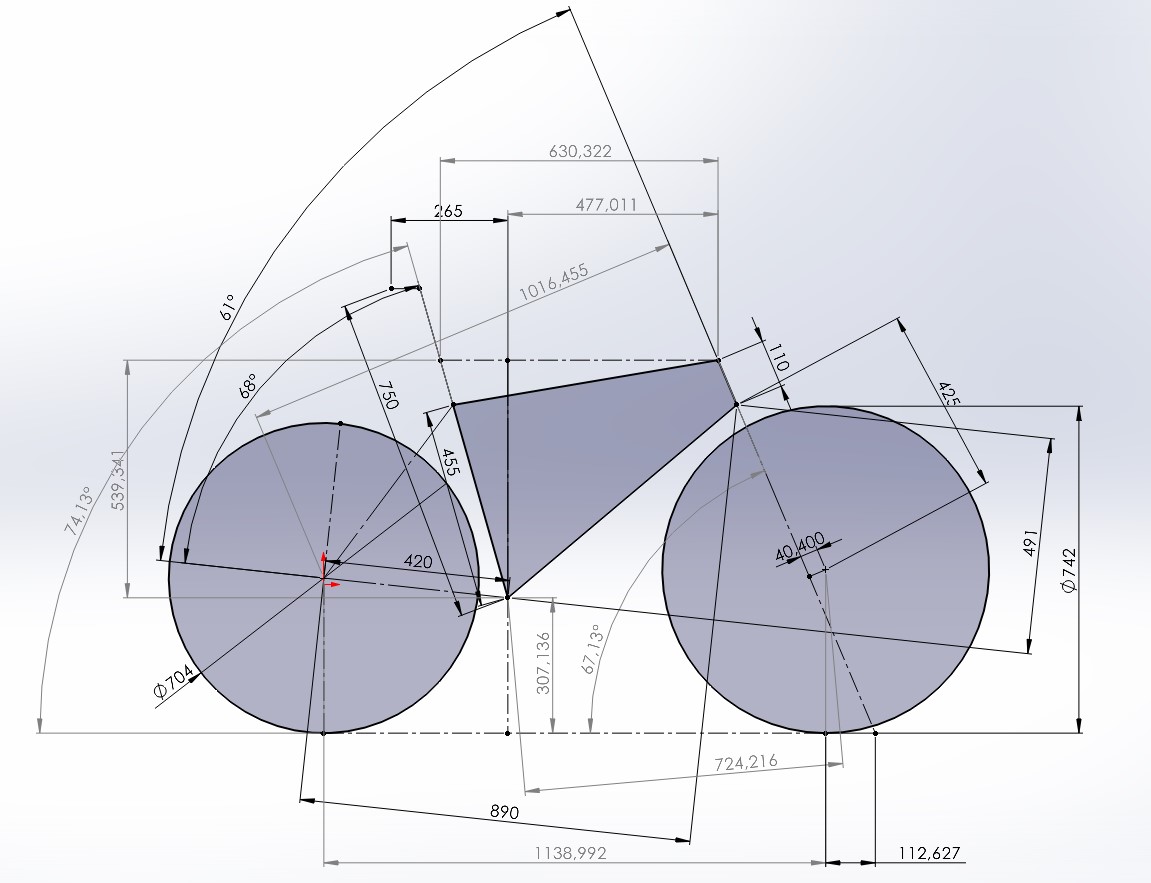
I felt completely at home on the bike, to a degree where I forgot about it. Now my line was exactly where it meant to be, without me thinking about it or controlling very much. It was a night and day difference, and I even put a 10mm lower headset cup in to slacken the angles a bit more. See the resulting geometry here:
Learnings
Beside the big one, how much cockpit setup alters the feel of the bike - what would I do differently today?
Bike geometry
After finding my way to version 3.1, I am happy with the geometry. The one parameter I would change is the fork offset. Something around 50mm would be a better fit for the large front wheel.
Reach
477mm sounds really long, even when considering the low stack height. But the bike never feels too long, it seems I landed in my sweet spot here.
Head tube angle
I ended up with 67deg, and given my journey with a floppy feeling, I might stay a little bit steeper. 0.5deg more would play nicely with 10mm more fork offset to maintain both front center length and reach.
Tire size
The tire clearance at the seatstays is only up to 27.5"x 2.2 while there is more room at the chainstays now. It would have been worth the extra effort to provide inserts here as well.
Design
Chainstay inserts
Like on the other frame, I did not change the outer silhouette of the chainstays. So chainring clearance did not grow, and an oval 34 tooth chainring at 46.5mm chainline almost touches the chainstay. An asymmetric yoke design with more clearance would allow larger chainrings as well.

Free AI Website Creator